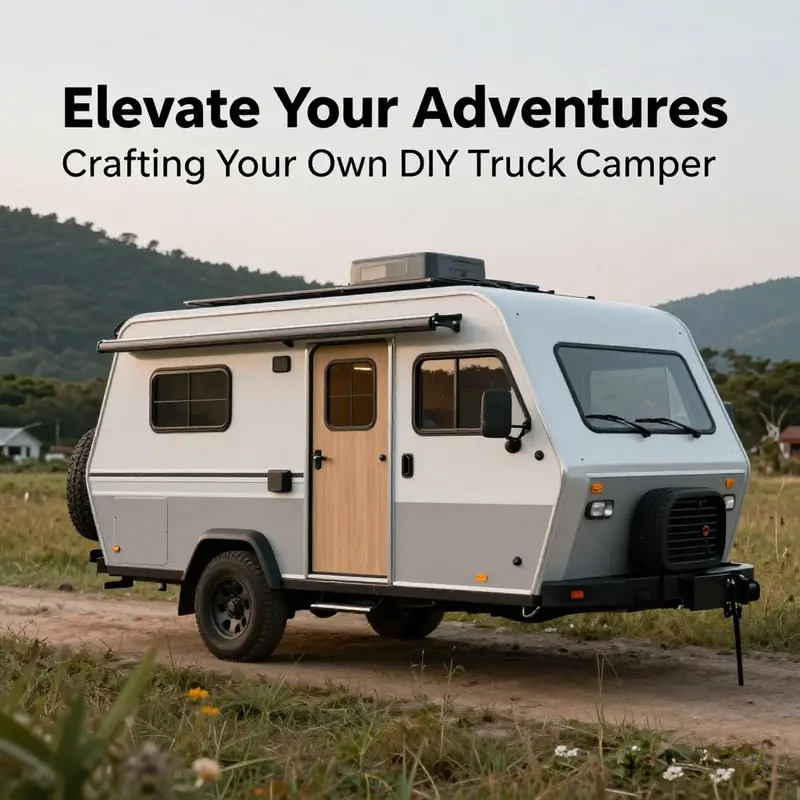
Creating a DIY truck camper offers a unique opportunity for business owners seeking cost-effective mobile solutions for travel and leisure. This venture not only enhances your portability but also allows for personalized customization according to specific needs. This guide will walk you through critical steps—from defining your requirements and setting a budget to choosing the right truck, designing your layout, building the structure, and finally setting up electrical and plumbing systems. Each chapter is geared towards equipping you with the essential know-how to successfully embark on your DIY truck camper journey, ensuring a practical and enjoyable experience.
From Sketch to Start: Defining Needs and Budget for Your DIY Truck Camper
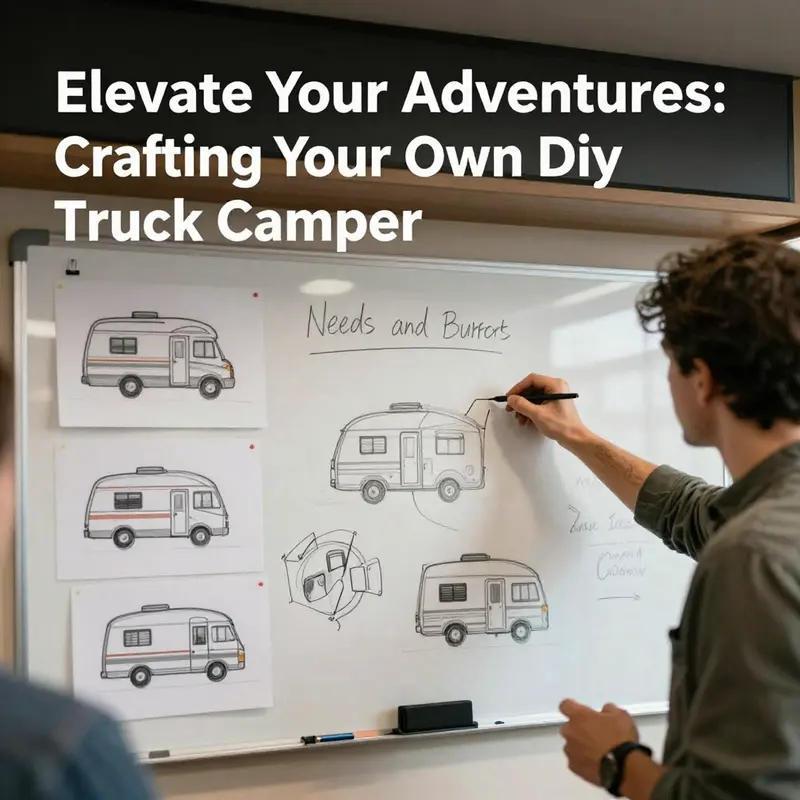
Defining your needs and setting a clear budget are the compass and map for any successful DIY truck camper project. Before you lift a measurement or cut a panel, take a quiet moment to imagine how you’ll actually live in that space. Will you travel with a partner, kids, or a four-legged companion? Do you plan to chase remote backcountry nights or stay mostly in campgrounds with hookups? The answers shape everything from bed orientation and cabinet depth to insulation thickness and the size of a freshwater reservoir. The aim is not to chase maximum square footage in a moving box, but to align every inch with your habits, climate, and travel tempo. If you crave a simple weekend setup, you may settle for a compact sleeping area, a small kitchenette, and straightforward storage. For longer trips or off-grid ambitions, you’ll weigh more robust insulation, a lean but dependable power system, and modular furniture that can be reconfigured on the fly. The better your initial clarity, the fewer costly redesigns later and the quicker you’ll reach a space that feels inevitable rather than improvised. It’s about balancing comfort with feasibility—prioritizing reliability in the core systems and practicality in the layout over flashy finishes that may not endure road vibrations and temperature swings. When you start with needs first, budget follows with honesty and momentum.
Budgeting is as much about discipline as it is about math. Set a firm ceiling for what you’re willing to spend and then break that ceiling into two broad streams: the structural and the functional. In most DIY truck camper projects, a practical range falls roughly between $1,500 and $5,000. That spread acknowledges that you can assemble a safe, functional shelter on a modest budget, or you can expand into a more comfortable, feature-rich setup if you allocate more for materials and systems. The crucial step is a detailed, itemized plan that covers both the large components and the finishing touches. Start with the shell—structural framing, weatherproof skin, and a roof that remains sound in varying weather. Then list the essentials: windows or light openings, insulation for climate control, and the mounting system to secure the camper to the truck. Following that, map the core systems—electrical, water, waste, and a compact cooking setup. Finally, reserve a line for safety features like a fire extinguisher and a smoke/CO detector. A practical approach is to forecast costs for each category and include a contingency buffer, typically 10 to 20 percent, to absorb price shifts or unanticipated needs. This isn’t a luxury exercise; it’s a safeguard against feature creep that can derail a build before you’ve even started.
With the budget structure in mind, think of it as a network of choices rather than a single cap. The structural backbone—plywood framing, insulation, seam sealing, and a durable, weather-resistant exterior—must be airtight before any interior finish is added. Insulation carries the long game here: thicker and more efficient insulation pays dividends in comfort and energy use, especially during shoulder seasons. The electrical backbone should emphasize reliability: a modest, efficient storage solution, safe charging, and a controlled power distribution plan that avoids overloading the system on a single long night off-grid. The water and waste plan, while compact, should function smoothly, with a simple route from a freshwater tank to the sink and a straightforward gray-water management approach. For the living area, modularity is a quiet hero. Beds that fold away, seats that convert into storage, and wall-mounted cabinets that keep the floor space clear contribute to a sense of roominess without expanding the footprint. This is where restraint serves momentum—the more you design around actual usage, the less you waste on features you won’t use or that won’t hold up on rough roads.
As you refine your plan, a focused set of planning questions can keep you grounded. How many people will travel regularly, and how might that number change over time? If two adults are the core crew with occasional guests, you’ll need a bed that can accommodate both, plus flexible storage and perhaps a compact desk area for work or planning. Will you camp in sites with electrical hookups often, or will you rely on solar and battery after sunset in wild places? The decision affects battery capacity, solar input, and the weight budget you can safely carry. When you ask about a kitchen, you’re asking about habit: a compact stove, a sink, and some cold storage can be enough for many trips, but purification and water carrying might become relevant if you plan to be off-grid for days at a stretch. If a bathroom is essential, you’ll need to evaluate space, ventilation, and waste management; if not, you’ll still want a hygienic setup that’s easy to maintain. A dedicated work zone can be non-negotiable for some travelers who rely on laptops or planning gear, which in turn shapes desk placement, electrical outlets, and privacy between living and sleeping zones. Writing down these conclusions in a simple schematic helps you stay aligned as you move into layout and construction. If you’re looking for ideas on storage and fittings while you refine the plan, you can explore the truck camper accessories page for practical inspiration and options. See truck camper accessories.
Finally, maintain a cushion for the unknown. A prudent margin prevents disruption when material costs shift, delivery times extend, or weight estimates require adjustment after a test fit. A well-defined needs list paired with a disciplined budget becomes the foundation for a reliable, comfortable mobile home rather than a hurried, error-prone project. Once you’ve documented your priorities and allocated funds, you can move forward with confidence to select a truck, determine whether to mount a camper shell or to build directly within the bed, and define the modular systems that will turn a cab and frame into a true home on wheels. The process rewards patience and honesty: the more your plan mirrors real-world use, the less you’ll pay later for changes, and the more your first road test will feel like a celebration of purposeful design rather than a compromise. For a practical, real-world budget walkthrough that walks through numbers and decision points in a complete step-by-step example, see this external guide: Budget Guide.
null
null
Designing the Flow: Crafting a Flexible, Safe Layout for a DIY Truck Camper
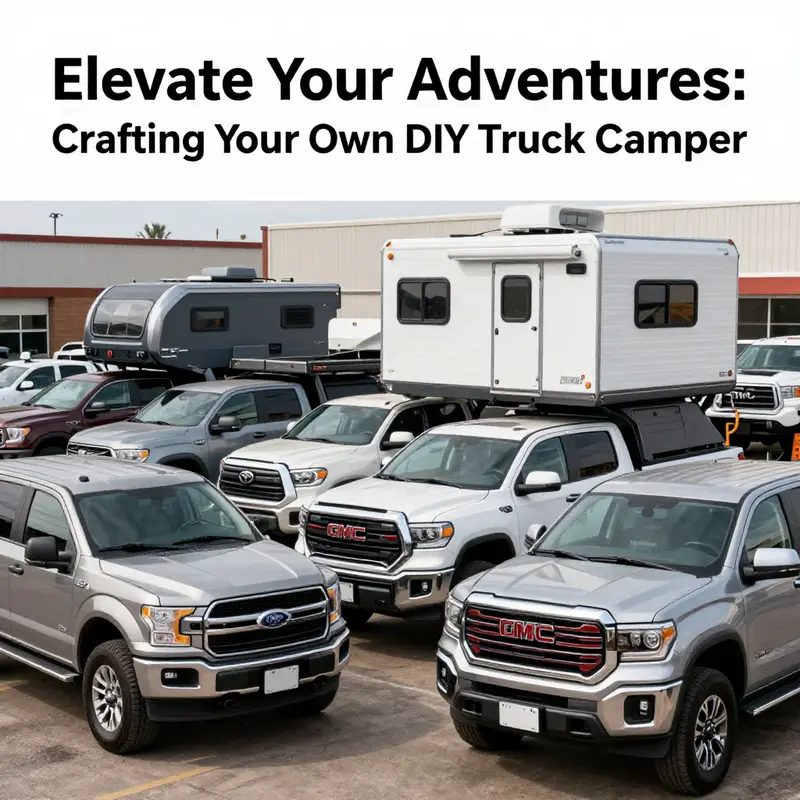
Designing the layout for a DIY truck camper is less about chasing the newest gadget and more about shaping a living space that breathes with your travel rhythm. It starts with a clear sense of how you intend to use the rig. Are weekend escapes the norm, or do you plan for longer stretches on backcountry roads? Your answer will steer decisions about bed size, kitchen footprint, work surface, and the balance of storage versus living space. The chassis you choose matters here, too. A truck with a flat floor, solid frame, and adequate payload creates a canvas that can better accommodate a stable sleeping platform, a compact kitchen, and the weight of a well-insulated shell. The layout must feel coherent from the moment you step out of the cab to the moment you slide the door shut at night. It should also invite the habit of movement—to access a drawer, open a hatch, or convert a seat into a workspace without a second thought. In practical terms, this means thinking in zones and in multi-functional furniture long before any panel is cut or screw is driven. This is not merely about clever hacks; it is about a design language that respects both comfort and safety, with every square inch earning its keep.
Choose the right platform as a starting point. A wide, flat floor makes a big difference for usable space and predictable layout. The goal is to anchor the interior so it remains reliable when the truck is in motion and when you’re settled in a campsite. The choice is not just about size; it’s about how the interior can ride the chassis without compromising weight distribution or clearance. A well-planned base helps avoid the all-too-common issue of a misaligned kitchen or a bed that shifts under braking. From there, your layout unfolds like a well-planned apartment on wheels. You begin to imagine the sleeping area at the rear for stability during travel, a kitchen and dining zone toward the center or front for balance, and a living or working nook in the remaining space. The rationale is straightforward: place the heaviest components low and centered, keep storage above or along the sides, and reserve the most flexible surfaces for tasks that change from trip to trip.
Smart zoning is the heartbeat of a practical design. The sleeping area deserves particular attention. A bed that can fold away or a sofa that transforms into a bed reduces the nightly footprint of bulky furniture and frees precious space for a morning routine. An L-shaped sofa that converts into a bed, or a flip-up bed that tucks away during the day, can offer a stable sleep surface without monopolizing the room color and flow. The kitchen and dining zone should anchor near the center for weight distribution and for ease of use when the vehicle is in motion or parked on uneven ground. A compact L-shaped kitchenette with a sink, stove, and a small fridge makes daily chores feel normal rather than compromised. In the front, the living area benefits from seating that can double as a working station, with swivel seats that can face each other or face outward for the view. Overhead cabinets, wall shelves, and door pockets maximize storage without eating into floor space. The trick is not to stack more than you can manage, but to choose pieces that can perform double duty and fit your habit of daily life on the road.
The furniture itself is the design tool. Multi-functional pieces can dramatically expand a tiny footprint. Picture a table that folds down to become extra counter space or a bed frame with built-in drawers and a hidden storage cavity. Wall-mounted appliances that fold away, like a compact pump faucet desk or a flip-down microwave, are the kinds of details that keep the space feeling calm and uncluttered. Consider building a bed frame with integrated storage drawers or a platform that lifts to reveal a storage cavity for bulky items like bedding or a spare toolkit. These decisions ripple through every line of the plan, influencing how you route wiring, plumbing, and venting. The goal is not only to pack in features but to ensure they feel natural and accessible in day-to-day life. Every panel should invite a new flow of habit rather than create a barrier between routine and adventure. When space is scarce, the ability to swap a dining surface for a work desk, or to slide a seat to reveal a charging hub, becomes a daily luxury rather than a compromise.
Ventilation and lighting tie the layout together, making it feel as much like home as any stationary room. A layout that relies heavily on sealed spaces without airflow quickly becomes stuffy. Large windows, roof vents, and efficient cross-ventilation strategies are worth prioritizing in the planning phase. The placement of windows should capture prevailing breezes while maintaining privacy and glare control. Lighting should be layered: ambient LEDs for general illumination, task lighting over the kitchenette, and soft, dimmable strips near the sleeping zone to set a mood for evenings and early mornings. The front area can benefit from flexible seating that doubles as a quiet workspace, with a lightweight table that folds away when not in use. A simple rule—keep circulation paths clear and ensure there’s a direct route from the cockpit to the back of the camper—helps maintain a sense of openness even in the smallest configurations.
Systems integration is the practical backbone of layout design. The electrical system must be planned around the heaviest loads and most frequent uses. A robust battery bank, a carefully sized solar array, and a sane inverter setup ensure that days of off-grid camping don’t require constant scurrying for a power source. The water system should be compact but sufficient for cooking and hygiene, with a freshwater tank, a small pump, and a simple gray-water plan. A portable or compact toilet option can be tucked away out of sight, while a shower idea might live as a fold-out bag or a minimal enclosure for occasional use. The key is to cluster utilities in a way that minimizes pipe and wire runs while maintaining easy access for maintenance. At the same time, plan for safety: proper venting for propane or other fuels, dedicated fuses and circuit breakers, and a tight, moisture-resistant seal along every edge where water could intrude.
Safety and compliance begin where the drawing board ends. Weight distribution is more than a consideration; it’s a performance issue. Distribute weight toward the center and keep heavier items low to reduce sway during travel. Ensure that seat belts on any seating area used while driving are present and functional, and verify that any modifications do not exceed payload limits. Materials chosen for walls, insulation, and flooring must be rated for their purpose and provide fire resistance where required. Thoughtful design should also accommodate access for maintenance, with clear panels for servicing the electrical and plumbing systems. The result should feel sturdy and trustworthy, not temporary. The best layouts anticipate the unexpected: a quick route to a fuse box, a hosed-off area for cleaning gear, and easy access to storage when weather demands retreat inside.
Real-world inspiration anchors the design in reality without locking you to a single path. Builders across the field have demonstrated how flexible zoning, coupled with multi-functional furniture, can transform a compact space into a surprisingly livable home. In recent layouts, readers and builders reference a range of approaches—from panoramic windows that flood the interior with light to integrated water and electrical systems crafted for off-grid living. For deeper planning and blueprint resources, see a comprehensive guide that compiles layout strategies, wiring diagrams, and practical checklists. This external resource provides a structured framework for translating your rough sketches into a plan you can execute with confidence: https://www.vanlife-pro.com/diy-truck-camper-layout-guide. If you’re seeking practical add-ons, mounting options, and clever storage ideas, the Accessories section can offer concrete starting points and context for how to attach, secure, and organize gear without compromising the flow of your interior design. For quick references and ideas on hardware and storage solutions, you can explore this locally focused resource: Accessories. The journey from sketch to road-ready is iterative; every trip teaches you something new about how space can work when it’s treated as a partner rather than a constraint, and that insight, in turn, refines the next version of the layout.
Framing the Home: Building the Interior Structure for Your DIY Truck Camper
Planning the Frame and Flow
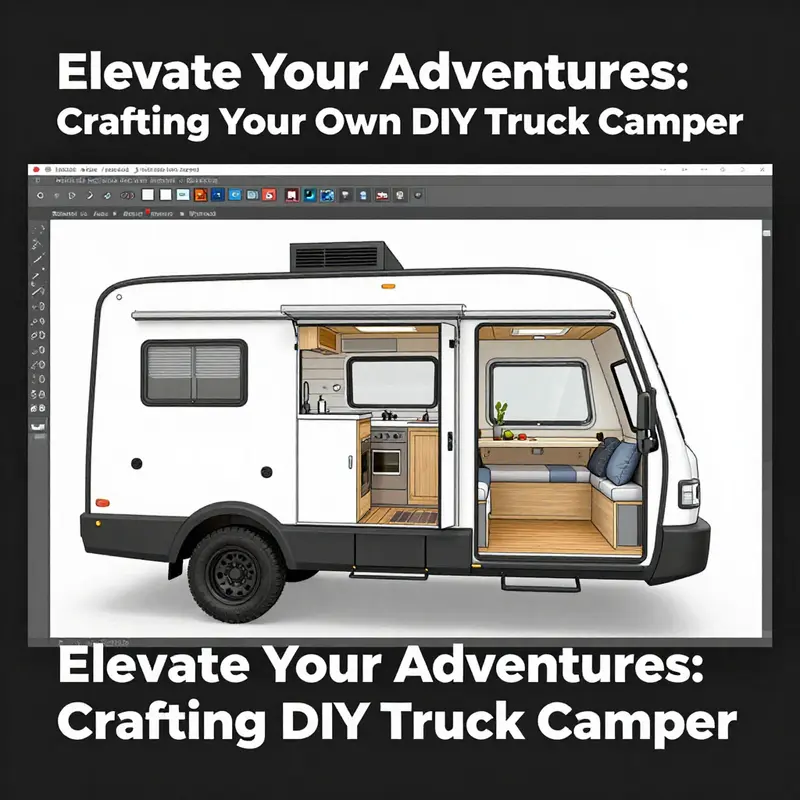
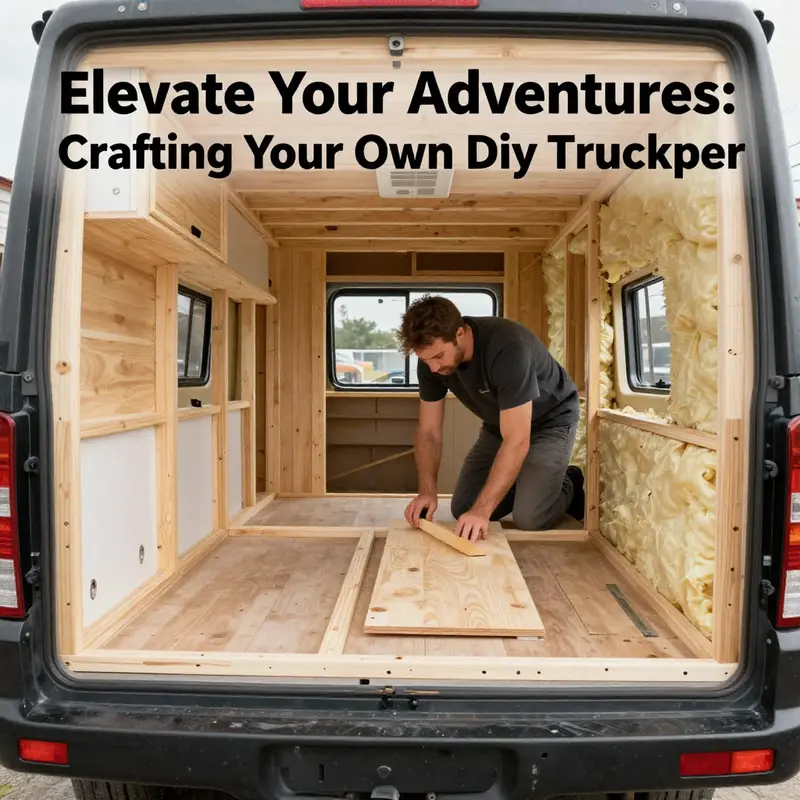
Building the interior structure of your DIY truck camper is where design meets reality. This stage turns sketches and mock-ups into a rigid, weatherproof living space. Start by committing to a practical layout. Walk through a full-scale mock-up using simple piping or taped outlines in your workspace. This quick, low-cost prototype reveals awkward clearances and shows how doors, cabinets, and the bed will interact with real movement. Use what you learn to refine dimensions and set priorities for comfort and safety.
Once the layout is validated, set up a basic framework. The goal is a strong skeleton that supports walls, cabinets, and appliances without stressing body panels. Frame members should anchor to factory load points or the truck bed rails where possible. If you can access the frame or reinforced mounting points beneath the bed, use those spots for major attachments. Avoid relying on thin sheet metal or non-structural panels. When drilling into the bed or body, reinforce cut edges with gusset plates or backing blocks to distribute loads and prevent fatigue.
Choose materials that balance weight, strength, and ease of work. Exterior-grade plywood is a common choice for internal framing and sheathing. Use thicker panels for load-bearing surfaces and thinner sheets for non-structural skin. Rigid foam board makes efficient insulation inside cavities and under floors. Apply a layer of sound-deadening material where road noise is an issue. Seal joints carefully with appropriate foams or gaskets to keep moisture out and to maintain thermal performance.
Think in zones rather than isolated boxes. Define sleeping, cooking, storage, and utility areas early. Group wet zones—the kitchenette and any hygiene fixtures—on the same side to keep plumbing runs short and manageable. Place heavy items low and close to the truck’s centerline to minimize impact on handling. Keep frequently used items within easy reach to reduce strain during daily use.
Create multifunctional elements wherever possible. A platform bed can hide large storage drawers and allow for a compact kitchen module up front. Fold-down tables mounted to the structure can serve as dining surfaces or workspaces. Use removable panels and hinged cabinets so you can access systems later for maintenance. Build with serviceability in mind; panels that unbolt give access to wiring, plumbing, and insulation without requiring a teardown.
Anchor everything. Cabinets, benches, and appliances must be fastened to the frame or to reinforced anchor points. Use through-bolts where feasible, combined with lock washers or thread-locking compound. For areas where through-bolts are not practical, glue combined with mechanical fasteners and blocking can be effective. Always consider the forces experienced during braking or cornering; attachments must resist sudden loads.
Integrate systems into the structure from the start. Plan routes for wiring harnesses and water lines before closing cavities. Leave chase spaces behind panels for 12V runs, solar controller wiring, and plumbing. Group electrical components on a single, accessible panel. Position batteries and inverters in ventilated compartments away from sleeping areas. Isolate house batteries from the vehicle starting battery using a proper isolation device to avoid unintended discharge.
When routing plumbing, keep the supply and drain lines on the same side of the truck. This reduces the number of holes through the floor and simplifies draining when temperatures drop. Mount tanks low and secure them with straps and saddles that are cushioned to prevent chafing. Provide an accessible drain or clean-out point. Consider removable or collapsible water containers for flexibility in small builds.
Ventilation must be part of the structure plan. Cut openings for roof vents and screened windows before finishing the interior. Reinforce roof cutouts with framing rings to prevent stress cracks and leaks. Install breathable barriers between insulation and the interior wall skin to control condensation. Include screened openings for passive airflow and space for fans if you plan to use them.
Flooring is another structural concern. Install a subfloor that isolates the bed of the truck from the living surface. Use a waterproof membrane and place insulation beneath the subfloor. Secure the subfloor to the bed using fasteners that engage into reinforced points, not just thin metal. Consider removable floor panels to access wiring and the fuel or storage areas beneath.
Safety considerations should shape every build decision. Size wiring appropriately for the loads and use fuses or circuit breakers at the source. Reinforce areas where you cut into structural metal. Check fasteners regularly and use thread-lock where vibration is a problem. Make sure any cutouts through the floor or walls include proper grommets or sleeves to protect cables and hoses.
Finish the structure with care to balance weight and durability. Lightweight composites and thin veneers offer a clean look without excessive mass. Round off sharp corners to reduce snagging during movement. Weatherstrip doors and service panels to keep dust and moisture out. Attach cabinets and shelves with captive fasteners so they remain secure under road vibration.
Build iteratively. Once structural elements are in place, test them under real conditions. Load storage areas and drive on rough roads. Listen for new rattles and watch for shifted items. Use those test runs to refine fasteners, add bracing, and adjust cabinetry. A truck camper that has been tuned on the road is safer and more pleasant to live in.
Finally, document your work. Mark where buried wiring and plumbing run and keep photos of attachment points and reinforcements. That record helps with future modifications and with troubleshooting in the field. Thoughtful framing done at the start makes the rest of the build faster and more reliable. It turns a pile of materials into a cohesive, functional home on wheels.
For storage ideas that pair well with interior framing, review this guide to truck box storage options: truck box storage options.
For a practical example of building a rugged trailer-style frame with integrated suspension and angle-iron construction, see this detailed external guide: https://www.instructables.com/DIY-Camping-Trailer-Using-Angle-Iron/
Wired for Adventure: Building Reliable Power and Water Systems in Your DIY Truck Camper
The essence of a practical truck camper is not merely the space you sleep in or the shelves you mount, but the reliability of two core systems: power and water. When these systems are designed with clarity and care, the rest of the build falls into place. A clean, dependable electrical backbone ensures safety and comfort, while a well-planned plumbing loop delivers the daily necessities without drama. The goal is a lightweight, resilient package that behaves predictably whether you are off-grid on a remote lakeshore or parked in a crowded trailhead lot. The approach blends proven techniques with modular thinking, so you can upgrade or reconfigure as your adventures evolve. Start with the premise that power and water systems should be capable, safe, and maintainable, then let that framework guide every choice from battery chemistry to the routing of hoses.
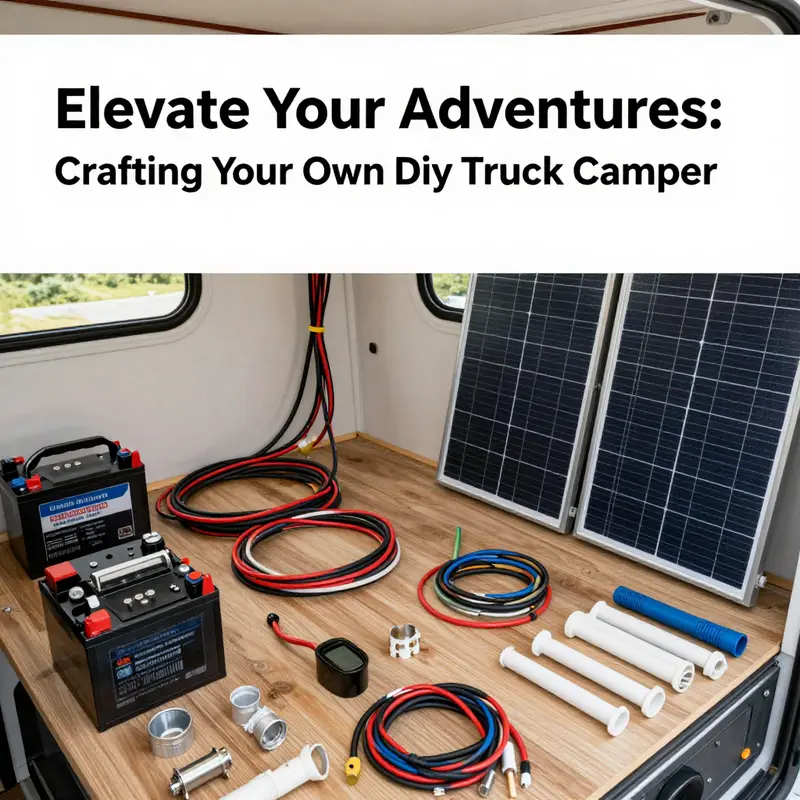
The electrical system can become the heart of the camper, not a tangle of wires. A modern, integrated power setup is particularly appealing for a DIY build because it consolidates energy storage, charging, and control into a compact, fire-resistant design. In practice, one compelling configuration supports up to ten additional power packs, expanding total capacity to around 22 kilowatt-hours, with a continuous output near three kilowatts. That kind of capability opens the door to running multiple devices at once—lighting, fans, a fridge, a small inverter for a laptop or blender, and even a portable heater on chilly nights. The key is to plan for both capacity and charging speed. Fast charging—from near zero to eighty percent in about forty-five minutes, and full recharge in roughly seventy-five minutes—means you spend less time plugged in or parked with the engine running, and more time exploring. The electrical core includes lithium-ion batteries, an inverter to convert DC into usable AC power, Type-C USB controllers for fast device charging, solar charge controllers to manage PV input, and automatic power switching to seamlessly prioritize sources of energy without user intervention. The whole package is designed to fit within a compact footprint, which matters when you are traversing tight forest roads or sharing a small cab with a pet or a partner. Compatibility with a standard 12-volt vehicle electrical system helps you integrate new hardware without reworking the entire truck’s electrical backbone, and dual-generator charging capability offers a safety net for extended trips where sunlight might be scarce. Above all, the design prioritizes safety. Proper fusing, robust circuit breakers, and clear labeling are nonnegotiable, because a DIY electrical system is only as trustworthy as its protection and maintenance routines.
From a planning standpoint, the placement of the power core matters almost as much as the core itself. The battery bank should be located where it is accessible for maintenance, but also protected from harsh environmental swings. A common strategy is to enclose the battery pack in a ventilated cabinet or a recessed compartment that benefits from natural airflow and, if possible, a small intake vent to prevent heat buildup during extended use. Heat is the silent adversary of battery life; excessive heat can degrade cells and diminish capacity over time. Cable routing deserves equal attention. Keep high-output DC runs tight and short to minimize voltage drop and heat. Use professionally rated battery cables, appropriate lugs, and secure junction points with grommets to prevent chafing from road vibration. The control system should centralize monitoring—voltage, current, state of charge, and temperature—so you can make informed decisions on when to run appliances, conserve power, or deploy a portable generator for a quick boost. To keep the living space calm and safe, insulate the battery compartment from cold drafts and dampness, and consider a small enclosure fan or passive cooling during hot days.
A practical, balanced installation considers both solar and alternating charging sources. Solar panels, typically ranging from two hundred to four hundred watts in a compact, roof-mounted array, can keep the system topped up during long sunny stints. If you drive daily, the alternator or a secondary generator can supplement solar input, especially during shoulder seasons when panel output dips. The beauty of the integrated system is the automatic power switching that prioritizes the active energy source and protects sensitive electronics from switching glitches. With the right setup, you can run a small fridge, LED lighting, a water pump, USB charging ports, and a laptop without drawing down the vehicle’s starter battery or compromising safety. In practice, many builders treat the electrical plan as a living document—you test, tweak, and add circuits as needs emerge. The Accessories page can be a handy reference for mounting hardware, extra outlets, and organizational options that keep cables tidy and accessible. Accessible here: https://trucksdiy.com/blog/accessories/
On the plumbing side, a clean, reliable water system begins with the fundamentals: a freshwater tank positioned to minimize weight transfer and a gravity- or pump-fed delivery system that keeps taps flowing without constant pumping labor. A typical freshwater tank holds roughly ten to twenty gallons, depending on your space, weight budget, and anticipated use. Gray water and black water tanks should be planned for separation and venting, with proper slope and drainage to prevent stagnation or odors. Durable materials—food-grade polyethylene for tanks or stainless steel for high-end builds—provide chemical resistance and long life. Insulation around tanks helps prevent freezing in cold climates, and insulated lines minimize heat loss and condensation. A small 12-volt diaphragm pump is a reliable heart for the water system, delivering consistent pressure to the faucet and any shower setup. A dedicated water filtration point at the inlet protects the entire plumbing run from sediment and contaminants, which is especially important when you refill from unfamiliar sources on the road.
In a compact camper, every inch counts, so the kitchen plumbing must be both simple and robust. A hand-pumped or pressurized system can feed a compact sink, and a compact, energy-efficient refrigerator keeps perishables fresh without constantly rummaging in a hot truck. For hot water, options range from a small on-demand heater to a simple solar shower arrangement for batches of quick rinses after a day outdoors. Plumbing lines—typically PEX or flexible tubing with quality fittings—should be routed away from heat sources and potential abrasion, with careful attention to eliminating cold-water pockets that invite bacterial growth. Where lines cross vibration-prone zones, secure lines with clips or cushioned fasteners to prevent wear over time. Venting is more than a luxury; it prevents odor buildup when the sink, shower, or toilet is in regular use. Keeping the system modular—easy to replace a faulty hose, swap a pump, or upgrade to a larger tank—helps future-proof the build, as your needs and the conditions you encounter on the road will inevitably evolve.
The bathing and cooking areas depend on reliable water pressure, predictable energy budgets, and safe waste management. A simple, well-insulated gray water path to a discreet drain reduces odors and contamination risk, while the black water system demands careful monitoring and venting. A compact camping toilet or a port-a-potty can be managed with separate waste tanks and a routine for disposal at appropriate facilities. The balance of simplicity and functionality is crucial here: you want a system that is easy to service in the field, not a maze of valves and unclear pathways. The alignment of the water system with the electrical plan matters, too. Pumps and heaters draw power; make sure circuits are sized to handle intermittent high loads without tripping breakers. Labeling and color-coding wires and hoses reduces the chance of accidental cross-connections during maintenance, and a small containment tray under the plumbing junctions catches drips and makes leak detection straightforward.
As with the electrical framework, safety remains paramount in the plumbing world. A CO detector remains essential, especially if your space relies on any form of combustion or battery-powered heating. A fire extinguisher should sit within easy reach in the living area, and an emergency shutoff for water and power can save time and space during a quick emergency. Regular checks are not just recommended; they are essential rituals. Inspect hose connections for signs of wear, test the pump under load, and verify that all drains operate freely. The goal is a system that feels invisible in daily use—quiet, steady, and dependable—so your attention can stay on the road and the view.
The beauty of a well-integrated electrical and plumbing ecosystem is how it liberates the rest of the build. You can design a sleeping area and a dining zone that don’t fight for power or water while maintaining a calm, uncluttered aesthetic. A modular approach lets you rearrange furniture or upgrade components without throwing the whole system into chaos. If you want to explore more about mounting solutions and other practical upgrades, follow the path to the Accessories page linked above. For those who crave deeper technical specifics on integrated electrical systems, additional external guidance is available. See the DJI resource for expansive detail on power management in mobile setups: https://www.dji.com. This external reference complements the hands-on, DIY ethos of the project, offering broader perspectives on compact, safe, and efficient energy configurations that can inform future enhancements to your own build.
Final thoughts
Building your own truck camper not only offers mobility and freedom, but it also allows business owners to craft a space tailored exactly to their specific needs—whether for travel, work, or outdoor adventures. With careful planning and execution through the steps outlined, you can create a functional and personalized mobile living environment. Embrace the journey, and remember that each custom detail reflects your unique taste and lifestyle. Happy building!