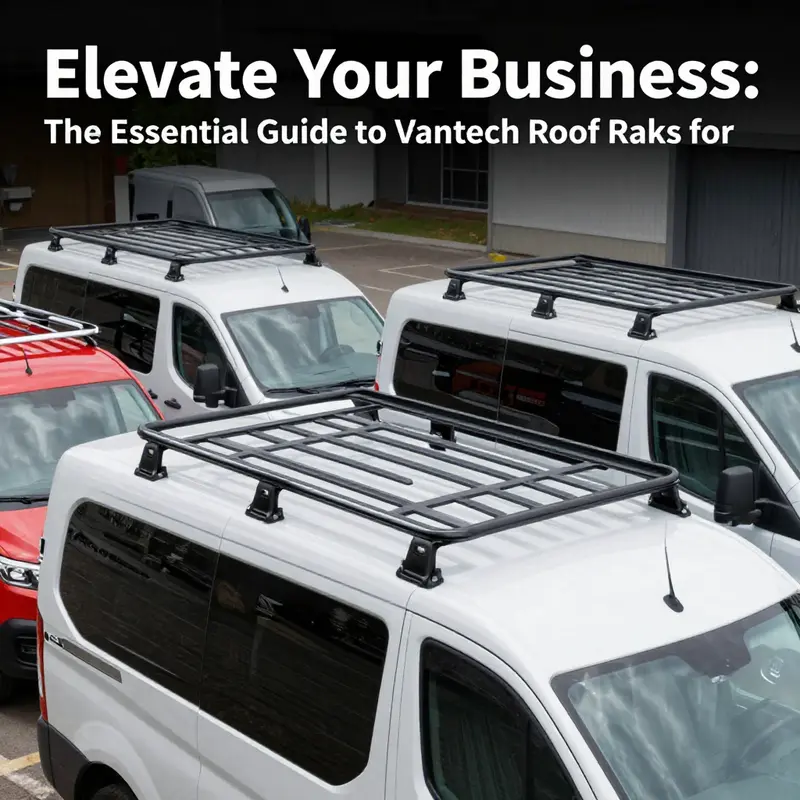
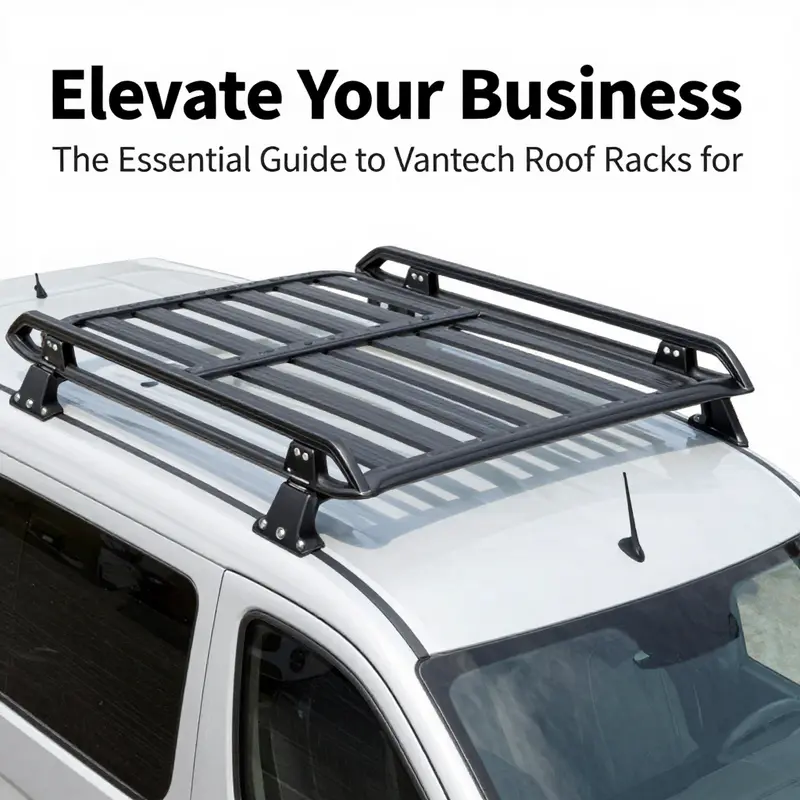
Business owners consistently seek innovative solutions to enhance the efficiency and functionality of their operations. One such solution is the Vantech Roof Rack, designed specifically for vans, which plays a pivotal role in maximizing cargo space and ease of transport for various tools and materials. This guide will delve into the intricate details of Vantech roof racks, including an overview of their specifications, the installation process, durability and material quality, cost analysis, and real customer feedback. Each chapter aims to equip you with a comprehensive understanding of how Vantech roof racks can benefit your business by optimizing vehicle performance.
null
null
Raising the Roof: A Seamless Installation of a Ladder Roof Rack on Your Van
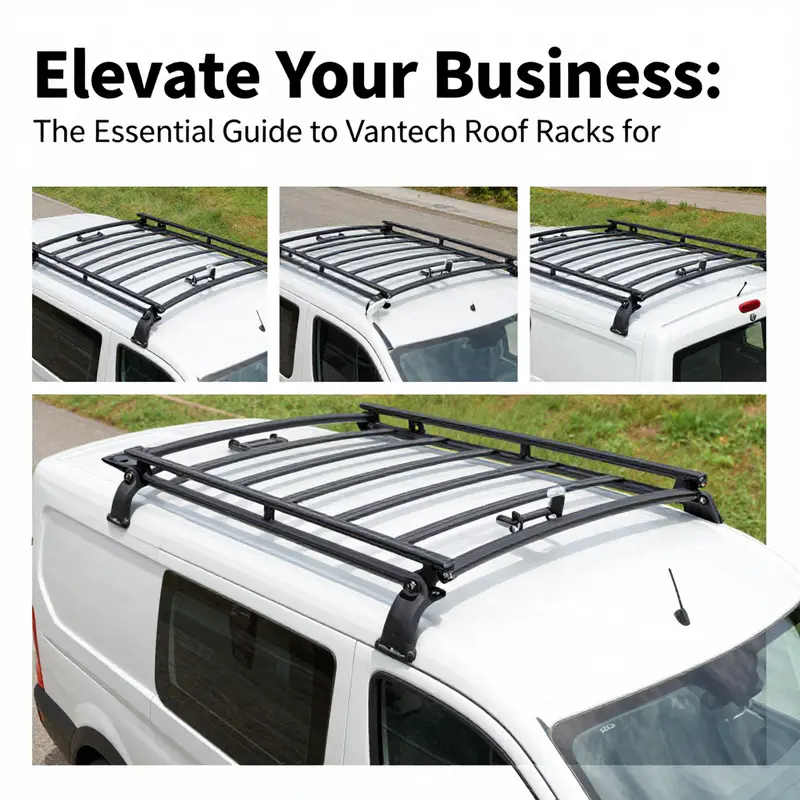
A solid, well-mounted roof rack can transform a van from a simple cargo mule into a capable expedition tool. It unlocks the potential of every mile on the road, whether you’re moving tools between jobs, carrying bikes for a weekend escape, or stacking long pieces of lumber above your cab. The installation philosophy for a ladder-style roof rack is simple in idea but exacting in practice: alignment matters, secure fasteners matter, and every joint must behave as a single, rigid frame when loaded. The result is a system that stays put through wind, vibration, and rough pavement, while leaving the interior unobstructed and the vehicle’s center of gravity well managed. In the following narrative, the focus is on a ladder rack configuration designed for vans, a setup that has earned a plain-spoken reputation for reliability among professionals and DIY enthusiasts alike. The language stays practical and precise because a successful install is less about flair and more about disciplined preparation, clean measurements, and methodical tightening. For readers seeking broader context on the system and the company’s broader lineup, see the dedicated resource on the official hub: Vantech USA. This chapter walks you through the core steps, the cautions, and the mindset that keeps a roof rack performing at peak when it’s needed most. The steps mirror the sequence commonly recommended by manufacturers: secure the upright feet to the rails, attach the crossbars to form the backbone, and finally lock everything in with end rails. The exact hardware, torque values, and any vehicle-specific quirks will come from the installation guide supplied with the kit, and the reader should always cross-check those figures before finalizing any torque. While the focus here is on the ladder rack concept, the underlying logic—precise alignment, clean mounting surfaces, and incremental tightening—translates across most van roof rack systems.
Begin with a clean workspace on top of the van. Ensure the roof surface is free of debris, grease, or any existing sealant that could interfere with a solid clamp. The upright feet, which anchor the entire system to the vehicle, are placed onto the roof rails or mounting areas that the manufacturer designates as the primary load-bearing points. A careful approach starts with reference marks. Use a measuring tape to confirm the distance between left and right feet and verify that the feet are square to the van’s longitudinal axis. This is not a decorative step; a few millimeters’ misalignment can translate into crabbing that becomes more pronounced as loads accumulate. Once you are confident in alignment, begin securing the upright feet with the hardware provided. Lightly snug the fasteners at first, allowing for minor adjustments as you level the feet side-to-side and fore-aft. The aim is to achieve a rigid, flat interface between each foot and the roof, with no gaps under the clamp plates. The first tighten is to hold position, not to final torque.
With the upright feet anchored, the crossbars come into play. The crossbars are the backbone of the system, spanning the uprights to create a stable, continuous track for the cargo you plan to carry. Position each crossbar so that its jigs and grooves align with the corresponding slots or mounting holes on the upright feet. The installer should check for parallelism along the entire length of the rack. A quick plumb check by sight is useful, but the more reliable method is to measure from a central point on each crossbar to a fixed reference on the upright. If anything looks skewed, you can slide the crossbars along the uprights and re-check until the lines run true. Once alignment is verified, attach the crossbars using the manufacturer-supplied bolts or nuts. The torque specification for these fasteners is not merely a suggestion; it is a designed limit that ensures joint stiffness without over-stressing the roof system. Use a torque wrench and work in stages, gradually increasing torque in a pattern that tightens each point evenly. The idea is to compress the fasteners without inducing binder or warp in the crossbar assemblies.
After the crossbars have been secured, it is time to install the end rails. End rails are more than cosmetic finishes; they are crucial for lateral stability and for sealing the system against wind-induced movement. The end rails should align perfectly with the ends of the crossbars and sit flush against the uprights. When you fasten the end rails, repeat the same discipline of incremental tightening and uniform contact. The edges should not protrude or sit high relative to the crossbars, and the rails should not buckle under finger pressure. A common source of disappointment in early installs is an end rail that binds or sits unevenly because of a slight misalignment carried forward from earlier steps. If that happens, backtrack one stage, loosen the relevant fasteners to re-check alignment, and then re-tighten in a controlled sequence.
These steps—feet to rails, crossbars to uprights, and end rails last—form a progressive assemblage, each stage building a stiffer, more predictable structure. But the practical install is not complete once you leave the garage. The real test comes after the first drive with a real load. At this moment, a few quick checks can save hours of adjustment later. Perform a thorough walkaround: verify that all fasteners remain snug, confirm that nothing has shifted since the last tightening, and test the rack by applying modest manual loads at various points along its length. If a fastener loosens, the rack will begin to chafe against the rails or exhibit a small, creeping movement. This is a signal to re-torque and re-check. The goal is not just to install a rack, but to establish a maintenance-ready interface that continues to behave as a single, rigid assembly through months of use.
The installation also demands respect for the vehicle’s structure and its weather-exposed environment. A rack system is an external weight distribution device and must be treated with care. Avoid drilling into the roof or opening unnecessary holes without clear, vehicle-specific guidance; many ladders and rack systems rely on pre-existing rails and assemblies that are engineered to distribute load in a particular way. If your kit includes drilling, it is essential to follow the exact bit sizes and hole patterns. Use anti-seize compounds on threaded fasteners only if the manufacturer explicitly permits, and never substitute hardware based on a hunch. The assembly should be tested first with light loads to gauge behavior before hauling heavier items. After the initial weeks, perform a routine inspection schedule to ensure the system remains secure and level. A well-installed ladder rack should not present a notable wind whistle or a perceptible shift in alignment when the vehicle is driven at highway speed. If such symptoms appear, it is a sign that a re-check and likely re-tightening are necessary.
A well-executed install also reflects a conscientious approach to tools and workspace. Gather your torque wrench, a reliable ratchet, and the correct size sockets that match the fasteners. Keep a small flashlight handy to inspect hard-to-reach joints. When your hands are crowded with hardware, place fasteners in a labeled tray to prevent misplacements. Implementation consistency helps maintain reliability; this is the kind of detail that professional installers emphasize when they describe what makes a cargo system stand up to daily use. The process rewards patience. It rewards careful measurement. It rewards a mindset that sees the roof rack not as a temporary add-on but as a system that shares the vehicle’s integrity.
In writing about this topic, it’s important to acknowledge that even a well-done install benefits from reference to manufacturer guidance. The official installation guide provides diagrams, part identification, and safety tips tailored for the ladder rack configuration. Following that resource ensures you use the exact torque specifications and sequence, and it helps avoid mistakes that could compromise the roof or the rack. For readers who want a broader sense of the brand’s approach and its other offerings, the linked hub serves as a concise primer and directory for related installs and accessories. The channel’s focus on the installation workflow resonates across different vans and rail configurations, which is why the steps described here feel familiar to anyone who has performed a similar mounting exercise on a compact cargo van or a larger commercial unit.
Finally, while the mechanical steps above describe the core sequence, the installation is more than a one-off task. It is the start of a long-term relationship with your van’s exterior hardware. The right rack system, installed with care, makes every journey more efficient, more organized, and more capable of accommodating the tools and cargo that keep your business moving or your adventures rolling. The key value of a ladder rack in a van is the confidence it provides: that whatever you’re carrying will stay secure, that the system itself will endure, and that the installation didn’t merely attach hardware but created a reliable platform for years of use. For readers who wish to explore related topics and community insights, consider visiting the broader install and accessory discussions that share practical experiences, including setups that emphasize compatibility, load distribution, and maintenance practices.
External resource for deeper guidance: https://www.vantech.com/support/installation-guides/vantech-h2-1-roof-rack-installation-guide/ .
null
null
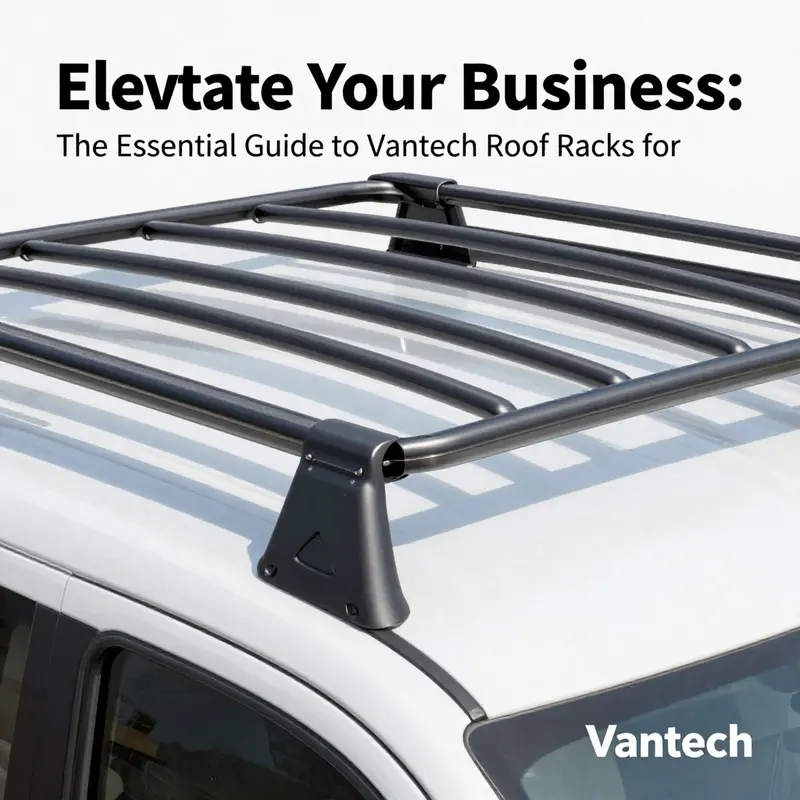
Raising the Roof: Understanding Value and Cost in Van Roof Rack Systems

Raising the roof on a van is more than a matter of extra cargo space. It is a decision that blends practicality, durability, and the kind of economic calculus that fleets and solo operators must navigate before committing to a hardware upgrade that sits atop their ride. A van roof rack, in essence, is a blending of engineering, material science, and logistics. It must be strong enough to bear heavy loads, resilient enough to endure wind, weather, and rough urban routes, and affordable enough to justify its inclusion in the daily costs of operation. For anyone charting a clear path toward expanding a vehicle’s carrying capacity, the pricing landscape is as important as the build. It sets expectations for what you gain in return and how quickly that return is realized through hours saved, fewer trips, safer loading, and better fleet utilization. The spectrum of options starts broad and moves toward specificity, with universal solutions on one end and van- or model-specific systems on the other. The most visible truth is that, regardless of the brand or the model, higher price points tend to track with certain durable qualities: heavier construction, precise fit, multi-bar configurations, and robust mounting systems designed to resist vibration and corrosion. Yet price alone does not tell the whole story. The right rack for one vehicle might be underwhelming on another, because the real value comes from how well the roof rack integrates with a given van’s geometry, weight distribution, and the way it is used in daily practice. In this sense, cost becomes a proxy for a broader set of benefits that accumulate over time: faster loading, safer stowage of long equipment, and the ability to scale operations without adding a second vehicle or returning to a warehouse for a second trip. The pricing spectrum mirrors this logic and can be read like a map of use cases, from casual weekend adventurers to fleet operators moving tools and supplies across wide service areas. A basic universal option, often the entry point for price-conscious buyers, can start around a modest figure. It is enough to deliver basic compatibility and a footprint that fits a wide range of vans. As soon as a customer looks for more than a bare-bones solution—more bars, higher load ratings, more secure mounting, and a finish that withstands daily wear—the price begins its gradual climb toward a different tier, where the engineering and manufacturing choices begin to bite into the cost. In practical terms, a three-bar ladder-style rack system intended for cargo vans can sit in a mid-range, reflecting a balance between capability and affordability. Even within this mid-range, there is a noticeable delta between a system priced in the low five hundreds and another that crosses into the mid-five hundreds, especially when discounts and promotions apply. These numbers are not mere numbers; they illustrate a story of heavier steel components, more substantial aluminum elements, smarter mounting hardware, and more rigorous testing to ensure that the rack remains rigid under load and wind. The economics of efficiency are part of the value equation. A well-chosen rack reduces the number of trips, speeds up loading and unloading, and minimizes the need for temporary storage space or off-site staging. These time savings translate directly into labor cost reductions and, for fleet operators, a lower total cost of ownership. It is this interplay between upfront investment and long-term savings that makes the evaluation of a roof rack more nuanced than a quick price comparison. While universal racks offer broad compatibility, the real value often lies in how precisely the rack matches the vehicle’s roof contours, anchor points, and available clearance. A model-specific or van-specific configuration may demand a higher initial price, but it frequently pays off through a snug fit that minimizes vibration, reduces wear on mounting points, and simplifies installation. For many buyers, the decisive factor is the balance between durability and ease of use. The materials themselves—steel for strength and aluminum for lighter weight—play a central role. Steel provides robust load-bearing capacity and resilience against impacts, while aluminum helps keep the overall roof load manageable and the installation slightly easier. This combination is common in commercial-grade racks, where life on the road means exposure to rain, salt, and the daily grind. The resulting value is a function of several intertwined elements: load capacity, structural rigidity, ease of installation, weather resistance, and the long-term maintenance profile. A rack designed with robust fasteners, corrosion-resistant finishes, and a thoughtful drainage plan around mounting points will often outperform a cheaper option that saves money upfront but invites maintenance headaches later. Fleet managers in particular weigh these considerations through the lens of downtime and service cycles. A properly installed, durable rack translates into fewer service calls, less downtime for repairs, and a longer service life. It also improves safety by ensuring that tools, ladders, and other equipment are secured and accessible without blocking sightlines or compromising aerodynamics. It is not only about what the rack can carry, but also how it supports the operator during loading: how easily long items can be slid into position, how stable it remains when doors are opened, and how well its design reduces the risk of shifting cargo during transit. Given the variability in vehicle bodies—from compact cargo vans to taller high-roof configurations—the choice often boils down to fit, weight distribution, and the ability to integrate with other cargo-management systems. A universal option might attract a lower upfront price, but the lack of a perfectly tailored fit can lead to compromises in security or in load efficiency. Conversely, a tailored, van-specific rack tends to command a premium that reflects the extra engineering required to address a particular roof profile, mounting geometry, and clearance with door frames or roof rails. The decision is rarely about a single factor; it is about the confluence of fit, strength, ease of installation, maintenance, and the burden of total ownership across years of use. To put this in practical terms, consider the range of pricing and what it implies for different users. A basic universal system can deliver essential functionality at the outset, which is attractive to a homeowner or a small business testing the waters. A step up—with more bars, reinforced construction, and a better grade finish—begins to address more demanding use in environments where ladders, long pipes, or bulky cargo are a routine part of the job. A more premium pathway may involve a lightweight but high-capacity configuration designed for heavy daily use, where the system bears near-maximum load regularly. In such cases, the premium price is tied not just to the raw materials, but to the combination of weight ratings, smoother installation experience, and longer-term reliability. The price-to-value equation also includes installation costs, which can vary by vehicle type and the complexity of the roof. Some racks mount with simple clamps or bolts, requiring only basic tools and a modest amount of time; others call for more involved hardware, roof reinforcement, or specialized mounting kits. A straightforward installation reduces labor costs and accelerates the return on investment. Maintenance costs, while often modest, should be anticipated as well. Routine checks for mounting hardware tightness, corrosion in mounting brackets, and wear on protective finishes can extend the life of the rack and preserve its performance. In practice, a careful buyer will weigh the upfront sticker price against the likely maintenance profile and the expected lifespan of the rack, all while considering how the additional capacity weighs against the vehicle’s center of gravity and fuel efficiency. The affordability picture becomes even more relevant when one factors in the broader context of vehicle use. For fleets running multiple vans on the road daily, the ability to consolidate tools and materials on the roof can eliminate extra trips and reduce the need for a second or third vehicle. The operational savings can be meaningful over the life of the fleet, particularly when the racks are chosen with attention to load distribution and ease of access. This is where the value proposition reveals its full texture. The same rack that helps a technician carry ladders and conduit today could support a different mix of equipment next season, adapting to shifts in service lines or changing customer demands. The flexibility to reconfigure and reuse equipment is a form of value that is often hard to quantify but highly regarded in careful cost accounting. In the end, the decision rests on a clear assessment of need, fit, and the total cost of ownership. It is about recognizing that a roof rack is not a mere accessory but a working tool that interacts with a vehicle’s entire ecosystem—payload capacity, fuel economy, access, and safety. For readers curious about the specific configurations and current pricing trends in this category, the broader body of industry coverage shows how the market segments differ by fit and purpose. A detailed examination of the offerings highlights how universal solutions meet broad use cases while van-specific systems tailor the geometry for optimal performance. You can explore a dedicated resource that surveys this landscape and provides context on how these racks are discussed in professional circles, including an article that focuses on the brand’s range and market positioning: Vantech USA coverage. As you move from this overview toward a concrete buying decision, keep in mind that the most important factor is how well the rack serves your workflow, rather than how much it costs at the outset. The right choice aligns with your load profile, your vehicle’s geometry, and your willingness to invest in a solution that reduces risk while expanding capability. For those seeking the most specific case studies and price breakdowns in current offerings, a public profile of the category reveals a spectrum of configurations and discounts that reflect a mature market committed to durability and value. The external resource below offers concrete pricing data and model descriptors that ground this discussion in real-world numbers. External reference: https://www.vantechusa.com/products/h1-series-3-bar-ladder-roof-rack-system-for-box-trucks-side-mount
Rugged Reliability on the Roof: Real-World Feedback and Performance of VanTech Ladder Racks for Vans
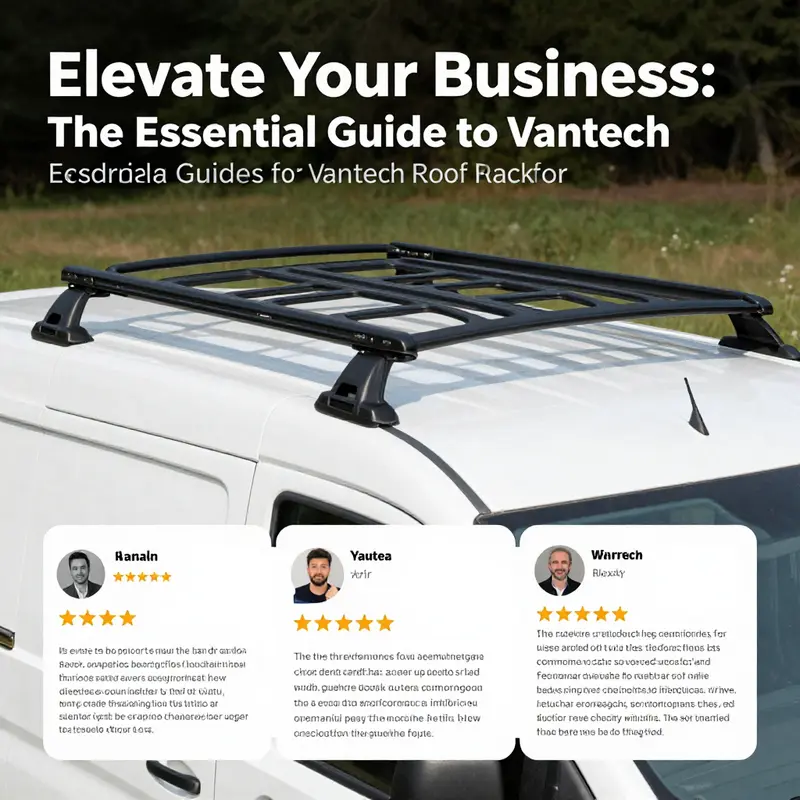
A roof rack is more than an accessory on a van; it is an investment in capacity, efficiency, and the kind of workflow that carries a business, a hobby, or a family’s explorations across long stretches of road. VanTech, a brand known for its ladder rack line, positions these systems as a practical solution for expanding a van’s cargo envelope without sacrificing interior space. The core idea behind their ladder racks is straightforward: mount robust rails and supports on the roof to convert underutilized upper space into a versatile platform for ladders, lumber, boxes, and other tall or bulky items that would otherwise crowd the cabin or eat into the trailer you might otherwise haul. This chapter looks at how real buyers experience these racks in daily use, what their feedback reveals about performance, and how such hands-on impressions help prospective buyers calibrate expectations before they commit to a roof-mounted cargo solution.
The design philosophy behind a two-bar ladder rack, as described by users and manufacturers alike, emphasizes two things: strength and simplicity. The racks are built to bear substantial loads along the roof plane while staying within a footprint that minimizes wind resistance and busy traffic on urban streets. In practice, that means a system with sturdy crossbars, dependable fasteners, and a mounting interface that prompts straightforward installation on a wide range of van and cargo configurations. The purchasing decision for many buyers hinges less on frills and more on whether the system can deliver reliable extra space, keep the material dry and secure, and withstand the day-to-day bumps of a work life on the road. Within that frame, customer feedback has consistently highlighted two themes: durability and ease of installation.
A recent user observation captured the essence of how many buyers evaluate resilience. They described the two-bar heavy-duty rack as tough and flexible in practice, noting that it was easy to install and immediately functional. The sentiment threads through many comments: the rack does not feel flimsy or fragile after initial mounting; instead, it seems capable of resisting the kind of repeated handling and exposure that come with frequent loading and unloading routines. The reviewer who shared this experience emphasized a strong personal satisfaction, closing with a statement that underscored brand trust: a declaration of affection for the rack and the company behind it. That kind of language—short of a formal warranty or test—speaks to a broader consumer trust that develops when a product meets practical needs without sensational claims. The takeaway for readers is simple but potent: a well-constructed two-bar ladder rack can become a dependable partner in daily operations, especially when the mounting hardware aligns cleanly with the vehicle’s roof structure and when installation steps are clear enough for a non-specialist to complete in a modest time window.
Another review adds texture to the conversation by focusing on the packaging, completeness, and outright loading capability. The user described a particular heavy-duty model as solid and reasonably easy to install. Importantly, they reported that all parts arrived as expected and were well packaged, which matters for installation anxiety and long-term maintenance. The practical outcome they cited was that the system successfully supported an eight-foot ladder without issue. While this anecdote does not replace laboratory-grade measurements or crank-load tests, it does convey a meaningful signal about how the product behaves under real-world conditions: solid construction, thoughtful inclusion of required hardware, and the capacity to secure tall, unwieldy items with confidence. In an industry where many buyers juggle multiple roles—field operator, installer, and driver—such reviews matter because they point to a predictable setup process and a reliable hold that does not require constant tweaks after the first few uses.
Taken together, these experiences sketch a picture of performance that resonates with a broad user base. They suggest that, in everyday work and life on the road, the primary advantages are tangible: the ability to extend cargo capacity without sacrificing interior space, a mounting system that can be installed without specialized tools, and a level of ruggedness that survives the rough edges of daily use. Yet, as with any equipment designed to shoulder heavier loads, the pictures painted by user feedback have their limits. The shared anecdotes rarely delve into precise load capacities, long-term wear patterns, or the effects of high wind at highway speeds over months of operation. The absence of granular metrics means that buyers must supplement personal experience with official specifications or third-party reviews if they require hard numbers for compliance or safety considerations. In this respect, the user conversations illuminate a crucial nuance: while the racks appear to perform well in typical scenarios, they leave room for additional data that would demystify peak capacities and endurance under adverse conditions.
Within the broader market of roof-mounted cargo solutions, the two-bar ladder rack family is positioned as a practical middle ground. It targets users who need to maximize on-site storage without committing to elaborate, modular systems or heavy retrofit installations. The emphasis on universal compatibility across various van configurations aligns with a common buyer concern: will this rack fit my vehicle and not interfere with doors, sunroofs, or antennae? The feedback collected points toward a favorable answer: in the experiences shared, installation ease and a clean, secure mounting approach consistently surface as strengths. This matters because a straightforward installation reduces the risk that the rack will be left unused due to a complicated setup. If the process feels approachable, owners are more likely to utilize the rack regularly, which is the true measure of value for any roof-mounted cargo solution.
For readers who want a broader context beyond individual anecdotes, there is value in exploring a concise overview of the brand’s ecosystem and product strategy. A focused resource highlights how the company frames its roof rack lineup, the types of vehicles it targets, and how the components interoperate with other accessories in the system. This chapter doesn’t dwell on the specifics of model numbers or vehicle compatibility charts; instead, it invites readers to see how a practical, user-centered approach translates into tangible benefits on the road. To explore that broader picture, see the Vantech USA overview, which serves as a gateway to understanding how these products fit into a larger framework of roof-mounted cargo solutions. Vantech USA
As buyers weigh options, another layer of consideration emerges from the historical context in which these racks exist. Van life and professional trades rely on modularity and quick adaptability. A roof rack that can accept a ladder, long beams, or large tool cases without reconfiguring the entire system contributes to a smoother workflow. The user feedback aligns with this logic: the racks are robust enough to hold tall items securely, yet flexible enough to accommodate different loads with little fuss. The sense of reliability these impressions convey matters as much as any numerical specification, because it translates into predictable behavior across a spectrum of real-world tasks—from trimming a roofline on a job site to stacking camping gear for a weekend expedition. In this light, the two-bar ladder rack becomes not only a storage solution but a facilitator of momentum—an enabler of steady, uninterrupted work and travel.
Of course, readers should temper these qualitative impressions with an awareness of what is not explicitly documented in the reviewed feedback. The absence of quantitative load ratings, long-term durability indicators, or standardized testing results means decisions should lean on official specifications and independent reviews where possible. If a buyer requires precise performance metrics, looking up the official product pages or consulting third-party testing platforms can fill those gaps. Meanwhile, the positive narrative that emerges from customer comments—ease of installation, perceived sturdiness, and reliable packaging—provides a practical baseline: a two-bar ladder rack, when installed with care and used within reasonable limits, appears to deliver the on-road freedom that many van owners seek. For anyone evaluating a roof rack as an increment to daily operations, these reflections offer a grounded perspective anchored in real-world usage rather than marketing claims alone.
External resources can complement this chapter’s perspective by linking to direct specifications and current product lines. Readers who want to verify details or see updated models will find that the official site serves as the most authoritative point of reference. External resource: https://www.vantechus.com
Final thoughts
The Vantech Roof Rack represents a significant investment for business owners looking to enhance their cargo management solutions. With detailed specifications ensuring durability, a straightforward installation process, a reasonable pricing structure, and positive customer feedback, it is evident that Vantech roof racks are designed with practical application in mind. As you consider optimizing your van for better efficiency, investing in a Vantech roof rack can significantly improve your business operations and transportation capabilities.