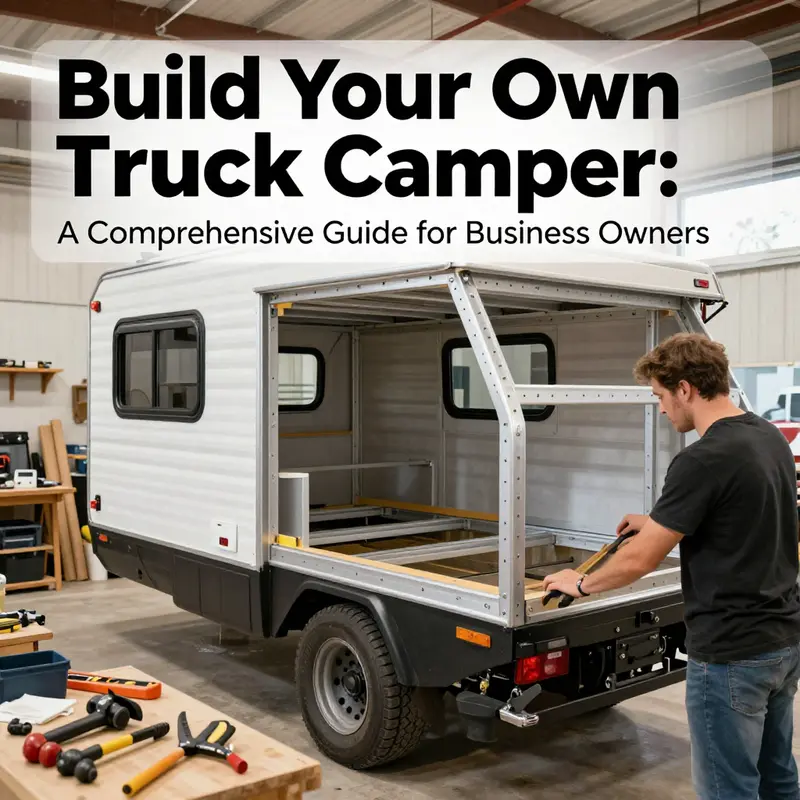
Building a homemade DIY truck camper can be a game-changing project for business owners looking to enhance their mobility and work-life balance. Whether you’re seeking a unique travel solution for remote work or a versatile space for business on the go, crafting your camper allows for personal touches that better align with your business lifestyle. This guide details each stage of the building process, from assessing your specific needs to ensuring legal compliance. Stay tuned as we explore defining your needs and budget, choosing the right truck platform, designing your camper, the step-by-step build process, and adhering to safety regulations.
Mapping Your Home on Wheels: Defining Needs, Scope, and Budget for a DIY Truck Camper
Every great DIY truck camper starts with a clear compass. Before you cut a single piece of wood or bend a single aluminum strip, you must map out your needs, your lifestyle, and your budget. The goal is not to chase a perfect model but to sculpt a vanishingly practical home on wheels that moves with you rather than dragging you down. Start by imagining your everyday life on the road. Are you chasing weekend escapes with quick setups and light loads, or do you intend to live off the grid for weeks at a time? Perhaps you want a balance that can flex between solo trips and occasional companions. Answering these questions upfront creates a foundation that guides every subsequent choice. It shapes the size of your bed, the level of insulation, the capacity of your water and power systems, and the kind of storage that will keep your space calm rather than chaotic after a long day of travel. When you begin with purpose, the rest of the plan becomes less about chasing features and more about delivering reliable comfort within real limits.
Purpose largely dictates the footprint you’ll be willing to accept. Weekend getaways reward light construction and swift setups. If your trips are short, a compact bed platform, a small kitchenette, and a few overhead shelves can deliver the essentials without adding unnecessary weight or cost. Long road trips change the lens. Comfort becomes a priority, and you’ll want more robust ventilation, better insulation, extra seating, and a capable water system. Full-time living shifts the entire equation toward reliability and energy independence. You’ll be balancing year-round climate control with ample storage, a dependable kitchen, and a compact bathroom solution. As you refine your purpose, draft a simple table or sketch that lists must-haves versus nice-to-haves. This is not a shopping list; it’s a design brief that keeps you anchored when temptations arise. To make the process actionable, consider your average season, your typical climates, and the number of travelers you expect to join you. If you plan for four seasons in a compact shell, your insulation, heating, and storage strategy will need to be notably stronger than for a milder climate with solo adventures. The more you define upfront, the fewer expensive pivots you’ll endure later.
Size and layout flow directly from purpose, but they also hinge on a practical accounting of weight and space. A compact, solo-friendly design can squeeze a surprisingly comfortable living area into a tight rectangle, leaning on multi-functional furniture and clever storage. A two-person layout, however, demands thoughtful zoning: a sleeping zone, a dining area that converts to a second bed, and kitchen storage that doesn’t steal room from movement. When considering occupants, remember that every added occupant compounds the need for ventilation, climate control, and waste management. There’s a notable trade-off between interior volume and exterior drag, as well as the truck’s payload limits. A common, sensible approach is to model three configurations—solo, duo, and small group—and compare their weight budgets and equipment lists. This exercise helps you see where compromises are unavoidable and where you can gain meaningful comfort without blowing the budget. It’s not just about square footage; it’s about usable space. A bed that folds into a sofa, a table that stows flat, and vertical storage that does not intrude on walking paths can make a small camper feel spacious while staying within a realistic footprint. The layout design also informs how you route plumbing and electrical lines. If you know where your primary power and water lines will run, you can design wall sections and floor panels with clean channels that minimize heat loss and moisture risk. A practical design habit is to pre-visualize the routes of major systems in tandem with the furniture layout. This reduces the chance of rework and helps you keep critical components accessible for maintenance. For those who crave a visual guide, a quick sketch or a simple 3D mock-up can prevent costly miscalculations without locking you into a rigid plan. Inside this planning stage, you’ll also determine your approach to materials. Lightweight, durable options reduce the energy drain on your vehicle and improve performance on the road. Think along the lines of marine-grade plywood, aluminum, and high-quality insulation. You don’t need extravagance to achieve a durable shell; you need consistency, weather resistance, and ease of maintenance. A robust core plan also informs your choice of windows, doors, and ventilation—the elements that make a small space livable when you’re parked for days and moving only when the sun shifts.
Budget is the practical backbone that either unlocks ambition or curbs it with a quiet but firm hand. A well-planned budget starts with a candid assessment of resources and a schedule for investment. You can build an entirely functional camper with modest materials, but you’ll live with trade-offs that affect comfort, durability, and convenience. Begin by listing non-negotiables—the features that will define your daily life on the road. These may include a decent sleeping surface, reliable insulation, and a basic cooking setup. Then identify a second tier of amenities that would be nice to have if budget allows, such as a bigger fridge, more robust electrical storage, or a more expansive water system. Finally, note the luxuries that would be nice but aren’t essential. This tiered approach helps you allocate funds where they matter most while preserving room for future upgrades. A practical budgeting mindset is to separate upfront costs from ongoing expenses. Upfront costs cover materials, tools, and any professional services. Ongoing costs account for maintenance, replacement parts, and occasional upgrades. It’s tempting to chase a fully finished interior from the start, but a phased build often yields better outcomes. By starting lean and expanding as you gain road experience, you minimize waste and reduce the risk of a completed project sitting unfinished as priorities evolve.
Material costs follow a similar hierarchy. Budget-friendly options exist that deliver solid performance. Plywood and foam insulation provide a good balance of strength and weight, especially when properly sealed and supported. If you decide to upgrade, lighter, higher-performance insulation and more refined interior finishes can dramatically improve thermal comfort with only a modest increase in weight. The key is to plan for weight from the outset. Weight is not simply a number on a scale; it is a dynamic constraint that affects handling, braking, and stability. You’ll want to keep a running tally of anticipated weights for major subsystems: the frame, flooring, walls and roof, cabinetry, water and waste systems, and power storage. A conservative rule of thumb is to allocate a significant portion of the payload to systems that support daily living—sleeping, cooking, and climate control—while keeping the rest in reserve for unforeseen needs. Memory of the road teaches humility: payload is finite, and the moment you overburden the truck, you feel every bump, every turn, and every heat wave differently. If possible, consult a professional regarding weight distribution, especially when planning a larger camper that sits high or uses heavy materials. A well-balanced design lowers the center of gravity, improves driveability, and reduces the risk of sway. The ratio of tongue weight to payload becomes a critical factor when your camper extends across the truck bed or uses a high roof. It’s a subtle balance, but a crucial one for safety and comfort.
With purpose, size, and budget crystallized, you can begin to translate plans into a practical build plan. The process benefits from a mindset of staged progress: good planning first, then incremental construction, followed by testing and refinement. Start by outlining a simple, repeatable process for your shop work. For example, frame first, then insulate, then install walls and flooring. This sequence minimizes heat loss and moisture risk at each stage. The frame sets the baseline for all alignments—level, square, and securely attached to the truck, with cross-members and anchoring points designed around future loads. Insulation is layered to optimize thermal performance and condensation control, followed by the construction of walls and a roof that are both weatherproof and mechanically secure. As you approach electrical and plumbing, think safety first: use correct gauge wires, fuses, breakers, and proper seals at every junction. A rigorous testing regime helps catch problems early. Pre-drive inspections, light systems tests, and mock daily use checks prevent surprises on the road. Real-world testing highlights how weight and balance feel in practice and whether the storage arrangement remains ergonomic after hours of driving. The long view matters, too. Because a homemade camper is a long-term project, you’ll benefit from planning for upgrades. Build with modularity in mind. Design cabinetry and wiring in a way that makes later improvements straightforward rather than disruptive.
Two real-world examples illuminate the spectrum of possibility and underscore why defining needs and budget matters. One Australian builder managed a lean, lightweight solution for solo travel with a modest investment and a focus on simplicity and quick assembly. His camper demonstrated that less can be more when weight, cost, and setup time are prioritized. In contrast, another enthusiast transformed a heavy-duty workhorse into a luxurious mobile home, investing tens of thousands of dollars and a patient, methodical approach to systems and finishings. The contrast between these builds isn’t about chasing a monolithic dream; it’s about recognizing that your own constraints—budget, climate, purpose—shape the path to a satisfying, safe, and personally meaningful rig. If you feel the tug toward a more ambitious build, you can still start compact, then expand. If you lean toward a lean configuration now, you preserve flexibility for future upgrades without complicating your current plan. The journey is not a race; it’s a careful alignment of what you need, what you can carry, and what you’re willing to learn along the way.
As you close the planning chapter and move toward the practical, keep a single guiding thought in your planning notebook: your truck camper should feel like a home that travels with you, not a project that travels with you. A well-defined purpose keeps you honest about weight, space, and energy demands. A thoughtful layout ensures you can live comfortably without tripping over gear. A disciplined budget anchors your ambitions so that the end result feels both attainable and durable. In the end, the best DIY camper is the one that fits your life today and invites you to grow into it as you explore tomorrow. If you want ideas on practical add-ons, see the Accessories page. Accessories.
External resource for deeper planning and method: you can explore a detailed, experience-based approach in this widely cited guide, which walks through many of the same considerations with practical checklists and real-world tips. For a broader, step-by-step exploration, see the external resource: https://www.popularmechanics.com/outdoors/adventures/a38614752/how-to-build-a-homemade-pickup-truck-camper-a-practical-guide/.
Platform Matters: Selecting the Right Truck Foundation for Your Homemade DIY Camper
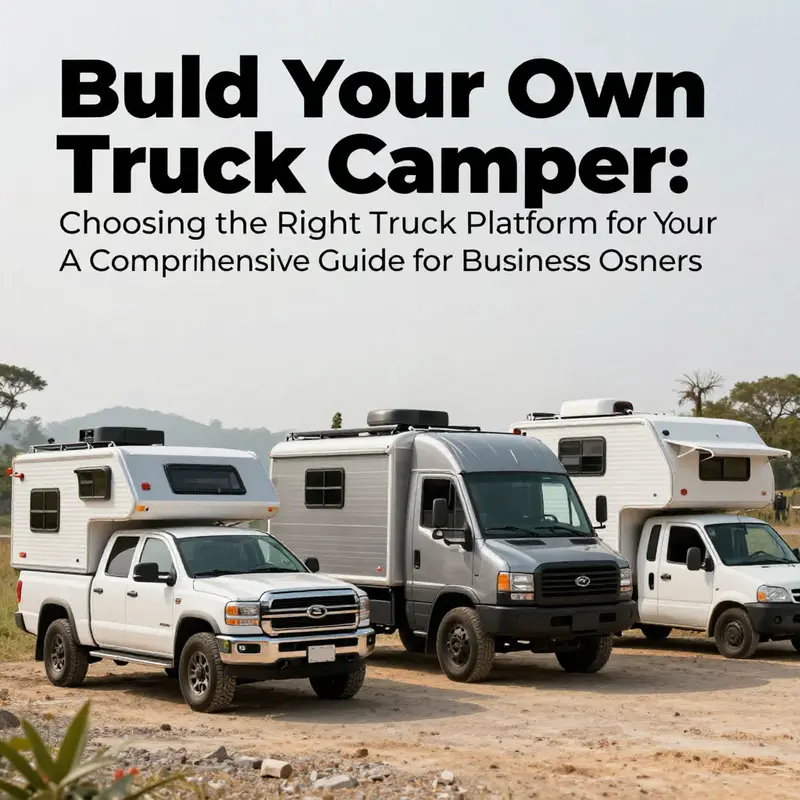
Choosing the right truck platform is the quiet hinge that can swing a whole build from feasible to foolish if ignored. It’s easy to get excited about insulation, solar, and kitchen plans, but without a solid, well-mitted foundation, every other choice may become a compromise you’ll feel on the road. The truck you select sets the ceiling for payload, stability, fuel efficiency, and how comfortably you can live on wheels over long stretches of time. It also governs how you distribute weight, where the center of gravity lands, and how easy it will be to service and upgrade components as your needs evolve. In practical terms, you’re looking for a mid-to-large size pickup-style platform with enough mass to support a robust camper frame, yet one that remains nimble enough to drive daily and maintainable for future modifications. A long wheelbase, paired with a high payload rating, becomes the baseline criterion. This isn’t merely about having space for a bed and a fridge; it’s about ensuring the stability of the entire system when you’re parked on uneven ground or climbing grades with a full load.
The first checkpoint is payload capacity. The camper you build—frame, walls, roof, furniture, water and waste systems, and the inevitable gear—will add significant weight. The truck must be able to carry that weight without approaching its rated limits or compromising handling characteristics. It’s not enough to calculate the weight of the camper itself; you must account for distribution, the weight of batteries and fluids, and the possibility of additional gear carried in the cab or on the roof rack. A practical starting point is to examine a platform that provides a comfortable margin between fully loaded weight and the vehicle’s gross vehicle weight rating, or GVWR. The math isn’t glamorous, but it’s the difference between a camper that handles confidently in wind and a rig that sags under a light breeze. When the numbers are clear, you can design the subframe and mounting system with confidence, knowing you won’t push the limits of the chassis or suspension. The guidance from industry standards stresses the importance of staying within payload envelopes to preserve braking, steering, and tire performance. In your planning, aim for a buffer that lets you add systems or future upgrades without stepping into the red zone.
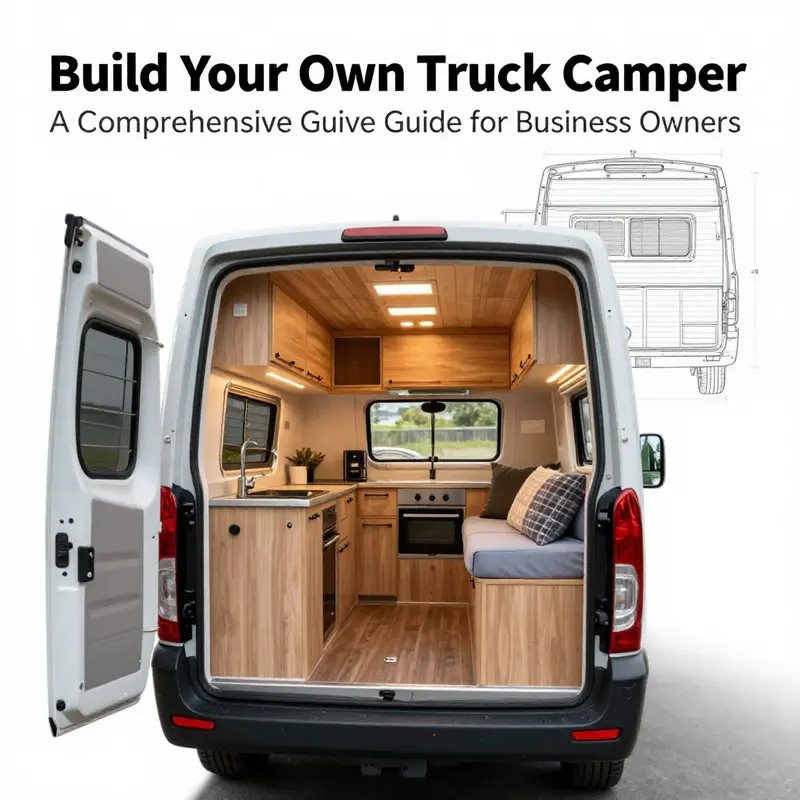
Bed dimensions matter as much as the engine’s strength because the bed is the primary anchor point for your camper. A flat, clean, rust-free bed makes mounting brackets and tie-downs straightforward and predictable. Do not assume there will be ample space once a floor is added; measure the bed’s interior length, width, and height carefully. You want a design that fits securely without interfering with the truck’s tailgate, wheel wells, or hitching points when you’re not using the camper. It’s surprising how quickly even a well-intentioned layout becomes impractical if you overlook the precise interior dimensions. A long bed can be a boon for sleeping and storage, but if the interior height clashes with upright appliances or cabinetry, you’ll be forced into compromises you’ll notice on the first night out. The best practice is to map out a 3D plan of the interior space using the bed as a reference, then translate those measurements into a frame that anchors to the truck’s cross-members. This approach reduces the risk of leaning walls or misaligned floors after the first test fit.
Durability features should not be an afterthought. If the truck bed has a factory-installed liner or a reinforced frame, you gain several advantages: easier mounting of brackets, more predictable tie-down points, and better resistance to corrosion or flexing under load. A liner or reinforced bed can act as a built-in reference surface for your alignment checks and provide a durable base for subframe attachments. When the bed is not just a storage area but a structural element of the camper, every bracket, bolt, and weld must align with that surface. The discipline of matching the camper frame to a robust bed is what makes the difference between a rigid, safe installation and a mobile wobble that grows louder and less secure with every mile. In this world, the fit isn’t cosmetic; it’s structural. The emphasis on a solid bed foundation also prepares you for aftermarket support in the future. If you anticipate upgrading to rails, mounts, or modular accessory systems, a bed with reliable anchorage and a solid base will simplify those upgrades and reduce long-term costs.
Beyond the immediate build, consider the broader ecosystem of the platform you choose. A truck with a solid chassis and broad aftermarket support often translates into easier access to mounting rails, camper-specific brackets, and modular solutions. The option to integrate trays, toolboxes, and roof-mounted systems hinges on a stable platform that supports add-ons without compromising weight distribution or access to essential vehicle functions. This is where the concept of future-proofing begins to resemble practical planning more than speculative dreaming. You want a vehicle that remains serviceable and upgradable as you refine your design, not one that boxes you into a fixed configuration with few pathways for improvement. The guidance from experienced builders emphasizes the value of a chassis and bed that welcome modifications, because a DIY camper is, by nature, something you’ll evolve as you learn what works and what doesn’t after you hit the road for the first season.
Weight distribution is the unseen chore that quietly determines how your camper behaves when you drive, park, or navigate grades. A high, central center of gravity is a hazard; a well-lidded distribution of mass keeps the vehicle stable and the tires in better contact with the road. The ideal platform minimizes front-to-rear imbalance and reduces the tendency to squat at the rear or lift at the front when loaded. You will generally want to position heavier components low and forward where possible, while keeping the center of gravity as close to the truck’s rear axle as feasible but within safe limits. This is not only a safety issue but also a comfort issue—stability improves handling, prevents porpoising on rough roads, and reduces wear on suspension components. It’s a gentle but essential reminder that the best camper is also a best-practices engineering project, built on clear measurements, disciplined assembly, and a willingness to revise your plan when numbers say, “this won’t work well.”
As you weigh platform options, the overarching goal is to minimize surprises during build and on the road. You’ll want a solid, flat bed to serve as a dependable canvas for your camper frame, yet you’ll also need to anticipate the practicalities of daily use. A platform with reliable aftermarket rails and mounting kits can simplify the process of attaching brackets, tie-downs, and anchors. The ability to source components locally and adapt to your evolving needs helps keep costs reasonable and timelines manageable. It’s not glamorous, but it’s the type of groundwork that saves money and reduces headaches mid-build and on long trips. The pragmatic takeaway is straightforward: prioritize payload and bed integrity, verify dimensions with careful measurements, and choose a platform with robust aftermarket support. When these elements align, the remainder of the camper—design, systems, and finishes—will have a solid stage to perform on, turning your canvas into a truly livable, durable home on wheels.
In practical terms, you might begin with a careful assessment of your daily and weekly driving patterns. How far will you travel on typical trips? How many people plus gear will you carry? Will you frequently camp in remote areas or prefer closer-to-town access with reliable service options? The answers shape the essential parameters: payload margin, bed dimension tolerances, and the degree of upgrade potential you’ll need. If you anticipate trips that push the upper limits of weight, you may opt for a platform known for higher payload ratings and a longer wheelbase to accommodate frame extensions or a more elaborate roof system. Conversely, if your adventures are mostly weekend escapes with light gear, you can pursue a lighter, more compact arrangement without sacrificing safety or comfort. In all cases, the bed should be treated as a structural ally rather than a mere cargo surface. When you design the camper around a solid bed and chassis, every subsequent choice—insulation, cabinetry, water storage, and electrical layout—will feel natural rather than forced.
For readers seeking practical references and deeper layout guidance, you can explore our broader guide on mounting solutions and storage systems, which includes a focused look at how to nest mounting rails and accessory boxes within a camper frame. A key takeaway is to treat the bed as a working foundation that you can build on, not a finishing touch. The right platform makes the difference between a project you enjoy building and a project you dread reworking after the first highway mile. If you want a quick path to practical mounting ideas, you can start with our guide on truck boxes, which covers secure storage strategies and anchoring options that align with a sturdy bed foundation. This is where the blueprint begins to take shape: a safe, well-balanced, and adaptable platform that carries your home on wheels through mountains, coastlines, and long, quiet stretches of road.
As you finalize the choice, keep in mind the regulatory and safety landscape. Weight distribution, stability, and proper securing of the camper are not optional extras—they’re core safety requirements that influence every subsequent decision. Confirming compatibility with your local regulations and manufacturer specifications helps ensure you can register and operate your motorized home without friction. The goal is not to chase the most elaborate or expensive platform but to secure a reliable, well-supported foundation that can carry your design forward in a safe, cost-efficient manner. With a carefully chosen backbone, your camper can grow—adding systems, expanding storage, and refining layout—without outgrowing the vehicle that carries it.
External resource: For a thorough, region-specific look at platform considerations and practical examples, see the external guide from a respected regional camper resource: https://www.truckcamperaustralia.com.au/blog/choosing-the-right-truck-platform-for-your-diy-camper.
Internal reference: For mounting hardware, rails, and practical layout ideas that complement a solid bed foundation, see our truck boxes guide: https://trucksdiy.com/blog/truckboxes/.
null
null
null
null
null
null
Final thoughts
Building your own homemade DIY truck camper is not just a rewarding venture; it can significantly enhance how you conduct business on the road. By carefully defining your needs, choosing the appropriate vehicle, and following a structured building process, you create a mobile business solution that is uniquely yours. Don’t forget to prioritize safety and legal compliance throughout your project to ensure a smooth experience. Ready to embark on this exciting journey? Let your creativity lead the way, and soon, you’ll have a customized camper tailored to your professional adventures.