For business owners looking to capture a nostalgic audience or simply embrace their love for vintage automotive design, constructing a DIY 1940s truck body offers a rewarding challenge. This project allows you to merge the charm of an iconic era with contemporary craftsmanship, bringing forth not only a unique vehicle but also a creative business asset. In this guide, we break down the essential elements of building a 1940s truck body, beginning with historical design inspirations, moving through materials and construction techniques, discussing the essential tools and skills you will need, and concluding with valuable resources and references. Each chapter aims to provide you with insight and guidance that seamlessly integrates the spirit of the past with practical steps for the present.
Breathing Vintage Steel: Historical Design Cues for a DIY 1940s Truck Body
The allure of a 1940s truck body lies not just in its silhouette but in the quiet confidence of its design language. For a DIY project, this is a blueprint of intent as much as a guide to fabrication. The era’s trucks spoke with a practical bravado: rugged frames, simple yet purposeful panels, and details that rewarded skilled hands with a tactile, time-worn finish. Building a 1940s-inspired body today means translating that language into modern tools and techniques without losing the essence that makes these trucks feel iconic. It’s a process that blends historical observation with careful engineering, ensuring authenticity while respecting safety, weight, and performance constraints that govern any usable vehicle project.
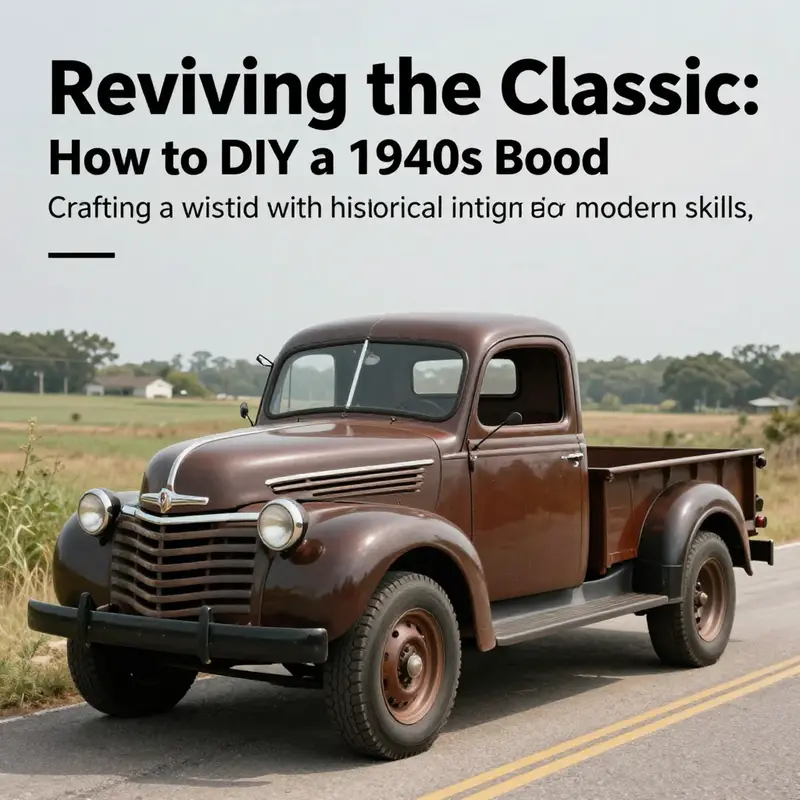
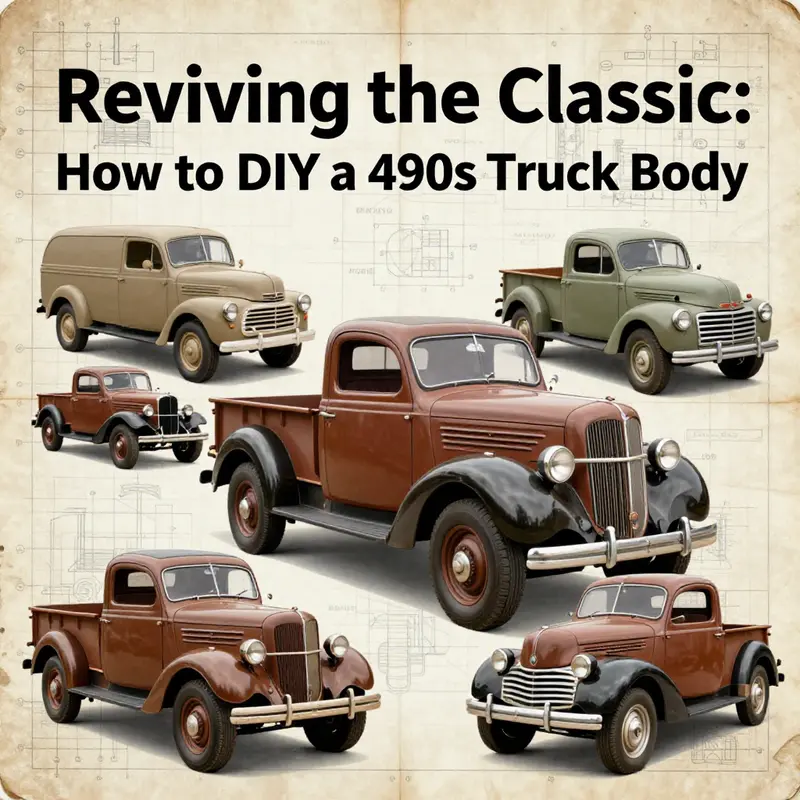
A core starting point is to immerse yourself in the design cues that defined 1940s hardware and transport aesthetics. You’ll notice a boxy, robust chassis that favors straight lines and generous footprint over sweeping curves. The fenders tend to be rounded but substantial, sitting forward of the body with a forward-facing stance that communicates strength. The grilles and headlights are straightforward in form, value-driven rather than flamboyant, and chrome trim punctuates the silhouette with restrained precision. These features aren’t just surface decisions; they’re answers to the era’s engineering challenges. A roomy cab, a practical cargo area, and a two-piece curved windshield that improved visibility collectively tell a story of improved function meeting durable form. When you design your own DIY body, you should read these cues as constraints and opportunities. Constraints keep the project honest; opportunities invite you to interpret them with modern fabrication techniques and materials, while still honoring the vintage character.
From the outset, shape becomes a dialogue between authenticity and feasibility. To capture the look, you’ll likely start with a steel frame or a compatible donor chassis that provides the correct wheelbase, mounting points, and overall geometry. The frame’s backbone defines how the body will sit in relation to the ground, how doors align, and how the cab interacts with the bed. It’s tempting to chase a perfectly period-correct exterior, but the real win is in preserving the intended stance and proportions: the distance from grille to windshield, the height of the cab roof, and the relative overhangs at the front and rear. These proportions influence how you’ll place panels, where you’ll mount fenders, and how the bed transitions to the cab. If your donor frame or chassis is longer or shorter than the classic references, you’ll need to adjust the body to maintain a believable silhouette rather than forcing a mismatched look.
Historical design inspiration thrives when you combine visual cues with practical, hands-on techniques. Look to archival images and blueprints that reveal panel joints, panel radii, and mounting schemes. The 1940s favored riveted aesthetics or bolt-tix joints that could be replicated with modern hardware in a way that respects authenticity without attempting to recreate every factory process. For a DIY build, this often means choosing between visually riveted or bolted joints and using period-accurate fasteners where possible, while still employing contemporary fasteners for reliability and serviceability. The result should feel cohesive at a standstill and robust under load, with joints that read as sturdy and honest rather than overly polished. For many builders, this is a balancing act between the romance of original construction and the realities of a modern workshop.
In pursuing the visual grammar of the era, the bed is a focal point for authenticity. A true vintage feel often benefits from a bed with wood side rails and a wooden floor, both treated to resist weather and everyday use. The wood choice—hardwoods such as oak or ash—or even pressure-treated pine with a careful finish can convey the era’s practical approach to materials. The bed’s side rails are usually bolted to the steel framework, not welded into place, which facilitates maintenance and allows for a collaboration between metal and wood that was common in post-war design. If you opt for metal panels instead, the joints should mimic the period’s visible construction methods—think riveting patterns or bolt lines that you can emulate with a modern touch. Either path requires attention to seam lines, edge radii, and how the bed integrates with the cab and the fenders to form a cohesive mass rather than a collection of discrete parts.
The cab itself carries much of the personality. A roomy, relatively contemporary feel for the time is often expressed through a clean dashboard plane, a simple instrument cluster, and a practical, unobtrusive windshield area. A two-piece curved windshield, sometimes separated by a central post, is a hallmark that improves driver visibility and adds period-appropriate character when restored or replicated in a DIY build. The cab’s silhouette should convey shelter and efficiency: a slightly rounded roofline, modest beltlines, and door openings that feel human-sized rather than cavernous. The detailing here—door handles, window regulators, and chrome or trim pieces—serves as punctuation marks that define the overall tempo of the design. You can interpret these details with a modern workflow, using templated patterns and careful fabrication to achieve consistent gaps and alignments while still invoking the era’s sense of proportion and space.
Color and finish are not mere cosmetics; they are active design tools that reinforce the time period. Period-appropriate tones such as muted greens, desert or military greens, and factory reds align the build with the visual language of the era. The finish should emphasize a hand-made, durable quality rather than a showroom gloss. Enamel paints, applied with brush or conventional spray techniques, can reproduce the soft or satin textures common in the period. Clear coats should be approached with restraint if you want the vintage vibe to remain dominant; a lightly dulled or lightly brushed finish often reads as more authentic than a high-gloss varnish. Weathering, when done purposefully, hints at daily use and adds depth to the older look. The result is a body that doesn’t just resemble a 1940s truck; it feels like something that has endured, been repaired, and adapted over decades of service.
A successful DIY build hinges on choosing the right materials and applying methods that honor the era while leveraging modern capabilities. Sheet metal work remains central to authenticity, whether you’re forming panels or fabricating a new bed. You’ll need a combination of traditional metalworking skills—shears, hammers, files, and a drill press—with modern welding capability to join steel parts securely. If you’re working with aluminum for lighter weight, you should adjust your techniques to avoid galling and to preserve a convincing rolled-edge appearance. Riveting remains a powerful visual cue; you can replicate riveted joints with careful alignment and the right countersunk fasteners, even if the underlying structure uses modern welding methods for strength. The goal isn’t to duplicate every factory detail; it’s to convey the same engineering spirit—the elegance of robust simplicity that makes the 1940s design so enduring.
Wood bed components require careful consideration of moisture, fastener type, and joinery. Pressure-treated lumber provides durability, but you’ll want to pre-finish the surfaces to protect against weather and to preserve a consistent color. Traditional bed floors were often timber planks laid side by side; you can reproduce that look with a careful choice of board widths and a finish that highlights the wood’s natural grain. When you bolt wood to metal, use hardware that echoes the era—through-bolts with square-pattern heads or decorative bolts that resemble period hardware—while maintaining structural integrity. If you prefer a metal bed, you’ll want to sculpt panels that capture the same visual heft without creating a cold, industrial feel. Either approach benefits from a thoughtful edge treatment: rounded corners, visible seam lines, and a finish that reads as weathered rather than pristine.
No chapter about 1940s design would be complete without acknowledging the sources that anchor a project in a broader community of makers. Archival photography, blueprints, and restoration notes provide the vocabulary you need to discern what’s essential and what’s a stylistic flourish. A rich repository of visual ideas can be found in curated boards and galleries, where builders discuss techniques, share patterns, and critique each other’s work from a place of shared respect for the era. These references can illuminate everything from the placement of chrome trim to the way a glovebox door should align with the dash. They also remind us that authenticity is earned through careful observation and patient craftsmanship, not through shortcuts.
To connect with practical guidance and compatible project components, you can explore the DIY site’s broader resources. For practical hardware and trim options that echo period details, consult the internal page on accessories. It offers a curated sense of how modern builds can integrate historically respectful accents without compromising safety or usability. See more at Accessories.
If you’re seeking focused historical context, serial images, and period-correct measurements, digital archives and community forums can be as valuable as formal blueprints. A well-regarded historical reference is the archive collections of a national museum dedicated to preserving automative heritage. These collections often include high-resolution images of chassis, fenders, dashboards, and interior layouts that reveal the real-world proportions you’ll want to emulate. The capability to zoom into details such as fender radii, wheel cutouts, and door gaps helps you translate a two-dimensional image into reliable, real-world templates. Meanwhile, restoration forums provide candid, hands-on insights: how builders balanced weight distribution with load-carrying capacity, how they treated and protected wood components for longevity, and how they addressed weather sealing around the cab and bed. The benefit of this collective knowledge is not just a faithful look; it is a tested approach to building something you can admire and, with proper safety checks, use.
In the spirit of practical exploration, it’s worth noting that the era’s engineering combined rugged utility with a surprisingly forward view on cab ergonomics and visibility. The cab’s layout often reflected a pragmatic approach to driver comfort, with controls placed where a driver could reach them intuitively and widely separated sightlines that improved day-to-day use. While your build may remain a display or a weekend project, integrating a few of these ergonomic ideas—positioning the seat, simplifying access to the bed, ensuring clear line-of-sight through the windshield—can elevate the overall impression and usability. The essence lies in the careful balance between what the eye reads as authentic and what the hands experience as practical.
As you progress, remember that this chapter isn’t about replicating a single original vehicle. It’s about capturing a design ethos—the way a 1940s truck balanced form and function, the way materials aged, and the way a builder could translate that narrative into a modern workshop environment. The end product should feel like a surviving piece from that era, not a museum artifact pulled from a shelf. It should look capable, not merely decorative; sturdy, not ceremonial. If you achieve that, you’ve accomplished more than a visual recreation. You’ve created a vehicle body that invites curiosity and conversation, just as the originals did for countless miles and decades.
External resource: https://www.thehenryford.org/collections
Building Authentic 1940s Truck Bodies: Materials, Methods, and Modern Techniques
Choosing Materials and Building Techniques
Creating a convincing 1940s-style truck body is equal parts historical study and practical engineering. You want the right look, but you also want the structure to last. The sensible path blends modern materials and methods with period design cues. This chapter explains which materials to pick, how to join and shape them, and which fabrication techniques give you vintage lines with modern durability.
Start with the skeleton. The frame determines strength, wheelbase, and mounting points for all body panels. For a DIY build, modern high-strength steel or aluminum alloys are the best choices. High-strength steel offers excellent fatigue resistance and easier weldability for traditional mending techniques. Aluminum saves weight and resists corrosion, but it requires different welding and fastening methods. Choose steel if you expect heavier loads or frequent towing. Choose aluminum if you prioritize rust resistance and easier handling. Either way, design the frame with clear attachment flanges for body mounts, running gear, and bed supports.
Body panels present the most visible challenge. In the 1940s, stamped steel and wooden beds dominated. Recreating stamped steel panels by hand is time-consuming. Composite panels such as fiberglass or other fiber-reinforced plastics give you a practical and authentic result. These materials form smooth curves easily, so you can replicate rounded fenders, flowing hoods, and simple door shapes without costly presses. Composite panels also avoid rust and weigh less than steel, making them a good match for a DIY approach.
If you choose metal for the outer skin, use sheet steel or aluminum sized for hand shaping. Mild steel in appropriate gauges lets you hammer, shrink, and dolly panels to shape. Aluminum is lighter but springs back more, requiring careful forming and more complex joining methods. When choosing gauges, balance rigidity versus ease of shaping. Thicker metal holds shape better but demands more powerful tools.
The cargo bed is a chance to add authentic detail. Wooden bed floors and side planks were common in the 1940s and remain an elegant touch. Use durable hardwoods like oak or ash for the floor slats, or pressure-treated pine for a more economical route. Fasten the boards with bolts or countersunk hardware to mimic period assembly. For side panels, wood framed with steel or composite insets creates the old-time look and modern longevity.
Joining methods define both strength and authenticity. Rivets and exposed bolts were common in period vehicles. Incorporate them where visible to preserve the aesthetic. For structural joints, welding remains the most robust choice. Modern MIG or TIG welding offers clean, strong seams. Use MIG for thicker steel frame members, and TIG for thin sheet metal or aluminum where precision matters. When you join dissimilar metals, avoid direct welding; instead, use mechanical fasteners, specialized adhesive bonding, or isolation layers to prevent galvanic corrosion.
Adhesives and modern mechanical fasteners can enhance strength without visible seam work. Structural epoxies and polyurethane adhesives bond composites to metal or wood well. They also smooth stress distribution across joints. When bonding, clean and prep surfaces thoroughly and clamp components until the adhesive cures fully. Mechanical fasteners—bolts, countersunk screws, and stainless rivets—provide positive retention and period-correct visual cues.
Shaping panels requires either hand techniques or digital precision. For DIYers without access to heavy machinery, traditional metalworking tools still work. English wheels, planishing hammers, dollies, and shrinkers let you form curves in steel by hand. Forming aluminum demands more heat and attention. If you have access to a makerspace or small fabrication shop, CNC cutting and laser profiling give consistent edges and accurate mounting holes. CNC routers also work for MDF or foam plug patterns used to make molds for composite panels.
If you opt for composite panels, vacuum bag molding is the workhorse technique. Lay fiberglass cloth and resin in a mold, seal it under a bag, and evacuate air so pressure consolidates the layup. This process yields a dense, void-free panel that holds shape and detail. It’s far superior to simple hand layup for parts where precision matters, like fenders and hood shells. For flat or simple panels, single-surface molds suffice. For complex parts, create a plug from MDF or foam, refine its surface, and then make a female mold to get accurate parts consistently. For an overview of composite standards and performance, see this technical reference on fibreglass truck bodies: https://www.fiberglass-truck-body.com/overview.
Mold making is often the defining task for accurate reproduction. Craft the plug to exact dimensions and finish it smoothly with filler and sanding. Seal the plug with a proper mold release system before laying mold material. Polyester or vinyl ester resins are common for molds. For longevity, consider adding a gelcoat layer and a fiberglass backing to the mold. Good molds let you reproduce matching parts with minimal correction.
Precision edges and fastener holes benefit from CNC or laser-cut templates. Use metal or rigid plastic templates to transfer curves and hole patterns onto panels. This reduces fitting time and prevents misaligned seams. When installing panels, use temporary alignment pins or clecos to hold pieces while you drill final holes or weld seams.
Corrosion protection and finishing come next. For steel frames and panels, thoroughly clean, prime, and paint. Use epoxy primers on bare metal for strong adhesion and corrosion resistance. Aluminum requires special self-etching primers and non-chromated treatments. If you want a slightly aged, period-authentic paint finish, use lower-gloss enamels and consider topcoat thinning techniques to avoid modern mirror finishes. For composite parts, apply a compatible primer and body filler to smooth joints. Then sand progressively, prime, and paint.
Detail work makes or breaks the vintage illusion. Rounded headlight buckets, simple grilles, and chrome trim were hallmarks of the era. Reproduce trim by shaping thin sheet metal or forming chrome-look inserts from polished stainless or plated materials. For embossed logos or badges, create raised molds and cast or form small panels. Fasten trim with countersunk screws or small rivets to suggest original construction.
When assembling the body, consider the sequence. Mount the cab and bed to the frame first, ensuring alignment with suspension and driveline components. Fit doors and hood next, adjusting hinge points for proper gaps. Then install fenders and trim, verifying that panel edges and mounting tabs meet accurately. Use shims and flexible mounts where necessary to account for slight inconsistencies in handmade parts.
Safety and compliance influence material choices and finish. If you plan to drive the vehicle, ensure the body meets local regulations for visibility, occupant protection, and lighting. Reinforce mounting points for seat anchors and seatbelts. Provide proper crumple and clearance where possible. For display or static projects, you can prioritize appearance over roadworthiness, but still follow safe practices when welding and handling resins.
Practical shop setup advice helps avoid costly mistakes. Invest in basic metalworking gear: a bandsaw, drill press, angle grinder, and sanding tools. For composites, source a vacuum pump and bagging materials. Keep proper respirators, gloves, and ventilation for dust and fumes. If you lack welding experience, practice on scrap material or enlist a skilled welder for critical joints. For precise parts, consider outsourcing CNC cutting or mold making to local fabrication shops.
Maintaining the 1940s aesthetic while using modern materials requires a disciplined eye. Keep proportions faithful to reference images. Use wood where it belonged, rounded fenders where they belonged, and simple trim lines. But accept modern conveniences like sealed composite panels, corrosion-resistant frames, and structural adhesives. The result will be a truck that reads as vintage, but performs like a contemporary, dependable vehicle.
Finally, plan your timeline and budgets realistically. Mold making and composite work demand time up front. Metal shaping and welding require practice and patience. Factor in trial parts and fitment sessions. Keep a build journal with measurements, material specs, and torque values. This record pays off when you need to reproduce a panel or repair an area later.
A 1940s-style truck body built with modern materials delivers the best of both worlds. High-strength steel or aluminum frames give a safe, rigid base. Composite panels let you reproduce classic shapes without endless hammering. Vacuum bag molding, CNC templates, and thoughtful mixed joining methods create parts that look right and last long. Use bolts, rivets, and wood accents to sell the period detail, and finish with appropriate primers and lower-gloss enamels for authenticity. With careful planning, the truck you build will feel true to the era, yet stand up to everyday use.
For inspiration on integrating secure storage and underbody solutions into your build, consult this practical underbody tool box guide: https://trucksdiy.com/blog/rc-industries-underbody-tool-box-v-series-125-aluminum-box-with-stainless-steel-door/.
Essential Tools and Skills for DIYing a 40s Truck Body
A 1940s-style truck body is as much a statement of craft as it is a piece of history. The goal isn’t to clone a single vehicle but to translate period design into a practical, buildable shell. To do that well, you need a careful blend of the right tools, solid fabrication know‑how, and the ability to plan ahead. The process rewards patience and a mind tuned to both accuracy and authenticity. You’ll start with a simple, broad plan and gradually fill in the technical details as you gain confidence. The essential tools and skills form a chain: choose the right equipment, develop fundamental metalworking and woodworking abilities, then apply precision in layout, fit, and finish. It’s a hands‑on apprenticeship adapted to a 40s aesthetic, where every rivet, seam, and plank speaks to a design era that valued straightforward, robust construction.
First, the foundation is safety and layout. Before touching metal or wood, you need a clean space and a clear plan. A sturdy workbench or a well‑organized shop table is invaluable for draping panels, bending a new curve, or dry‑fitting a bed frame. You’ll want a solid measuring setup: a tape measure that doesn’t snap, a straightedge that doesn’t bow, and a square that can verify right angles across panels. Even a rough mock‑up helps you see how a fender line runs from the grille area to the door edge. When you begin to mark cut lines, every measurement is a promise to avoid rework later. This is where precise layout sets the tone for the rest of the build.
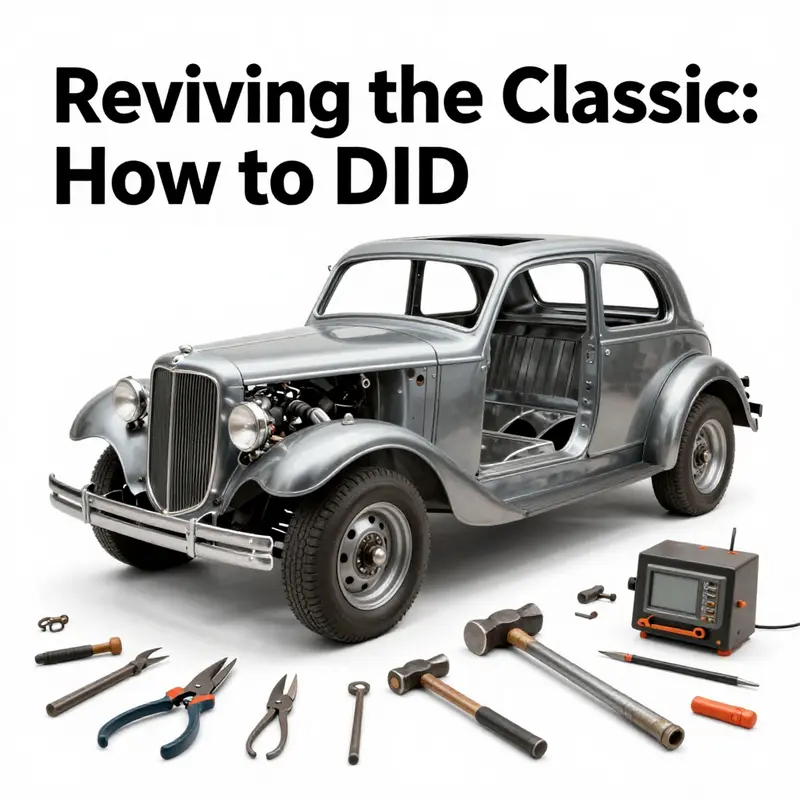
For the actual metalwork, you’ll rely on a few core tools that handle most of the shaping and joining tasks. A metal shear or a good angle grinder with cuttin g discs is essential for cutting sheet stock to shape. You’ll use a combination of a vise and a dolly set to coax flat sheets into curved, panel‑like forms that resemble the era’s panels. The shaping phase rewards a calm, methodical approach: work with the grain of the metal when possible, and always test fit before you weld or bolt panels in place. A body hammer with a set of dollies helps you create those gentle, era‑correct transitions, while a thin, flexible trim tool can help you scribe along the edge where a panel meets a wooden bed plank or a secondary steel panel. These are not glamorous tools, but they are the ones that prevent ripples, stretch marks, or misaligned seams that catch the eye long after the paint dries.
Welding is the backbone of a solid, authentic shell. A MIG or TIG welder provides the kind of durable joints needed in a vehicle body and frame. The key here is practice and control. You want clean, uniform beads with minimal burnthrough, especially on exterior panels that will be visible after paint. Practice on scrap metal first, then move to the actual pieces. Welds should be strong enough to resist vibration and road forces, but they should also look tidy enough to read as a deliberate, engineered joining. If you’re new to welding, start with tacks to hold panels in place and then progress to continuous beads only after you’ve achieved consistent results on test pieces. Remember, the aesthetic quality of your welds matters as much as their strength in a 40s build, where visible joints and rivet‑like seams carry the historical feel.
Measuring and alignment deserve particular attention because the entire body hinges on correct geometry. A straight edge, a level, and a square become your daily companions. When you lay out panels, you’re not simply cutting shapes; you’re tracing the body’s profile into real metal and wood. Check every edge for a clean, even gap. If you see a high or low point, adjust with gentle tapping and refine with a dolly. It’s easier to correct a panel at this stage than after it’s welded, primed, and painted. The same precision carries into the bed area. If you’re including wooden bed sides, you’ll want to align the wood with the metal sides so the seam sits flat and the wood has uninterrupted support along its length. In practice, this means dry‑fitting many times, then locking the geometry with bolts or temporary welds before final assembly.
Surface preparation is the quiet work that makes the difference between a good look and a great one. A sandblaster or a wire brush removes rust, old paint, and debris that would otherwise trap moisture or create a rough paint surface. Clean metal and wood surfaces accept primer evenly, which is critical for an authentic finish. On the metal parts, you’ll apply a primer that favors enamel or a period‑mimicking coating. For wood, a penetrating seal helps resist moisture and creaking in the long run. The finish itself tells a story: period finishes leaned toward enamel and hand‑applied coats rather than today’s multi‑layer, ultra‑gloss systems. A brushed enamel or a carefully sprayed enamel with a satin to medium gloss can evoke the era while remaining durable enough for display or occasional driving in dry, controlled conditions.
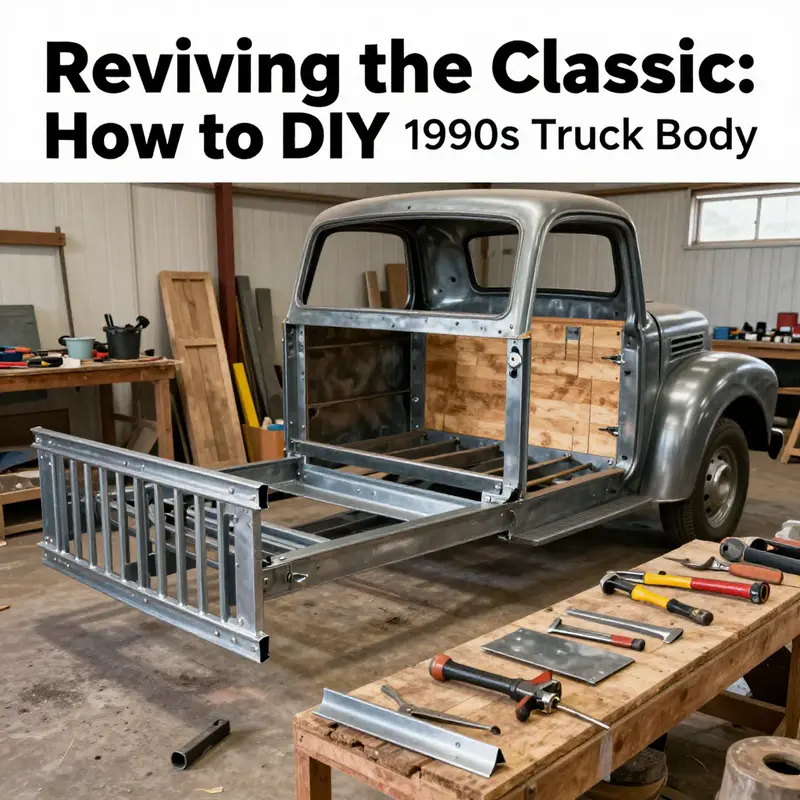
The bed is a remarkable place to balance authenticity with practicality. A typical 40s pickup bed uses a steel frame with wooden bed sides and floor. The wood choice matters for both look and longevity. Hardwood such as ash or oak yields authentic grain and sturdy joints, while pressure‑treated pine offers affordability and a traditional look, provided you treat it for outdoor exposure. When assembling the bed, fasteners and joinery should reflect the era’s methods. Bolts with decorative heads or simple rivets can replicate the feel of original builds. The joints between metal and wood deserve special care: the transition must be clean, with a tight seam and a minimal gap so water can’t easily migrate between materials. If you’re aiming for a strong, display‑only build, you can emphasize the visual connection between wood planks and metal panels, letting the finish and the joint lines carry the vintage aesthetic.
When it comes to finishing, a disciplined approach to painting can make the difference between a respectable replica and a convincing 40s‑style body. Use enamel paints in period‑appropriate colors—think muted greens, earthy reds, or subdued blues—preferably in finishes that reflect the era’s preference for hand‑applied coatings rather than modern high‑gloss systems. Enamel paints can be brushed or sprayed, but if you’re seeking a hands‑on, artisanal vibe, a brushed finish with some subtle texture often reads as authentic. A little weathering—soft chipping, a gentle wear along the fender edge, or a lightly dulled chrome trim—can add character without making the work appear sloppy. Clear coats aren’t mandatory for a display build, but a thin, non‑gloss finish can protect the surface while preserving the vintage look. The goal is not a showroom shine but a credible, lived‑in patina that stands up to closer inspection and photos.
Of course, the project isn’t just about metal and wood. You need a good handle on basic wood joinery and some familiarity with corrosion resistance, especially around the intersections of metal and wood. A simple, repeatable process helps you stay consistent across panels. For the wood parts, keep joints tight and well anchored. Bolts or traditional nailed reinforcements can simulate the historical methods while still offering easy disassembly and maintenance. Matching the grain direction, avoiding overly thick filler, and shaping edges to read as naturally worn can all contribute to a convincing vintage vibe without sacrificing structural integrity. In practice, you’ll blend a few practical techniques: you’ll plane surfaces to a clean edge, sand through grits gradually to a smooth finish, and use a light filler only where panel gaps demand a seamless contour.
Skill development in this area comes with deliberate practice. Metal shaping is a tactile discipline that rewards patience. You’ll learn to judge the amount of bend or stretch a panel needs by testing fit on the frame, then stepping back to review the overall line of the body. Welding is equally judgmental in a quiet way: you gain confidence as you observe how heat affects panel contour and how a position shift influences the final look. Layout and measurement are about rhythm and discipline; a few consistent habits—checking twice, cutting once, dry‑fitting, and then final welding—save countless hours and reinforce a dependable workflow. And because authenticity also includes the nonvisible details, you’ll pay attention to how seams terminate at the edges, how borders frame the wheel wells, and how the tailgate or bed end reads when viewed from various angles. Each decision shapes the overall impression of a 40s vehicle instead of a modern reinterpretation.
Sourcing parts and components is the final practical layer. You’ll often work with donor frames or pre‑stressed panels to anchor your build in realism while still tailoring the process to your space and budget. Donor frames can provide a proven geometry that you adapt, rather than designing every angle from scratch. For those who want to explore further, there are archives and community guides that document both the evolution of these trucks and the common methods builders used to reproduce their lines and joints. A helpful way to stay connected with the broader DIY community is to glance through a curated set of resources focused on vintage truck projects and their layout decisions. Within this ecosystem, a concise compilation like the Accessories guide can offer practical cues on components, hardware, and assembly considerations that influence how you shape the panels and the bed. See Accessories on trucksdiy.com/blog/accessories/ for a sense of how fine details can alter proportion and finish without steering you away from authenticity.
As you expand your toolkit and your skill set, you’ll begin to translate a two‑dimensional drawing into a three‑dimensional, tactile object. The process hinges on balancing two forces: fidelity to a period look and the realities of modern fabrication. You’ll learn to accept small deviations as part of the process, while still steering the overall silhouette toward the era’s straight, blocky geometry and practical, workmanlike stance. The final result is not a museum piece but a convincing, robust body that captures the spirit of the 1940s while staying within the limits of current materials, tools, and safety standards. If you’re planning to drive the vehicle, you’ll need to consider legal requirements for lighting, brakes, and emissions. For a display‑only build, you can lean more into visual authenticity without navigating the same regulatory complexities, though maintaining braking and lighting for a safe presentation is still wise.
In building this kind of body, the true teacher is the work itself. You’ll learn to interpret curves and edges the way a maker of the era did, through repetition, careful measurement, and a measured touch. The project rewards attention to detail and a willingness to revise an approach when a panel won’t lie flat or a seam keeps water from laying cleanly. As you gain confidence, your decisions will feel less like guesswork and more like a dialogue with history, where each tool and technique plays a role in retelling the look and feel of a 1940s truck. The path from rough cut to finished form is long, but the payoff is a vivid, tangible reminder of an era when durability and straightforward engineering defined everyday mobility. To readers who want to see how others navigate the same terrain, peer discussions and archival references can offer guidance and reassurance as you map your own route. Historical images and build logs provide not only inspiration but also concrete checkpoints you can adapt to your own project timeline.
For a broader view of project components and considerations that influence how you shape the body and its fittings, explore the practical guide to truck accessories and related hardware. This resource offers a snapshot of how builders think about layout, brackets, and small details that can alter proportion without requiring a full redesign of the panel plan. Access the guide here: Accessories on trucksdiy.com/blog/accessories/.
Finally, as you plan your build, keep a constant reference point in mind: historical documentation is your ally, not a constraint. The Henry Ford Museum’s collections offer rich sources of period imagery and design cues that can sharpen your eye for authentic line work and functional emphasis. A quick look at their archives can help you spot the subtle cues that separate a passable recreation from a convincing homage to a 1940s truck body. When you’re ready to deepen research or to verify a particular contour, those archives are a solid place to start: https://www.thehenryford.org/collections.
null
null
Final thoughts
Embarking on the journey to DIY a 1940s truck body is not only about engineering but also about mythologizing an era through craftsmanship and creativity. By harnessing historical design elements, selecting the right materials, acquiring essential tools, and utilizing robust resources, business owners can create a standout vehicle that captivates. This project instills a deeper appreciation for vintage vehicles, while also providing a unique business opportunity to connect with customers who value authenticity and nostalgia.