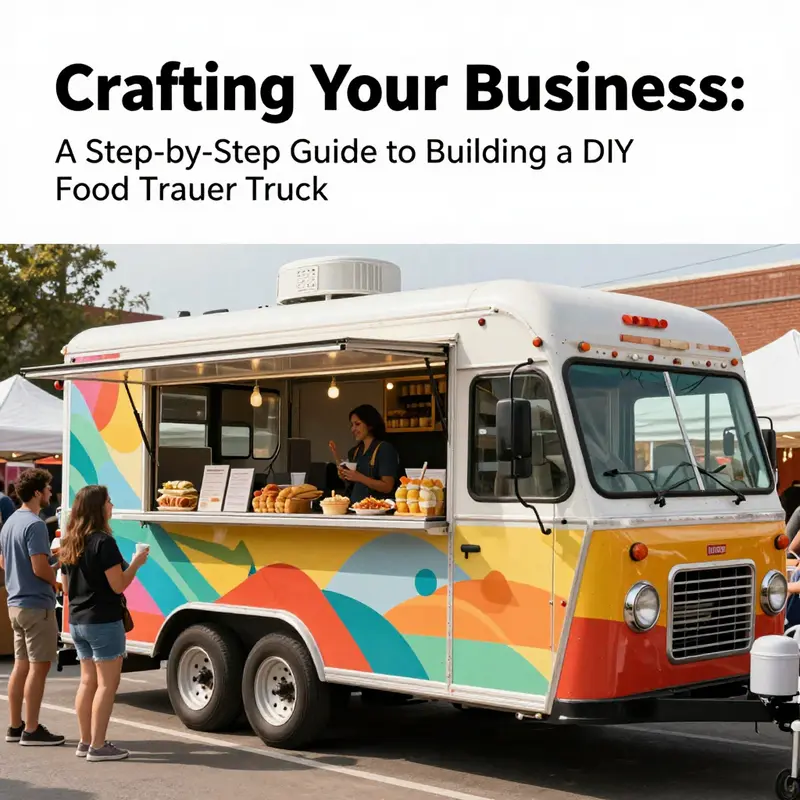
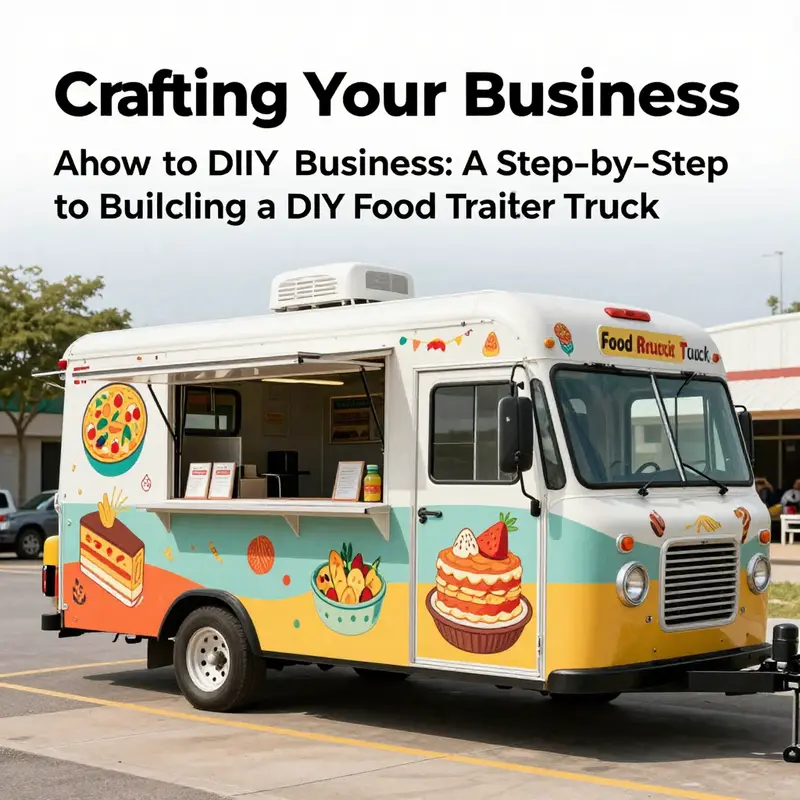
Setting up a food trailer truck can be a lucrative and fulfilling venture for business owners looking to tap into the mobile food market. This guide outlines the creation of a DIY food trailer truck, emphasizing the key design elements, necessary materials, construction methods, and options for customization. By integrating creativity, practicality, and functionality, this process not only aims to develop a food trailer truck but also to enhance your brand visibility and engagement. Each chapter contributes to a comprehensive understanding of how to effectively and efficiently plan, build, and outfit your food trailer truck to stand out in a competitive marketplace.
Design the Blueprint: Planning a Practical Food Trailer Truck
Designing a Practical Food Trailer Truck
Planning is where a hobby becomes a functioning mobile kitchen. Start with a clear idea of what you want to sell. That single decision shapes almost everything else: size, equipment, utilities, and the customer experience. If your menu leans toward grills and large-batch items, expect heavier equipment and ventilation needs. If you plan compact offerings like coffee or baked goods, the footprint can be smaller and the workflow simpler. Think through portion sizes, how many orders you expect per hour, and how many staff will work at once. These assumptions ground your layout choices.
Turn that concept into measurable requirements. Write down the interior dimensions you must have for equipment, storage, and staff movement. Measure not only width and length but ceiling height too. Many pieces of equipment need extra vertical clearance for ventilation or stacking. Leave room for staff to pass safely behind one another and for opening doors or appliance lids. Sketch the trailer outline and block in zones: receiving and storage, prep, cooking, plating, and serving. A smooth workflow follows a straight line where possible, moving from raw storage to prep, to cooking, to service. Avoid forcing staff to backtrack or cross paths with customers.
Utilities shape reality. Plan where water, power, and gas will enter and exit the trailer. Decide on tank sizes for fresh and waste water. If you will use a generator, pick a space that isolates noise and heat. If you plan to plug into shore power at events, ensure your electrical layout can accept that input safely. For gas, design a secure compartment outside the main food area. Label all utility points clearly on your drawing and leave access points for maintenance. Ventilation deserves special attention. A proper hood system keeps smoke and grease out of the kitchen and reduces fire risk. Even small carts need exhaust and makeup air to maintain safe conditions. Place vents where they can work without creating drafts that blow heat or steam into customer areas.
Next, focus on materials that stand up to food service. Choose noncorrosive surfaces like stainless-steel for counters and appliance backings. Use wall and ceiling panels that are washable and rated for food environments. Insulate walls and ceilings to maintain temperature and reduce condensation. Flooring should be slip resistant and easy to clean; consider welded seams or protective coatings to keep water out of subfloor cavities. Lighting is more than aesthetics. Place bright, shadow-free lights over prep and cooking zones. Add softer lighting near the serving window to create an inviting counter. Plan lighting circuits so lights can run separately from heavy equipment.
Create a floor plan that prioritizes efficiency and safety. Start by placing your largest fixed items: sinks, ovens, fryers, and refrigeration units. These anchors dictate where plumbing and power must run. Build work surfaces adjacent to cooking equipment so staff can plate quickly. Reserve a clear path between the cooking area and the service window to speed delivery. Consider a pass-through counter to facilitate quick handoffs and reduce line bottlenecks. Storage needs often expand once you begin operations, so allow modular shelving and under-counter storage. Think vertical: wall-mounted racks and overhead bins save floor space. Plan for a dedicated cleaning station with chemical storage separate from food storage.
Staff ergonomics is often overlooked. Make sure counter heights suit the people who will prepare food. Provide anti-fatigue mats where staff stand for long periods. Keep commonly used tools within arm’s reach. Design doors and pass-throughs wide enough to move trays and equipment without hassle. Include break space if possible, or at least a secure locker for staff belongings. Accessibility for customers matters too. If you will serve from a counter, design the serving height to be comfortable. Consider a lower section for customers with mobility needs.
Safety and compliance cannot be an afterthought. Research your local health department and fire codes early. Regulations affect sink size, handwashing station placement, and the number of sinks required. They may prescribe finishes and ventilation specifications. Fire suppression systems are mandatory for many cooking installations. Plan space and mounting for extinguishers and suppression units. Create a waste management plan that includes greywater containment and disposal. If your locale requires grease traps or specific plumbing traps, include them in the initial drawing. Building with code in mind reduces costly retrofits and inspection delays.
Durability extends beyond materials. Reinforce attachment points for heavy equipment and secure cabinets against road vibration. Use marine-grade fasteners in exterior areas exposed to weather. Seal seams and joints to prevent water intrusion that leads to rot or mold. Consider removable panels for maintenance access. Label the underside of service panels with wiring and plumbing diagrams to speed repairs. Plan weight distribution across the trailer axles. Concentrating heavy loads at one end affects towing and handling. Even small changes to placement can change the tow rating and required hitching setup.
Branding and customer experience are built into the design as well. The serving window is the first physical touchpoint. Make it welcoming and functional. Allow for a weather cover or awning to protect customers and staff from sun and rain. Dedicate space for menus that are readable at distance and a service area that maintains social flow during busy periods. Consider sound and sightlines so staff can engage customers easily without losing focus on cooking. Exterior finishes should be weather resistant and easy to repaint. Keep a simple palette and bold, legible signage for instant recognition.
Plan for future changes. A modular approach lets you swap equipment as menus evolve. Design electrical circuits with spare capacity. Use quick-connect fittings where possible for gas and water, so upgrades are simpler. Keep a space on the floor plan for optional equipment like a small oven, warming drawer, or additional refrigeration. Document everything as you go. A reliable set of plans with labeled utilities and measurements will save time during construction and inspections.
Finally, gather feedback on your design before you cut materials. Talk to potential staff, a local inspector, and fellow operators. Walk through the plan with someone who will actually work inside the trailer and listen to their concerns. Use sketches or a simple 3D mockup to test reach and sightlines. Small changes at the planning stage avoid big costs later. When you feel confident, lock the plan and create a parts list tied to the layout. That list will guide purchasing and keep the build efficient.
Planning a food trailer truck is a balance between creativity and strict practicality. Keep the menu central to every choice. Build safety and compliance into the blueprint. Design for efficient workflow, durable materials, and easy maintenance. With a thoughtful plan, construction becomes a logical sequence of steps rather than a series of solves. For ideas on spatial layouts that combine oven, sink, and stove solutions, review a practical example here: https://www.pinterest.com/pin/1234567890/.
For planning related accessories and structural add-ons, consider exploring available options for roof racks that can expand storage and utility without sacrificing interior space.
Build-Ready Materials: Choosing Food-Safe, Durable Components for Your DIY Food Trailer Truck
Key materials and where to use them
Selecting the right materials sets the foundation for a successful DIY food trailer truck. Material choices determine durability, cleanliness, weight, cost, and regulatory compliance. Aim for components that resist corrosion, withstand constant cleaning, meet food-safety expectations, and suit road use. Below is a practical guide to the main material systems you will specify, why each matters, and how to balance performance with build complexity.
Start with the shell and interior surfaces. The cooking, prep, and serving areas need smooth, non-porous finishes that tolerate frequent cleaning and sanitizing. Stainless steel is the industry standard. Choose austenitic stainless in the 300 series—most commonly 304—for the main body panels, counters, and work surfaces. It resists rust, chemicals, and staining, and it is easy to sanitize. In high-salt or high-humidity environments, consider 316 stainless for key wet zones; it offers greater corrosion resistance where salt spray or heavy humidity will be a factor. For counters, select sheet thickness that resists warping under load and heat; 1.5 mm or greater is a common and practical minimum in commercial fits.
Flooring must take heavier wear. Use textured, slip-resistant stainless steel or food-grade composite flooring with an anti-slip pattern in prep and service zones. The texture prevents slips and the material stands up to grease, water, and foot traffic. For the underlayer, pick a rigid substrate compatible with the top surface to prevent delamination. Avoid untreated plywood or porous materials in food zones; they absorb moisture and harbor bacteria.
Thermal control affects equipment performance and customer safety. For insulated walls, ceilings, and cold boxes, use closed-cell foam insulation such as polyurethane (PU) foam or extruded polystyrene (XPS). These materials offer high R-values per inch and resist moisture. Aim for an assembled wall R-value that suits your climate—R-values of 10 or higher are recommended where cold-holding and energy efficiency are priorities. Use water-blown or other non-ozone-depleting formulations, and avoid hazardous blowing agents. Seal insulation continuously to prevent thermal bridging and moisture intrusion.
Windows and service openings need to combine durability with clarity and safety. Laminated tempered glass in framed openings gives strength and impact resistance. Use stainless-steel framing for service windows and mountings to avoid dissimilar-metal corrosion. For order windows or sneeze-guard areas, consider impact-rated polycarbonate where weight or frequent opening is a priority, but ensure it is properly shielded from hot oil or flame sources to prevent damage.
The trailer’s structural and towing parts must be safe for highway use. Choose a hitch assembly and tongue that meet standard load ratings for your planned gross vehicle weight. Use heavy-duty axles, wheel hubs, and bearings sized to your payload. Include a suspension or shock system sized for both static weight and road impact. Prefer components with proven ratings and documents that support inspection and registration.
Electrical and mechanical systems are critical and must be specified with safety and code compliance in mind. For a commercial build, plan a 220V power distribution system with appropriate breakers, a ground-fault protection system, and water-resistant junction boxes. Use components rated to local electrical codes and certified to recognized standards. Design the wiring layout to separate power runs for high-draw appliances from lighting and small loads, and include capacity for future expansion. Install adequate ventilation and an approved exhaust hood over cooking equipment, with fire suppression where required.
Seals, adhesives, and coatings finish the build and protect seams. Use food-grade silicone or rubber gaskets at all food-contact seams and doors. Select sealants rated for high temperatures and frequent washdowns. For the trailer exterior, choose UV-resistant, corrosion-resistant industrial coatings. These protect metal from environmental exposure and reduce maintenance over time.
Small components matter. Faucets, sinks, and plumbing fittings should be stainless or certified food-grade materials. Choose drains with easy-clean traps. Hardware such as hinges, handles, and fasteners should be stainless and tamper-resistant where theft or vandalism is a concern. For wheels and casters used in staging or service, pick load-rated components and lockable casters to stabilize the unit when parked.
Supply chain and sourcing strategy will keep costs manageable and quality consistent. Work from specifications rather than brand names: call out grades of stainless, R-values and foam type, electrical ratings, and bearing load capacities. Order samples and small test panels before committing to large batches. When possible, buy modular components that match standard dimensions. This reduces fabrication complexity and improves serviceability. If you plan to outfit with standard accessories, consult guides on mounting options and accessory compatibility before finalizing wall studs and frames. A practical reference for accessory options is the truck accessories overview.
Plan for inspection and compliance. If the trailer will operate commercially, local authorities will expect documentation showing the materials meet food safety, electrical, and roadworthiness standards. Keep certificates for stainless grades, electrical components, insulation, and any certified fittings. Record material data sheets and install instructions for third-party equipment. This reduces delays at inspection and eases permitting.
Think long-term maintenance when you design and select. Favor materials that allow easy replacement of high-wear items such as floor panels, drain traps, or door seals. Design access panels for electrical and mechanical components to simplify repairs. Use modular cabinets or counters that can be removed and cleaned off-site if heavy contamination occurs.
Finally, balance cost, weight, and durability. Stainless steel offers longevity but increases weight and cost. Composites and aluminum can reduce weight but may need more protective coatings and careful detailing to avoid corrosion at joints. Match material selection to the trailer’s intended use: occasional festival work allows more budget flexibility; daily service demands robust, easily serviced materials. Document every choice in a build spec sheet so later decisions remain consistent.
For a reference example that lists common configuration choices and certifications used in commercial builds, review detailed supplier spec pages for custom food trailers. External resource: https://www.alibaba.com/product-detail/Mini-Custom-Food-Trailer-Fully-Equipped-Mobile_1600528178303.html
From Cardboard to Mobile Dream: A Practical, Playful Guide to DIY Food Trailer Trucks
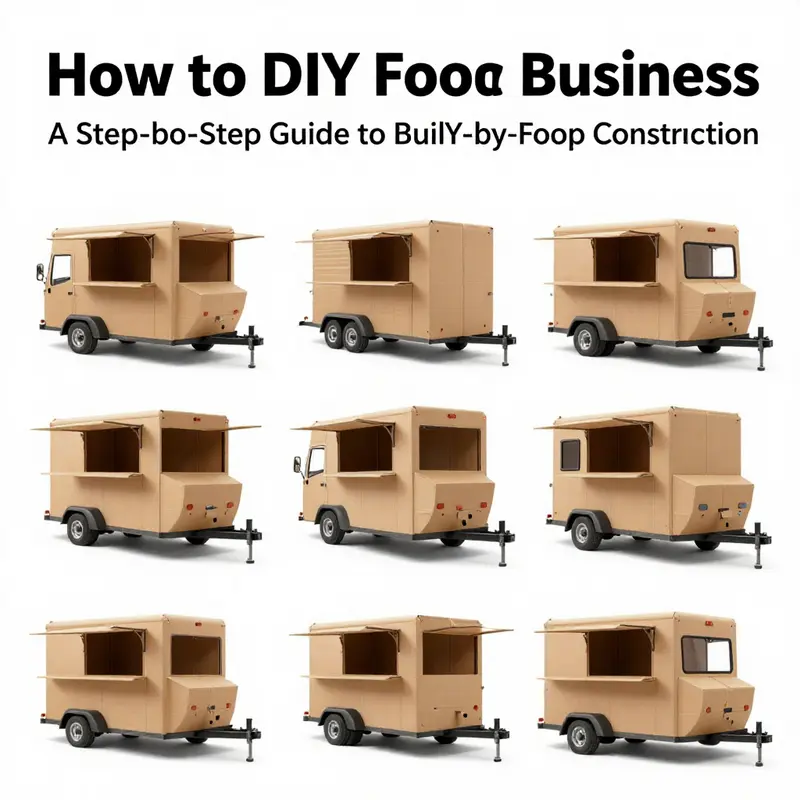
A DIY project that begins as play can grow into a meaningful exploration of space, layout, and making. When families or classrooms imagine a food trailer that fits inside a garage or a classroom corner, the first impulse is often to rush toward a finished look. But the most lasting lessons come from slowing down, planning, and testing ideas with simple materials. The idea here is not to imitate a real commercial kitchen in scale, but to translate the essence of a mobile food service into a hands on, kid friendly craft that teaches spatial reasoning, basic construction, and a love of making. While market options for ready to roll mobile kitchens exist, especially for adults pursuing a business, a cardboard model offers a safe, affordable, and endlessly adjustable sandbox. This approach invites curiosity about how a trailer is laid out, what functions are essential, and how materials behave under strain, all while keeping the activity approachable and enjoyable.
Begin with a design conversation that centers on the experience you want the trailer to provide. Sketch on paper and talk through the main zones: the trailer body that stores the pretend kitchen gear, a front section that acts as the cab or counter area, and a possible roof that adds character and shade for the pretend kitchen. The scale of the project matters. A child sized trailer, roughly the height of a kitchen countertop, keeps interactions comfortable and safe. You can adjust the size based on who will play the role of cook and the space you have. The planning phase is where imagination and practicality meet. It is also where a builder starts to learn about weight distribution, stability, and how different materials behave when cut, folded, or taped.
Materials are simple and forgiving. Cardboard boxes of various sizes form the core, with scissors or a box cutter for shaping, a ruler and pencil for precise lines, and tape to hold pieces together. Markers, paint, or colored paper bring personality and a sense of branding to the trailer, turning a plain box into a bustling storefront. Optional wheels can be added to explore mobility. Plastic bottle caps, wooden dowels, or small toy wheels can serve as axles or pivot points, letting the trailer roll across a smooth surface. The goal is not to achieve industrial strength but to learn how a shell is built, how joints come together, and how a simple design can create the illusion of a functional space.
As the build unfolds, the main body becomes the stage for experimentation. Use a large box to form the trailer, and carefully cut a wide window on one side to serve as the counter. A door opening can become the entry point for pretend customers or for a kid to reach inside and change the display. The front section, perhaps from a smaller box, can be shaped into a cab or a compact hood area that visually anchors the trailer to the ground. These elements are more than decorative; they help a young builder understand how a real mobile kitchen separates the cooking zone from the customer interaction zone. Tape the front section to the main body with a generous seam to simulate a solid connection, then assess the balance. If the front tips, add a small triangular support under the front edge or widen the base with extra cardboard layers at the rear to increase stability.
Details make a big difference in this kind of project. Cut out shapes for doors, windows, signs, and even a simple grill motif to convey the cooking space. Use color to suggest brand identity—perhaps a bold red and yellow palette or a cool teal and white scheme—so kids can imagine a signature look that customers would recognize in a real world setting. Decoration is not mere icing; it teaches color theory, contrast, and the power of simple symbols to communicate function. A printed logo or a chalkboard style menu can be sketched with markers and then traced with paint to create a more tactile, engaging surface. If time allows, attach a small shelf inside or a tray that slides out, representing a pretend counter where items could be displayed or handed to customers. This small feature helps translate two dimensional drawings into a usable, interactive space and demonstrates the value of planning for user flow in any mobile kitchen.
The playful aspects of the build often reveal practical lessons. For instance, when deciding how the trailer will move, experiment with wheels or the illusion of wheels. If you place bottle caps at the corners and tie the axle to the base with a simple dowel, you can imitate a rolling trailer. If wheels feel risky on uneven floors, you can simply create a stand that mimics a locked position with a tab or tuck a small kickstand under the back to keep the trailer stable while playing. The construction process is not about creating a durable, road worthy vehicle but about understanding how a compact shell becomes a stage for pretend work. It is a safe, educational space to explore sizing, weight distribution, and the choreography of a customer interaction moment, all while nurturing a child’s confidence in making things by hand.
As the model takes shape, the interior becomes a quiet laboratory for imagination. A tray or shallow box can act as a pretend food prep area, while a cutout window becomes the trade counter where plastic food items or drawings of menu offerings sit in place. The pull out counter idea, while simple, can be implemented with a shallow cardboard tray mounted on a small slip of cardboard that slides in and out. This detail introduces the concept of modular design, where components can extend or retract to alter functionality. You might also sketch a tiny pretend signage or a painted menu on the exterior, reinforcing the idea that a mobile kitchen is not just about form but about the story it tells to the people who visit.
What makes a cardboard DIY trailer so compelling is its openness to iteration. If a particular side feels too fragile or a cut line is too wide, you can adapt with another layer of cardboard, stronger tape, or a different folding approach. The beauty of cardboard is that it is forgiving; it can be reshaped as a child learns how to translate a two dimensional drawing into a three dimensional object. At the same time, this project introduces early engineering thinking. The balance between weight, support, and proportion is a natural lesson in sustainability and design. You learn to anticipate how joints will hold when the model is handled by small hands and how to keep corners from collapsing under casual play. The exercise becomes a gentle primer on the engineering mind, one that can evolve into more complex, real world projects later on if interest deepens.
For those curious about the landscape beyond cardboard, the chapter acknowledges the range of real world options that exist. Ready made food trailer kits and fully equipped mobile kitchens span a wide spectrum of sizes and capabilities, from compact storefront configurations to large, turnkey kitchens. These commercial choices highlight the breadth of what is possible when cost, compliance, and ambition align. Yet they also emphasize a core truth about making anything mobile: the value lies in understanding how space is organized, how people move through it, and how the experience is shaped by small, well considered details. The cardboard model offers a safe, flexible playground to practice those fundamentals before stepping into more complex builds or professional planning. When the time comes to consider a more serious project, the experience of planning layouts, testing interaction flows, and iterating based on play feedback becomes a valuable foundation.
If you want to explore related ideas or dive deeper into the world of mobile setups, you can look at broader resources that discuss the modular approaches and accessories involved in truck and trailer customization. For practical tips on compatible accessories and organizational systems, a concise guide to truck boxes can be a useful starting point. You can learn more about these concepts here: truck boxes. This internal reference provides a bridge from playful DIY to more functional storage and organization thinking that can inform future steps in any mobile kitchen project. At the same time, it is important to ground play in safety and responsibility. When the project scales toward real world use, you will need to consult official guidelines on mobile food vending, including health and safety standards. A dependable external resource to begin that conversation is the consumer safety and food guidelines site maintained by the regulatory authorities, which outlines essential practices for any food service operation. External resource: https://www.fda.gov/food.
In the end, the cardboard trailer is not an endpoint but a doorway. It offers a tangible, tactile way to explore design choices without the pressures of budget, permits, or inspections. It invites questions about what a successful mobile kitchen should feel like, how a cook interacts with customers, and what details make a storefront welcoming. The project quietly teaches patience, problem solving, and the value of reimagination. As you move from the initial cardboard build toward more ambitious experiments, the experience gained here will become the backbone for more refined projects. The next chapters can expand on converting these playful models into more realistic or modular builds, while still preserving the essential spirit of hands on learning and creative exploration.
Building Personality and Practicality: Creative Features for Your DIY Food Trailer Truck
Designing a food trailer that sparks joy and works efficiently means balancing personality with practicality. Start by thinking of the trailer as three layers: the structural shell, the service front, and the customer-facing personality. Each layer supports creative features, and each must be planned so the whole unit stays safe, durable, and easy to use. Keep your plan simple, then add one or two standout elements that reflect your menu and style.
A useful way to approach features is to prioritize the essentials first. Solid walls, a firm counter, and a secure floor come before decorative flourishes. Once those basics are in place, creative additions can focus on improving workflow, attracting customers, and increasing versatility. Consider a sliding serving window that opens wide for busy hours but locks tightly for transport. A hinged fold-out counter paired with a simple latch makes service flexible without adding permanent bulk. For inspiration and ideas about small add-ons that increase functionality, see this truck accessories resource: truck accessories.
Think modular. Create shelving and display elements that attach with screws or quick-release brackets. This keeps upgrades simple and lets you reconfigure the space for different menus. Stackable, removable shelving lets you switch between hot items and baked goods in minutes. Use clear acrylic or shallow display trays for desserts or snack items so customers see the food without compromising hygiene. Build the trays to slide on runners or rest on shallow ledges to keep cleaning easy.
Lighting changes perception. A strip of warm LED lighting over the serving counter makes food look inviting in low light. Use battery-powered or low-voltage LED strips to avoid heavy wiring. Consider layering lights: task lighting for work surfaces, ambient lighting for mood, and accent lights to highlight signage. If you want off-grid capability, add a small solar panel and a compact battery. Keep the system small—just enough to run lights, a small blender, and a refrigeration fan if needed. Solar allows you to set up at remote events without shore power.
Display matters. A built-in display case or an external sandwich-board frame showcases daily specials. For a DIY build, a shallow, framed window box with acrylic panes and removable shelves is simple and effective. Insulate the box with thin foam board and line it with washable surfaces for easy sanitation. If you plan to display chilled items, design the box with airflow and space for a small, energy-efficient cooler or fan-assisted refrigerated insert.
Shelving and storage should be compact but accessible. Design lower cabinets for bulk items and upper open shelves for things you reach for frequently. Use lip edges to prevent items from sliding during transit. For smaller builds, magnetic strips or pegboards on the inside wall hold utensils and small pans. Removable bins or slide-out trays keep everything organized and make cleaning faster.
Ventilation is essential whenever heat sources are involved. Even in a small DIY trailer, a compact exhaust fan or a passive vent helps remove heat and odors. Place the vent above cooking or heating areas and direct exhaust away from the serving window. If you use a small grill or open flame, consult local rules on ventilation and fire safety. Non-combustible shields behind heat sources protect cardboard or wood interiors.
Choose finishes that are both attractive and food-safe. Stainless-steel or food-grade plywood for counters is ideal. If those aren’t available, seal painted wood with a food-safe varnish. Use removable, washable mats on counters for quick turnover. For countertops that double as a creative canvas, consider chalkboard paint on a small menu section. It’s cheap, customizable, and easy to update daily.
Branding turns a humble trailer into a moving business card. Pick a simple color palette and one visual motif that matches your menu. A hand-painted logo, a stencil of your main item, or a patterned awning adds charm. Keep signage clear and readable from a distance. For smaller projects or kid-friendly versions, stickers and cut-out shapes work well to communicate the theme.
Mobility and stability go hand in hand. If your build uses homemade wheels or bottle-cap casters, ensure the trailer rests on a stable base when parked. Add wheel chocks and a simple leveling jack made from stacked blocks or a small screw jack. If you’re making a larger trailer or adding actual axles, make sure load distribution is even so the trailer trails flat and safe behind the tow vehicle.
Safety features should be unobtrusive but effective. Install a basic fire extinguisher within easy reach. Keep a first-aid kit on board. Secure knives and sharp tools behind magnetic strips or in sheathed holders. Use non-slip tape on steps and on the floor near active cooking zones. Label any areas that get hot, and design pick-up and payment points so customers don’t reach across cooking spaces.
Small comforts boost customer experience. Add a fold-out awning to protect guests from sun or rain. Attach a hand sanitizer dispenser near the service window. Include a small tip jar or card-reader shelf that keeps payment devices secure. These low-cost touches improve perceived value and can speed service.
Materials sourcing matters. Economical, standardized components make builds simpler. Many suppliers worldwide offer compact sinks, small refrigeration units, and ventilation fans at accessible prices. Buying standardized parts helps if you want to later upgrade or replace pieces without custom fabrication. Consider local suppliers first; they often provide faster delivery and easier returns.
If you’re building with children or as a craft activity, adapt features for safety and simplicity. Replace glass with clear plastic. Use blunt-ended tools and pre-cut pieces. Let kids lead design choices for colors and decals. Create interchangeable panels they can paint and swap. This approach keeps the project playful while teaching basic design and engineering concepts.
Finally, test everything before you open doors for customers. Run the trailer through a mock service. Check how the cash flow works, how items are passed through the window, and whether staff can move freely. Make adjustments to counter height, shelf placement, or lighting based on that rehearsal. Small changes now save frustration later.
For deeper visual inspiration on how mobile spaces can combine style and functionality, explore this example site: https://www.airstream.com/
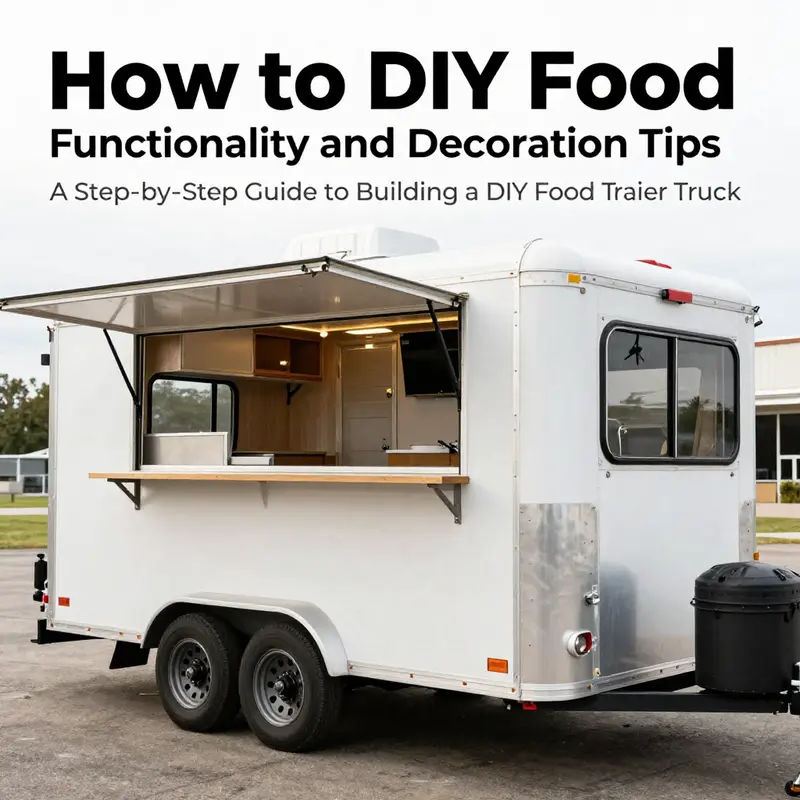
From Function to Flair: Mastering Functionality and Decoration in Your DIY Food Trailer Truck
A DIY food trailer truck is more than a playful project; it is a portable stage where practicality and personality meet. When you start this journey, the most valuable compass is a well-considered plan that translates a kitchen into a mobile experience. The core idea is simple: design a space that supports efficient work, keeps guests engaged, and travels without compromising safety or flavor. That starts with a clear layout drawn on paper and then translated into cardboard mockups or lightweight prototypes. In a real trailer, you would segment the interior into four zones—preparation, cooking, storage, and serving. Even in a smaller build, you can preserve this logic by mapping where counters will live, where a cook can move without stepping over a sink or a stove, and where a small fridge or a dry storage shelf should be tucked away from heat, steam, and traffic. The counter’s height becomes not just a matter of comfort but a signal to workers about where their hands should land when they reach for utensils, ingredients, or a finished dish. A simple rule of thumb is to place the primary work zone near a window or service opening, with the cleaning and storage zones behind or to the side, so the line of sight to the customer remains unobstructed and welcoming. The flow matters as much as the flavor; a well-planned route reduces trips, speeds service, and lowers the chances of cross-contamination in a busy moment. Even the most modest trailer benefits from a deliberate approach to light and air. Natural daylight from a window or skylight can make a tiny space feel bigger, while a compact ventilation solution keeps heat from turning the entire interior into a heat trap during peak hours. The beauty of a DIY project is that you can adapt the plan as you learn, testing the rhythm of your operation before you commit to a single layout.
Functionality serves as the backbone, but decoration and branding give your trailer a voice that draws customers in and makes your booth memorable. The exterior is your storefront on wheels, so bold, legible graphics and a cohesive color story do the heavy lifting of first impressions. You may not need a full commercial wrap to make a striking statement; a durable paint job, contrasted trim, and a simple, repeated motif can be equally effective. Consistency between exterior and interior is essential. If your signs and colors shout one message outside, they should echo inside the trailer’s paint, signage, and even the texture of the shelving or the color of the menu board. A large, easy-to-read menu board on the serving window is a practical centerpiece; guests decide what they want before they approach the counter, and a clear display reduces the time spent answering questions and clarifying choices. Inside, lighting does double duty: it ensures a comfortable working environment for staff and creates a welcoming ambiance for customers after dusk. LED strips or puck lights along shelves and above the service window can illuminate prep zones while saving energy and avoiding glare on stainless steel surfaces where recipes are assembled. Color accents, signage, and even small decorative elements—like a hand-painted logo or a mural that reflects your cuisine—inject personality without sacrificing cleanliness or professionalism.
The equipment you choose will define both the capabilities and the footprint of your trailer. A compact but capable kitchen needs a stove or grill appropriate to the dishes you intend to serve, a refrigerator or freezer to keep perishables in optimum condition, a sink for washing and sanitation, and an exhaust system to manage steam and odors. Storage shelves and labeled containers help keep ingredients organized so that speed buyers do not get slowed by rummaging through bins. Power becomes a critical piece of the puzzle: you may rely on a generator for flexibility or connect to external power at markets or events. In either case, it is essential to plan for redundancy and safety. Ground-fault circuit interrupters, proper gauge wiring, and weather-resistant connections protect staff and equipment in unpredictable outdoor conditions. Attention to ventilation cannot be overstated; without adequate airflow, heat and smoke accumulate, affecting flavor and worker comfort. Even a modest trailer should have a clear path to a fire suppression device, a dedicated space for a first-aid kit, and readily accessible shutoffs for gas or electrical lines. A well-balanced trailer is not about sheer capacity; it is about balanced weight distribution that keeps travel stable and reduces wear on the hitch and tires. Design the trailer so that the heaviest items—like refrigeration units and water tanks—sit low and centered, with lighter, frequently used tools within arm’s reach. When you test your layout, push a rolling cart or a mock tray along the intended work corridor to confirm there is enough clearance for stepping, turning, and opening doors, even with protective gloves on.
Safety and compliance form a parallel lane alongside creativity. Local health codes govern everything from handwashing enhancements to proper separation of raw and cooked items. The most sensible path is to treat a DIY concept as a foundation to be upgraded to professional standards as soon as you scale. This includes establishing a robust ventilation plan, installing an appropriate fire suppression system, and certifying that electrical and gas fittings align with standard industry practices. A credible plan also calls for a clear separation of zones so that raw ingredients never mingle with cooked foods, and to maintain sanitation throughout long service windows. The towing and stability aspects deserve careful attention, particularly if the trailer will be moved between venues. A sturdy tow bar and a balanced trailer are critical; check the hitch type and ensure secure connections, with a reliable mechanism for distributing weight evenly from front to back. Practically, this means not loading heavy equipment at the tail and ensuring the tongue weight is appropriate for the vehicle you plan to tow. A practical test, performed on a calm day, should include gentle acceleration and braking, a few tight turns, and a simulated cornering scenario to verify that nothing shifts inside and that the service window remains accessible from various angles.
Decoration, branding, and customer experience thread through the entire build. Exterior design should shout your concept at a glance, but it must also communicate clarity because a line of customers will be reading your identity from a distance and from the side. A cohesive visual language—bold colors, a single, clear logo, and consistent typefaces—lets passersby understand what you offer in seconds. If a wrap is not practical or affordable, a combination of painted panels, vinyl decals, and eye-catching signage can still create a striking storefront that travels well. The interior should echo that same language, with shelving, signage, and even the interior color palette reinforcing the brand. An unmistakable service window design accelerates transactions: consider a window sized for two lines of sight—one for greetings and take-order questions, and another for presenting finished items or exchanging utensils. The window should be tall enough for easy interaction while not obstructing sightlines to the cooks. Good lighting completes the picture; bright, evenly distributed light ensures staff can see ingredients clearly and customers can read the menu without squinting, especially during twilight events.
In practice, the DIY path invites experimentation and learning. The project can begin with a playful, scaled model that helps you visualize movement and access. As you grow more confident, you shift toward the real build, selecting equipment that fits within your space constraints and budget. The most successful trailers balance cost with durability and serviceability. For instance, modular components allow you to swap out a fridge or a stove as you refine your menu or as local health requirements evolve. The same approach applies to storage: clear bins and labeled shelves make restocking intuitive and fast, enabling your team to maintain a clean, efficient workspace even during the busiest moments. To keep inspiration flowing, remember that design evolves with experience. The exterior may begin with a straightforward color scheme but can incorporate decorative elements that reflect seasonal menus or limited-time offerings, keeping your branding fresh without complete overhauls. And because a trailer must endure the road and the weather, invest in components that resist corrosion, ease cleaning, and withstand daily wear.
As you chart the balance between structure and style, consider the resources that support the journey. For a deeper dive into accessories and add-ons that complement layout planning and storage, explore the hub dedicated to truck accessories, where practical options can enhance both workflow and presentation without overwhelming the core concept. truck accessories. While the DIY mindset invites improvisation, the careful integration of safety, functionality, and branding lays a foundation that will support growth, event hopping, and an expanding menu. In this way, your trailer becomes more than a mobile kitchen; it becomes a trusted, recognizable venue that communicates quality as powerfully as the flavors it serves.
For further reading and broader industry context, external inspiration can be found in established mobile kitchen designs that demonstrate how professional features translate into road-ready systems. External inspiration: https://www.alibaba.com/product-detail/Airstream-Trailer-Mobile-Kitchen-Food-Truck_1600795852645.html
Final thoughts
Building a DIY food trailer truck can empower business owners to establish their brand in the competitive food industry. By thoughtfully planning your design, selecting the right materials, executing step-by-step construction, adding unique creative features, and ensuring functional aspects are prioritized, you can craft a food trailer truck that not only stands out but also supports efficient food service. Embrace this rewarding venture and transform your culinary ideas into reality, offering delicious food experiences on the go.