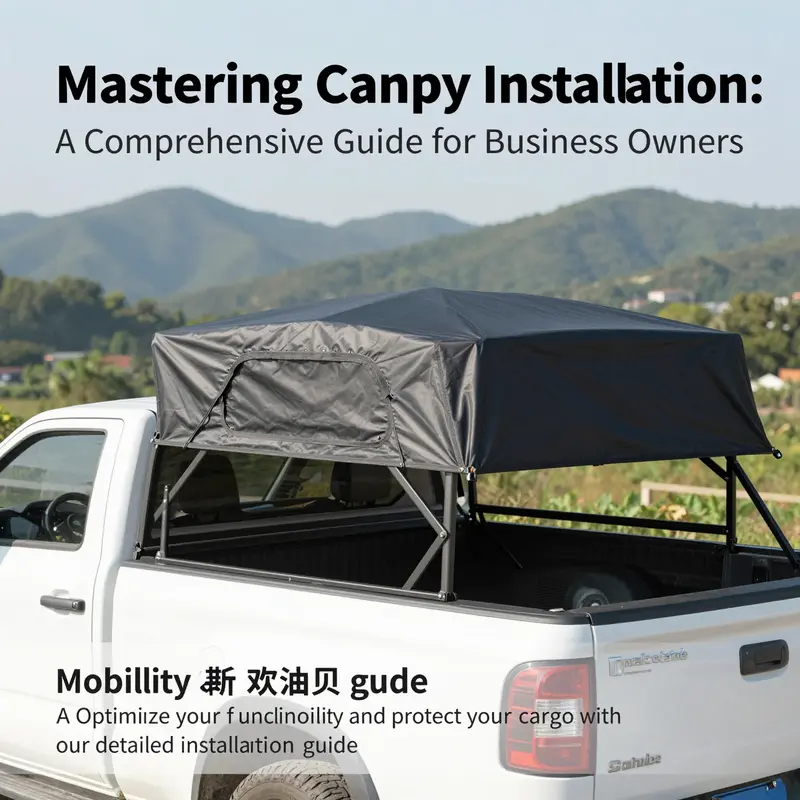
Installing a canopy over your truck bed is not just a matter of aesthetics; it’s crucial for enhancing the functionality of your vehicle, especially for businesses reliant on transport. Whether you’re delivering goods, transporting tools, or need a secure place to store your equipment, the right canopy can elevate your operational efficiency. This guide will walk you through the essential steps needed to choose, prepare, install, and maintain a canopy, ensuring your investment pays off in durability and convenience. Each chapter builds upon the last, equipping you with the knowledge to make informed decisions every step of the way.
Choosing the Right Canopy: A Thoughtful Guide to Fit, Durability, and Access for Your Truck Bed
Selecting a canopy for the truck bed is more than a single hardware choice. It is a practical decision that touches how you protect cargo, how you access tools, and even how your vehicle looks while parked at the job site or in a driveway. The best canopy for your rig aligns with how you use the truck, the climates you drive through, and the way you want your cargo space to behave day to day. Before you even compare models, start with the essentials: the bed size, the rails you have, and the way the canopy will sit with the truck’s body lines. A thoughtful approach acknowledges that canopies are a category of truck accessories that can transform a basic bed into a controlled environment or a flexible storage zone. To orient your evaluation, consider how often you need full bed access, whether you require added weatherproofing, and how important security is to you. This framing helps you study options with a clear goal rather than chasing features you won’t use. For a broader view of how canopies fit into the larger system of truck accessories, see the general Truck Accessories overview which places bed coverings in the ecosystem of add-ons that shape performance and practicality.
If you think in terms of two fundamental families—hard sided and soft sided—the core tradeoffs become easier to weigh. Hard sided canopies are built to endure. They shield cargo from weather, resist impacts, and deter theft more effectively than soft sided options. They can also integrate into a streamlined silhouette that reduces air turbulence and noise at speed, and some models extend storage space above the cab for tools and gear that you want kept out of the weather while staying organized. Yet this durability has a price. Hard sided shells are heavier, bulkier, and taller. Height considerations matter, not only for garage clearance but also for the rhythm of daily use. If you park in a low-ceiling carport or frequently need to back into tight spaces, the extra height may become a limiting factor. The installation footprint is larger, and some aftermarket systems require precise mounting to bed rails or specialized brackets. In exchange, you gain a long life span, robust seals, and reliable performance in demanding environments.
Soft sided canopies, by contrast, emphasize flexibility and ease. They often install quickly and preserve full bed accessibility when you need to haul oversized loads or swap cargo in and out without wrestling with a rigid shell. They tend to be lighter, which lowers installation effort and may simplify removal during seasonal use. Soft sided options shine in coastal or wet environments where rust and corrosion are a concern, because fabric and flexible frame materials can resist some forms of weather exposure when treated with appropriate coatings. They are generally more budget-friendly upfront and easier to customize with removable panels or modular sections. The tradeoff is protection and security. Fabric and lightweight frames offer less resistance to heavy impacts and theft than hard shells, and they typically require more proactive maintenance to preserve seams, zippers, and fasteners. When your routine involves switching between dry storage and full-bed stock, a soft sided canopy gives you the most straightforward way to adapt without a heavy commitment.
The choice between hard and soft canopies should hinge on three linked considerations: the primary environment, the typical cargo you carry, and the level of access you demand. If you operate on construction sites, navigate harsh weather, or regularly transport valuable equipment, the hard sided option often proves the most efficient in the long run. It can keep tools dry, limit moisture intrusion, and provide a secure space that deters theft when you’re away from the vehicle. On the other hand, if your work or recreation requires quick, repeated loading and unloading, or if you frequently reconfigure the bed for different pursuits, a soft sided canopy provides the flexibility you need without slowing you down. For outdoor enthusiasts who haul gear like bikes, kayaks, or camping equipment in unpredictable weather, the ability to remove or collapse portions of the enclosure can be a decisive advantage. The reality is that many owners end up selecting a hybrid approach—starting with a soft sided system for a season and then upgrading to a hard sided shell as needs evolve. This iterative path is common because it allows you to test how the canopy fits your daily workflow before committing to a more permanent solution.
Beyond the basic division between hard and soft, material quality and construction detail begin to shape long-term satisfaction. Hard sided canopies typically use fiberglass, aluminum, or composite panels wrapped in weatherproof coatings. The benefit is clear in terms of rigidity, aerodynamics, and external protection. Look for seals that stay flexible in temperature swings and hardware that resists rust and corrosion. Integrated features matter, too. Some hard sided designs offer front sliding windows or cab-confronting panels that improve access to the truck’s interior without opening the entire tailgate area. These refinements reduce the need for extensions or additional bed space, keeping workflows clean and efficient. Soft sided options lean on fabric durability, frame stiffness, and weatherproofing membranes. A canopy that uses high-grade canvases or DWR-treated fabrics with reinforced seams and sturdy zippers tends to hold up in rain and sun alike. Yet you’ll want to verify that the fabric and frame system can handle your loading patterns without sagging or flapping at highway speeds. The material choice also intersects with maintenance: fabrics may require occasional cleaning and reproofing, while metal frames demand regular checks for loose fittings and corrosion protection.
Size and fit are the next critical lenses through which to evaluate options. The bed length and rail configuration determine not just compatibility but how cleanly the canopy sits on the truck. A good fit follows the natural contours of the bed and aligns with the truck’s body lines, avoiding awkward gaps along the rails or near the tailgate. A level, well-seated canopy minimizes wind chuck and reduces the risk of leaks at seams. The bed’s tailgate geometry matters, too. If the tailgate opens independently of the canopy, you want to ensure there is no interference that would force you to modify the system or compromise seals. Height clearance is another practical concern. Even a slightly taller shell can create friction in a standard garage or under a carport with a low beam. When possible, measure the maximum height of your intended configuration and compare it to the overhead limits of your typical parking spaces. In addition to height, consider how much room you want at the top for racks or any add-ons that might ride on the canopy, such as ladder racks or cargo panels.
Compatibility with the bed rails is not just a matter of securing the shell but also of ensuring you preserve access to essential features. Some rails are slim and designed for clamp-on mounting, while others accommodate bolt-in brackets that form a sturdier foundation. Neither choice should compromise the ability to open the tailgate or to use any built-in sensors or backup aids. A canopy that moves or seals smoothly when you operate the tailgate is a sign of thoughtful engineering. If the canopy includes sliding elements or a track system, you want to understand the electrical or mechanical requirements. Manual operations are straightforward but require more physical effort, while motorized versions add convenience and complexity. The promise of a track-based design is consistent opening and closing, but you should verify the ease of maintenance, potential for debris ingress, and how the system handles exposure to moisture.
As you refine your shortlist, consider the broader ecosystem of maintenance and upkeep. Durability is not only about initial strength but about how the unit ages. A canopy that stays dry inside, resists rust, and keeps its seals elastic over time will reward you with lower maintenance costs and fewer surprises after long storage. This means asking about warranty coverage, the ease of replacing weather seals, and the availability of compatible accessories that keep the canopy versatile across seasons. A strong canopy system should also be compatible with your existing truck features. If you rely on backup sensors, cameras, or proximity alerts, ensure that the installation does not introduce interference or blind spots. The sense of confidence that comes with selecting the right canopy is reinforced by imagining typical use cases: a rainy day drive with cargo protected, a dry day of equipment loading in a dusty environment, or a weekend expedition where you want to maximize cargo space while keeping gear organized and secure.
The decision process culminates in practical validation. Take careful measurements of bed length, rail type, and clearance. Compare these figures with manufacturers’ specifications and ensure that the canopy’s mounting system matches your truck’s geometry. It can be helpful to speak with a knowledgeable installer or a shop that specializes in truck enclosures to confirm you’ve interpreted fit notes correctly. While a DIY approach is feasible for some soft sided systems, more robust hard sided setups often benefit from professional installation to guarantee seals, alignment, and long-term reliability. That professional touch can also clarify whether a canopy’s design would support additional accessories such as racks or integrated storage above the cab, while preserving cab access and visibility. This layered evaluation—considering environment, cargo, access, materials, fit, and maintenance—helps you pick a canopy that will be as functional and durable as the truck you drive.
As you narrow your options, your next steps naturally point toward hands-on comparison: measure, assess mounting points, and, when possible, preview a live fit with your own truck. The goal is to move from a theoretical checklist to a real-world sense of how the canopy behaves in everyday use. With a clear framework in mind, you can pursue detailed installation guides and model-specific guidance that align with your chosen canopy family, always keeping in view the balance you’ve established between protection, accessibility, and cost. For deeper technical background and performance considerations, see this external canopy guide: https://www.offroad.com/jeepp Gladiator-canopy-guide.
Solid Groundwork: Preparing the Truck Bed for a Weather-Ready Canopy Installation
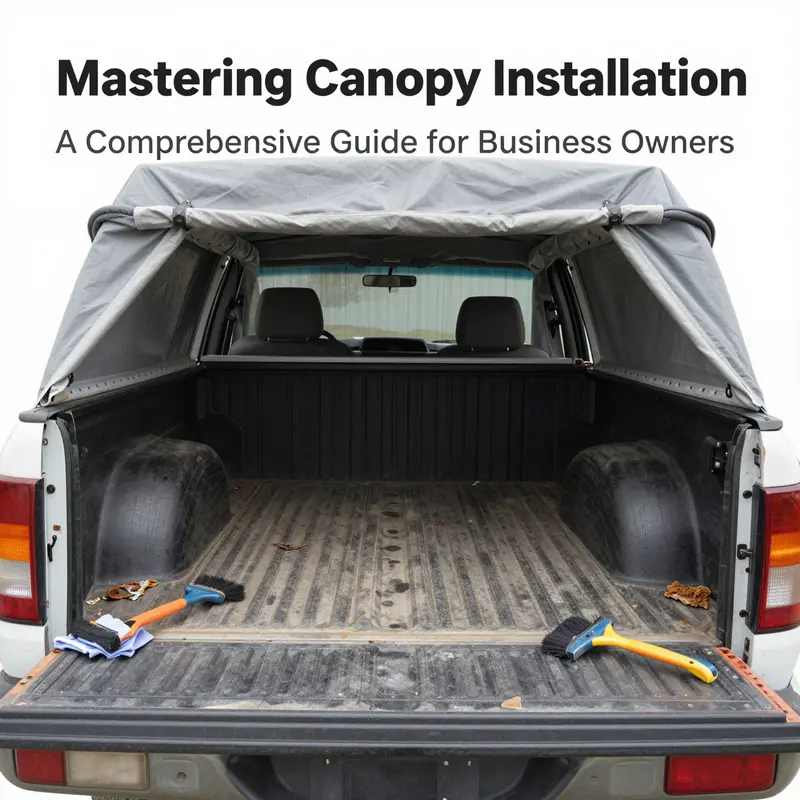
The canopy that will shield your cargo begins its life long before the first bolt goes in or the fabric settles over the bed. Preparation is not a tedious preface but the foundation that determines whether the canopy stays secure, weather-tight, and true to the truck’s lines for years. This chapter navigates the quiet, meticulous work of getting the truck bed ready—clean, solid, and precisely mapped—so the actual installation can proceed with confidence. It is the moment when surface becomes structure, and care now pays dividends later whenever you open and close the cover, drive through a rainstorm, or haul delicate gear across the country. The idea is straightforward: a clean, undisturbed base, a bed that’s free of damage, and mounting references that align with your truck’s geometry. When these elements are in place, the canopy can be positioned and fastened with the assurance that it will perform as designed, not as a makeshift add-on. The road to a durable canopy starts with a disciplined prep routine and a clear plan that respects the truck’s original engineering while accommodating the canopy’s specific mounting system. For reference beyond this backdrop, a broader discussion of truck accessories can offer additional context on how various mounting systems integrate with the vehicle’s existing hardware. Accessories.
A practical mindset underpins every prep step. Treat the bed as a workspace that must resist shifting, moisture, and debris from day one. Start by thinking through how the canopy will interact with the bed rails, the tailgate, and any installed bed liner. Some liners provide a cushioned surface that reduces rattling, while others offer a slick, non-porous finish that can complicate bracket adhesion. Each scenario requires a tailored approach to cleaning and preparation. The goal is to remove every particle that could harbor moisture or compromise fastener grip. This means not only visible dirt but also old adhesive residues from previous accessories, waxy film, and grease from moving cargo. Choosing the right cleaners matters. Mild degreasers work well on metal without corroding surfaces, and a final wipe with a clean, dry cloth ensures the bed is truly dry before you begin measuring or placing brackets. The bed must be dry to create accurate marks and ensure fasteners thread smoothly without stray grit changing alignment later. A clean bed also makes it easier to see minor flaws that could affect mounting accuracy, such as subtle waviness along the rails or the presence of small burrs that could bite into a bracket edge.
Equally important is an honest assessment of the bed’s condition. A canopy is only as good as the surface that supports it. Begin with a visual sweep for rust, pitting, or thinning metal around rail anchors, frame points, and tailgate contacts. Any rust should be treated and stabilized before proceeding. If the bed shows signs of bending or warping, or if the rails have shifted over time, address those issues first. Structural compromise here will translate into misalignment once the canopy is installed, leading to uneven gaps, wind noise, and potential water intrusion. Pay particular attention to the bed rails—the primary anchors for most canopies. If you notice loose mounting holes, damaged threads, or corrosion around these anchors, plan for reinforcement or professional repair before attempting a full install. This isn’t merely a cosmetic concern; brackets rely on solid metal and clean threads to achieve a secure, long-lasting hold.
With the bed cleaned and any structural concerns under assessment, you can begin planning the mounting footprint. This step is not a guess but a precise, measured placement of brackets or clamps that will carry the canopy’s weight and resist wind forces at speed. Use a tape measure and a level to map out bracket positions. Take multiple measurements from fixed reference points on the truck—such as the tailgate edge, the corner of the bed rail, and the alignment lines along the bed—to ensure the marks are reproducible. If your canopy is designed for a specific bracket pattern, mark the exact locations where bolts will pass through the rails or into reinforced point mounts. It’s wise to prepare for two scenarios: one for a standard, non-electrical canopy and another for a model that includes power components, like a retractable roof or an integrated lighting system. For electrical paths, you’ll want to route wires along the inside of the bed rails or beneath a protective loom, avoiding pinch points near the tailgate hinge and ensuring the control switch has a clean, accessible placement. A careful layout also helps you anticipate any interference with the tailgate’s operation and with truck bed accessories already installed. If you’re exploring the broader world of mounting options, you can consult the general guidance on accessories to understand the trade-offs between clamps, brackets, and permanent mounting. Accessories.
Preparing tools and materials is more than a checklist; it’s a readiness ritual that reduces delays and missteps. Before you touch a drill or a bolt, gather the driver bits and socket set that match the hardware kit included with the canopy. You’ll likely need a drill with a conservative bit size for pilot holes, a torque wrench to avoid over-tightening and distorting mounting points, and a screwdriver for any clamps or brackets that use cross-head screws. A utility knife, masking tape, and a soft mallet can help in aligning parts without marring the metal. Gloves and eye protection keep the work comfortable and safe. If you’re dealing with a sprayed-on liner or a heavy-duty coating, check compatibility with fasteners to prevent galvanic corrosion where metal meets metal or metal meets aluminum. A careful, pre-assembled parts inventory prevents last-minute scrambles, and having a compact, organized workspace reduces the risk of losing small fasteners under the bed or in the wheel wells. The aim is to have every bolt, bracket, gasket, and seal within reach, labeled and oriented for quick reference during the actual install. In this preparation phase, you are not just assembling hardware; you are aligning your expectations with the canopy’s design while respecting the truck’s original construction.
Another dimension of preparation concerns the bed liner and its interaction with the mounting method. If you have a spray-in liner or a rigid bed liner, you may encounter more resistance to bracket attachment or a higher probability of slippage if the liner lacks traction. Depending on the model, you might need to drill through the liner and into the metal bed or you may rely on clamps that grip over the top edge of the rail or along exposed points after trimming away any excess liner tape. Each choice carries implications for comfort, water seals, and warranty considerations. It’s essential to consult both the canopy’s installation manual and the truck’s owner guide before drilling through a liner, as some liners may have limited warranty stipulations once penetrations occur. If you’re uncertain, consider temporary mounting trials using non-destructive clamps to confirm fit and alignment before committing with permanent fasteners. This phase—the tactile, hands-on verification—often reveals misalignments that visual measurements cannot capture, such as slight bow in the bed rails or a tailgate that doesn’t align perfectly with the truck’s body lines. Correcting these early prevents the sense of “fit” from diminishing once the canopy is in place.
Routing electrical components, if your canopy includes powered features, deserves early attention in the prep sequence. Plan the path for any wires, keeping them away from moving parts, sharp edges, and potential heat sources. A clean route under the rail covers or along the underside of the bed floor reduces the chance of abrasion and simplifies future maintenance. If the canopy uses a motor or actuator, you may need to recruit a power source from the vehicle’s electrical system. That step should be sequenced with care to avoid draining the battery or triggering the vehicle’s electrical alarms. In many installations, you’ll mount a control switch in a position that’s easy to reach from outside the cab or the cargo area, ensuring weatherproofing is considered from the outset. A well-planned electrical layout reduces the risk of vibrations that could loosen connections and creates a neat, professional finish when the cover finally closes over the bed.
As you finalize the prep, imagine the canopy’s future stance: not a bump on the back of the truck, but a purpose-built shelter that mirrors the vehicle’s lines and can be engaged or retracted without wincing at misalignment. This vision helps keep you methodical at every step—from marking precise locations to double-checking levelness and ensuring that no fastener will contact the tailgate when it opens. The discipline of preparation bears fruit when the installation moves from concept to reality. It minimizes post-install surprises and builds a case for long-term weatherproof performance. If you’re seeking broader context about how this step fits into a complete canopy project, the discussion of truck accessories provides overarching guidance on how different mounting strategies interact with the truck’s existing hardware and frame points. Accessories.
With the truck bed thoroughly cleaned, structurally sound, precisely marked, and all tools at the ready, you stand at the threshold of installation with confidence. The next chapter will translate that preparation into mounting the canopy itself—bolts tightening to specification, brackets seated square, and the top panel aligned to the vehicle’s contours. The work you’ve done here is what makes that transition smooth, predictable, and ultimately satisfying. For readers who want to explore further practical guidance on how to approach this broader category of truck upgrades, an external resource offering a comprehensive overview of canopy installation and related accessories can be useful. External resource: https://www.autozone.com/vehicle-accessories/truck-bed-canopies/.
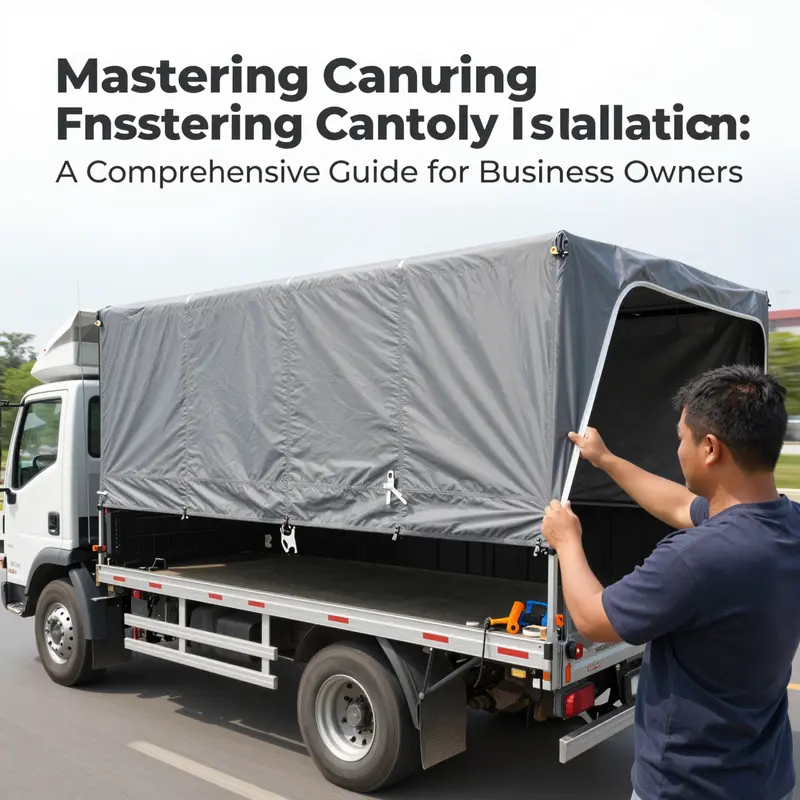
Steady Shelter: A Practical, Stepwise Guide to Installing a Canopy Over a Truck Bed
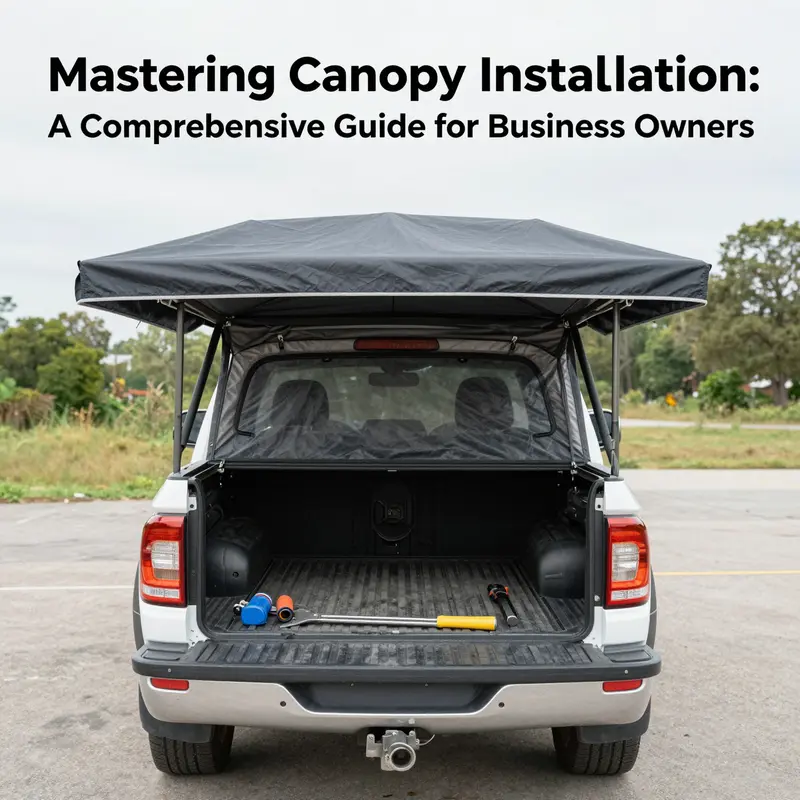
In summary, installing a canopy over a truck bed is a disciplined, repeatable process. It begins with choosing a compatible canopy and ends with a tested, weatherproof shelter that supports a wide range of tasks. The steps—planning, preparation, frame assembly, fabric tension, weatherproofing, and final testing—form a clean, logical sequence. Although the process varies with fabric, shell, or retractable designs, the underlying principles stay the same: align carefully, secure firmly, seal thoroughly, and test comprehensively. When you combine attention to detail with a respect for the vehicle’s design, the canopy becomes less a separate accessory and more a robust extension of the truck itself.
null
null
null
null
Final thoughts
In conclusion, installing a canopy over your truck bed is a strategic move for any business owner looking to maximize the utility of their vehicle. By choosing the right type of canopy, meticulously preparing your truck bed, and following the installation steps correctly, you can ensure a reliable and durable solution for your transport needs. Regular testing and maintenance will not only prolong the life of your canopy but also enhance your overall vehicle performance. Embrace the possibilities that a well-installed canopy offers and elevate your business operations.