As a business owner, showcasing ingenuity and efficiency can set you apart. Building a miniature hooklift truck not only demonstrates your capabilities but also immerses you in mechanical engineering, hydraulics, and operational safety standards. This article breaks down the essentials into three comprehensive chapters. First, we will explore the necessary materials and tools for your DIY project. Next, we will guide you through constructing the truck’s chassis and installing its functional components. Finally, we will analyze the legalities and safety implications that come with real hooklift trucks, ensuring you approach your project with a clear understanding of regulations. Get ready to embark on an exciting journey of crafting a truly remarkable hooklift truck.
Forging an Educational, Awe-Inspiring Powered Hooklift Prototype: Materials, Tools, and Safe, Scaled-Down Realism
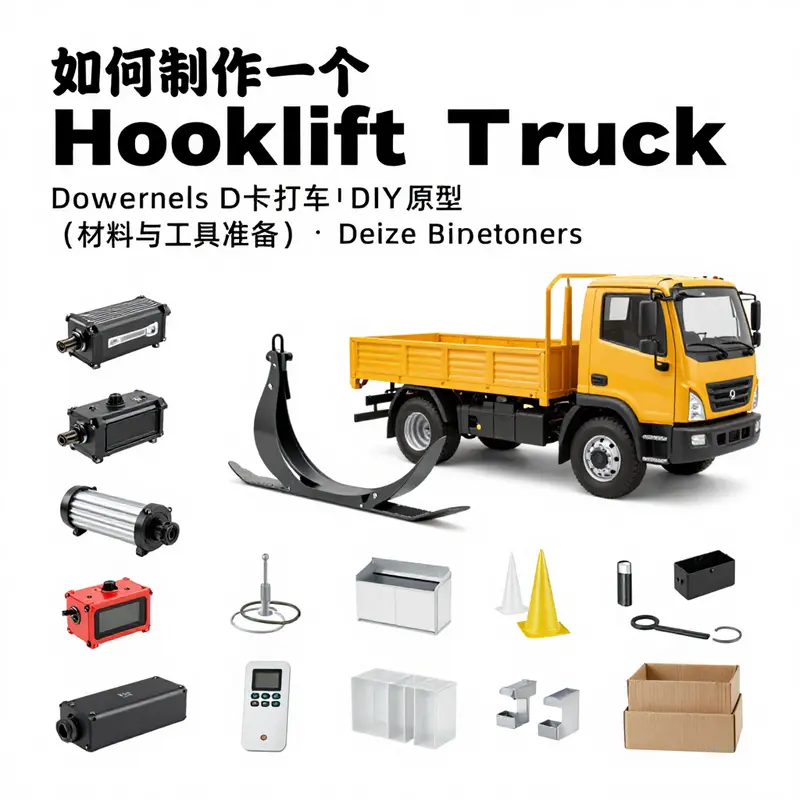
A hooklift system embodies a compact philosophy of leverage, control, and modular power. When you set out to design a powered hooklift prototype that can be built and demonstrated in a workshop or classroom, you are not simply assembling a toy. You are recreating the essence of how a heavy machine interacts with its load: the way a hook, an arm, and a hydraulic-like force coordinate to grab, lift, and release a standardized container. The challenge—and the opportunity—lies in translating that industrial rhythm into a scaled-down, safe, educational model that communicates the underlying principles with clarity, without attempting to replicate every critical safety feature of full-scale equipment. The goal is to reveal the dynamics, teach the logic of sequencing, and invite curious minds to trace cause and effect from input control to visible motion, all while respecting safety boundaries and legal constraints. In this spirit, the chapter unfolds as a continuous narrative about materials, mechanics, electronics, and pedagogy, weaving practical decisions with design thinking so that a reader can imagine the project as a cohesive acting piece rather than a checklist of parts.
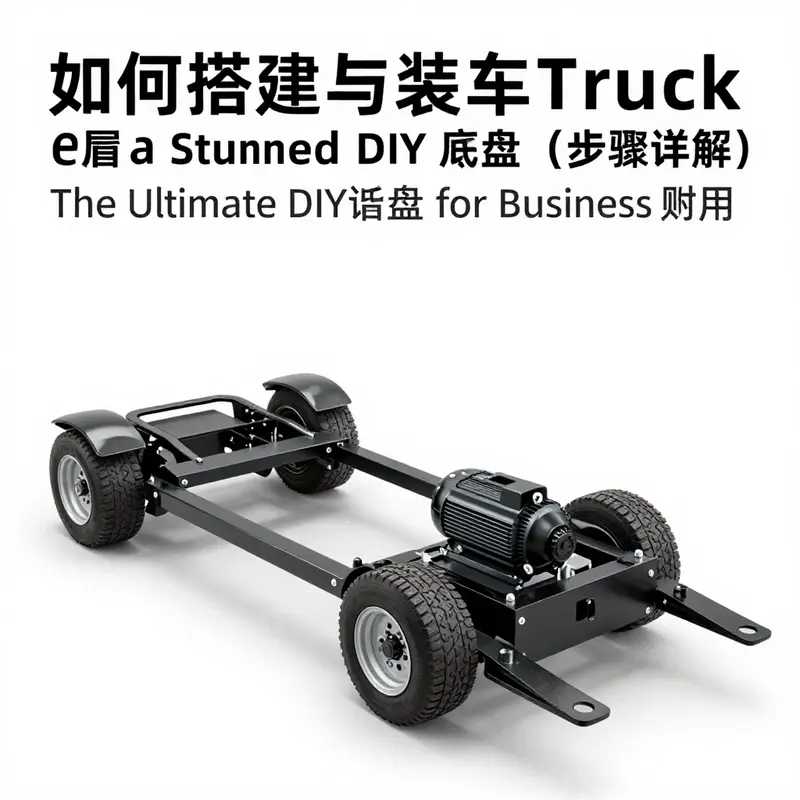
To begin, envision the chassis as the stage on which every motion plays out. In a real world truck, the base must support immense forces, distribute weight, and tolerate dynamic loads. In a miniature educational version, the chassis can be a compact frame assembled from lightweight metals or sturdy plastics. The aim is not to mimic the mass of a full-size vehicle but to provide a stable, rigid platform that resists tipping when a lifted mock container tests the system’s balance. The frame should allow two principal dimensions of motion: vertical lift of the hook arm and horizontal extension of the arm toward the anticipated load. This separation mirrors the actual machine’s coordination, where a scissor-like or telescopic action couples with a swiveling base to reach a container, then retracts for maneuvering into a staging position.
The hooklift arm itself represents the core of the mechanism’s “intelligence.” A functional model relies on a robust, rigid arm that can extend and retract while maintaining a secure interface with the container model. The front end bears a simple hook or latch that can grip an ear plate or a molded counterpart on the container mock-up. To approximate real behavior, the arm should feature a pivot point near the base to enable a clean arc of motion, and a secondary joint or a fixed angle that preserves the hook’s clearance during extension. The interface between arm and container matters because it reveals how the system translates a pulling action into a reliable grab. In practice, a small, spring-loaded latch or a lock mechanism provides the reliability that a bare hook cannot guarantee, especially when the demonstration includes a static lift to show the audience how the container becomes engaged and disengaged.
The hydraulic analog—the heart of the educational experience—does not require actual hydraulic pressure in the classroom. Instead, a linear actuator can serve as a faithful substitute for a hydraulic cylinder, simulating the same essential behavior: extension to raise, retraction to lower. A linear actuator installed between the base and the arm’s base, with a clear, guided path, makes the motion readable to observers. The actuator’s axis alignment, the mounting blocks, and the attachment points determine how smoothly the system tracks through its range and how much of the arm’s movement translates into vertical versus horizontal displacement. This substitution is deliberate and instructive: it demonstrates the principle of a force-producing element driving motion, without the hazards and complexities of high-pressure hydraulics. The choice reallocates complexity away from dangerous fluid systems toward safer, low-risk mechanical actuation while preserving the pedagogical value.
The control system, often the most tantalizing piece for learners, binds the physical hardware to behavior. A compact microcontroller together with a motor driver module forms the “brain” that sequences lift and extend motions, toggles the lash or hook, and responds to operator input. In a classroom setting, wireless remote control can provide a tangible sense of agency to the operator, while a basic manual interface—such as a couple of switches or a joystick—remains a reliable fallback for demonstrations. The control logic can be programmed to carry out simple sequences: grab the container, lift to a chosen height, extend toward a target, pause, retract, and release. The logic should incorporate safety checks that prevent overextension, limit stalling, and ensure that the arm does not attempt to operate beyond its mechanical stops. The elegance of the system lies in its clarity: a single push of a control, and observers witness a chain of cause and effect with a clear, visible outcome.
Powering the prototype demands a careful balance between capability and practicality. A compact rechargeable battery pack provides the energy reservoir for both the motors and the actuator. The distribution of power should be arranged so that the lift and extension are decoupled enough to allow precise control while preserving simplicity in wiring. A pair of high-torque actuators or motors can be chosen to handle two separate aspects of motion: the lifting action and the extension/retraction. The design should account for torque requirements, gear reduction, and mechanical efficiency so that the arm responds with a predictable cadence. In a real machine, hydraulic pumps and heavy engines supply dramatic force. In the miniaturized model, the educational objective is to feel the cadence more than to demonstrate strength. Observers should be able to hear the actuator’s operation, see the arm moving through a clear arc, and, ideally, watch the hook engage and disengage with the container, all of which reinforces an understanding of how control inputs translate to structural motion.
With the core motion established, the container model becomes more than just a prop; it becomes a calibrated load that makes the mechanism legible. The container should be simple, sized to fit the arm’s reach, and designed with two symmetric attachment points at the top—that is, two small rings or ears that the hook can latch onto. The container’s own mass should be light, so the demonstration remains safe and repeatable. The container is essential for teaching the concept of standardization: one can imagine how a real fleet uses standard containers, and the model offers a tangible demonstration of the interface between the grab and the load. A thoughtful detail is to provide a shallow tray or a hollow box that emphasizes the latch’s engagement and release, and to color-code the container with contrasting accents so the audience can follow the hook’s motion clearly from any vantage point.
Beyond the pure mechanics, the prototype offers a platform for expanding educational value. A few simple sensors can turn a passive mechanical toy into an instructional instrument. A lightweight force sensor or current draw monitor helps students correlate motor effort with the load being moved. A simple sensor that detects the arm’s angle or the hook’s engagement can trigger visual or audible feedback, making the process more intuitive and engaging. Lights—carefully placed to avoid glare and to highlight motion—provide an immediate, intuitive read of the system’s state: extended, lifted, latched, or disengaged. Animations of the arm’s path can be recorded or projected, turning the demonstration into a narrative about control loops, mechanical advantage, and the sequencing of operations that engineers rely on every day in real-world machinery.
Safety and pedagogy must govern every choice along this path. In the workshop, a model of this kind should be treated as a teaching tool and not as a substitute for professional equipment. The materials should be robust enough to withstand repeated demonstrations, yet accessible enough to be handled by students without specialized tools. The focus on a scaled, non-roadworthy prototype is deliberate; the intent is to illuminate principles and foster curiosity rather than to encourage the construction of functional lifting equipment for any real-world load. The project invites questions about weight distribution, the limits of leverage, and how automation changes what an operator must do with a machine. It also offers a chance to discuss the legal and ethical responsibilities that govern the use of industrial tooling. In short, the model is a carefully curated teaching device that makes complex engineering accessible and comprehensible.
As the design matures, the conversation turns from the specifics of parts to the broader spectrum of learning outcomes. The project becomes a narrative about determining requirements, selecting components that balance accessibility with fidelity, and crafting a sequence that convincingly demonstrates the hook’s engagement with a container. The experience teaches systems thinking: how different subsystems—mechanical, electrical, and control—must work in harmony to produce a coherent motion. The learner sees that a well-choreographed sequence is not just a matter of connecting parts; it is about orchestrating timing, forces, and feedback so that the whole behaves as a predictable, observable system. In this sense, the prototype becomes a gateway to deeper topics, such as the basics of hydraulics, control theory, and mechanical design principles, all of which can be explored further through guided projects, simulations, or supervised experiments.
The value of such a project extends beyond the walls of a single workshop. For students, it offers a concrete context to study energy efficiency, system integration, and the trade-offs that engineers face when scaling a concept from idea to demonstration model. For hobbyists and enthusiasts, it becomes a compelling example of how to translate industrial history into accessible, hands-on learning experiences. The emphasis remains on realism in behavior rather than realism in heft, with a careful emphasis on safety and practicality. The educational payoff is not only a visible display of motion but also a rich invitation to discuss why the real machines look, move, and sound the way they do, and how designers use that choreography to accomplish precise tasks while meeting stringent safety requirements.
In closing, the prototype stands as a bridge between the abstract principles of lever and force and the tangible joy of seeing a device respond to a user’s command. It is a deliberate, thoughtful synthesis of materials, mechanics, and electronics—a tiny replica that communicates large ideas. The model does not aspire to be a full-scale tool for handling real loads; rather, it serves as a powerful, hands-on demonstration of engineering reasoning. It invites learners to imagine how a fleet of such machines might operate, how automation shapes the way operators interact with heavy equipment, and how safety and design choices coexist in the world of industrial machinery. The result is not merely a kit of parts but a story about how thoughtful design can transform a complex system into an accessible and inspiring educational experience. To see how professional equipment handles the practicalities of lifting in the real world, you can explore related discussions on lift gates as part of industry-focused resources, which offer broader context while remaining anchored in the same core concepts of mechanical linkages, control, and safety. For further reading on professional lift mechanisms and their operation, refer to the external resource linked at the end of this chapter.
-
Internal link to related content: For insights on related lifting mechanisms and practical implementations in a more application-focused context, you may explore the topic of lift gates in the TrucksDIY ecosystem: lift gates.
-
External resource for deeper technical understanding: How Hook Lift Trucks Work, an up-to-date technical overview that delves into the principles of hooklift systems, hydraulics, and control logic, can be found here: https://www.industrial-equipment-guide.com/hook-lift-truck-operation
null
null
别把你的钩臂创意开上公路:从法律红线到安全隐患的全面解析
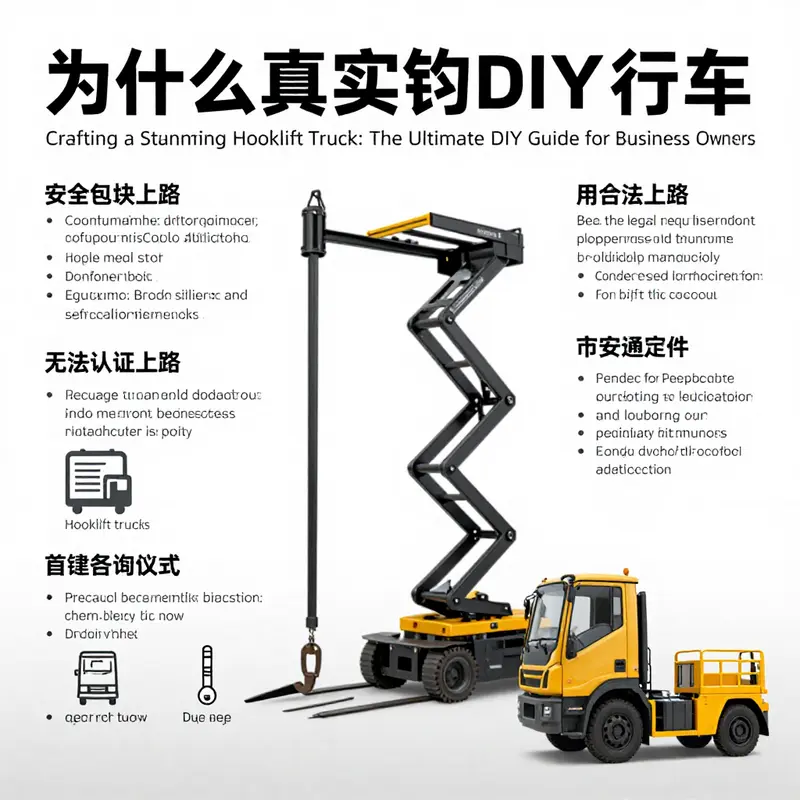
法律与安全为何构成不可逾越的红线
打造一辆看起来像工业级钩臂卡车的DIY项目,很有成就感。你可以用线性执行器、铝合金钩臂和遥控系统,重现举升、伸缩和挂钩动作。这样的模型能传播工程思路,教育意义很强。可问题在于:把这种由个人改装或拼装的车辆推上公共道路,会触碰到清晰而严格的法律与安全界线。这里要讲清楚为什么私人DIY钩臂卡车不能合法上路,并说明背后的法律条文、技术标准与实际风险。
从法律角度讲,机动车的任何结构性改变都不是简单事项。法律将车辆视为经过审批和备案的复杂产品。车辆的型号、整备质量、发动机排放、转向与制动系统、灯光和安全带等,都是登记档案的一部分。把普通载货车加装钩臂后,其用途和行驶特性发生根本改变。法律要求此类改变必须先获得主管部门批准,并在登记信息中更新备案。未经批准的结构性改装,被明确定义为非法改装或拼装行为。
非法改装的法律后果严厉。被查处时,车辆可能被认定为不具备道路行驶资格。主管机关有权对车辆采取责令整改、罚款乃至扣留处理。对车主和责任单位,法律还可能追究更重的行政或刑事责任。换言之,私人将钩臂装上原登记为普通载货车的底盘,等于改变了车辆的本质。这不是可逆的外观变化,而是对车辆功能与安全性质的实质改造。法律文本对此类行为没有任何灰色地带。
另一层面是车辆的“型号合格与产品公告”。正规自卸设备或钩臂卡车由具备资质的制造企业生产。每一种型号都要进入国家或行业的公告目录,满足排放、安全、强度和电子兼容等一整套技术规范。如果一个车主在现有车辆上手工拼装举升装置,这辆“改装车”并不属于任何公告中的型号。登记部门因此无法为它分配正式的注册信息,也就无法合法上路。
“拼装车”的法律红线也很明确。使用报废或不同来源的发动机、变速器、底盘部件拼接车辆,或为逃避重量与尺寸限制而改造车体,均被归为拼装或非法改装。处罚并非仅限于罚款。严重者会被没收车辆。驾驶此类车辆上路,保险公司在事故发生后也很可能拒赔。这对车主而言,后果是巨大的财务与法律风险。
在安全层面,私人改装的钩臂装置带来的隐患更难被接受。首先是车辆的重心与制动性能。标准自卸或钩臂车辆在设计时,会把举升时的重心变化考虑在内。厂商会配套加固底盘、调整悬挂与刹车系统,并在车辆证书中标明最大允许载荷。DIY改装往往没有经过完整的工程校核。举升状态下改变的重心,会显著降低车辆的侧向与纵向稳定性。遇上急刹或转弯,发生侧翻或失控的风险大幅上升。
其次是结构强度和焊接质量问题。钩臂承受的载荷既包括静载,也包括动态冲击。合格的设备使用专门材料和热处理工艺。私人制作过程中,材料选型与连接方式常常达不到工业标准。焊接质量、螺栓的预紧力和连接处的疲劳强度,直接决定了钩臂在反复举升过程中的可靠性。焊缝断裂或连接件松动,会在举升或滑落瞬间造成灾难性后果。
第三,对道路与桥梁的影响不可忽视。非法改装常带来超载倾向。为了提高经济收益,有些车主会增加车厢高度或强化承载结构,以装载更多货物。超载对道路和桥梁的损耗极大。历史上多起桥梁坍塌或路面严重损坏的事故,都是由于单车负荷超出设计值引发的。这样的损害不属于私车私担,而是公共设施的破坏,造成社会成本和安全危机。
更危险的是应急处置能力的缺失。合格的专用运输车辆,特别是运输危险品的车辆,要满足一系列严格的安全设计。包括专用罐体、通风、泄压装置、防静电措施及应急切断系统等。DIY改装的钩臂车若用于运输化学品或易燃物,其改装过程通常没有进行危险分级评估。发生泄漏、火灾或爆炸时,现场救援将面临更高难度。救援人员也无法第一时间获得正规的车辆技术资料,使事故处理复杂化。
此外,事故责任认定和保险理赔也将变得模糊。以私自改装车辆发生交通事故为例,交管部门与保险公司会查验车辆合法性。若车辆被判定为非法改装,保险合同可能因此无效。交通事故的巨额赔付责任将落到车主个人头上。对受害的第三方而言,追偿过程也会因车辆的非法身份而复杂化。
尽管这些论点看似限制了个人的创造,但它们背后是对生命与公共财产的保护。法规和强制性技术标准并非阻碍创新的藩篱。相反,它们形成了一个被验证的安全框架。在该框架内,制造商可以设计、测试并投放合格产品。车主和运营方则能在清晰的规则下安全使用车辆。任何尝试绕过这些程序的行为,都会把私人和公众置于不必要的风险中。
那么,作为爱好者或教育者,你可以如何把创意和合规、安全结合?首先,限定项目的使用场景。将钩臂项目保持为工坊演示品、展览模型或用于封闭场地的教学工具。不要在公共道路或城市配送环境中运行。其次,把设计尺寸与承载能力缩减到微型或模型等级。微型化可以避免高能量释放和严重的重力风险。使用线性执行器与电子控制器,既能模拟液压动作,又能保证可控性与安全性。再者,定期记录维修与测试数据。虽然模型无需车辆登记,但良好的维修记录可以作为项目成熟度的证据,也为展示提供支持。
关于替代方案,许多成熟的货车配件和抬升设备可以在满足法规的前提下实现类似功能。例如,尾板升降设备是经常被允许并有强制检测的装置。它们由合格厂家生产,有明确的安装与检验标准。若你的目标是实现货物装卸的自动化体验,可以研究这些行业成熟组件。本文内的“liftgates for trucks”资源提供了相关技术与安装思路,值得参考。
最后要强调的是合规路径的存在。如果你的构想具有商业潜力或技术创新价值,走正规的认证途径是唯一可持续的方式。与具备资质的企业或检测机构合作,开展强度试验、稳定性分析与法律合规评估。通过正式的产品开发流程,你的设计才能获得公告内的型号资格,进而实现合法生产与上路运营。这条路既耗时,也成本更高,但它能把创意变为可被社会接受的现实。
由此可见,把DIY钩臂车开上公路,不仅是技术问题。它同时是法律、伦理与社会责任的问题。任何对车辆结构的根本改变,都应在法规框架下完成。私人创作和教育实验应被鼓励,但必须限制在安全可控的范围内。超越这条界限,会触发法律的强制性手段,带来不可逆的后果。
更多关于自制车及改装法律责任的权威说明,可参阅政府发布的政策解读。详见该官方解读页面: https://www.gov.cn/zhengce/content/2026-02/17/content_5584327.htm
Final thoughts
Creating a hooklift truck prototype through DIY methods offers an exceptional opportunity for business owners to engage with the principles of engineering and problem-solving. The process of assembling the materials, constructing a functional chassis, and understanding the legal implications fosters a deeper connection with the mechanics behind industrial vehicles. While you may not be able to legally operate a homemade hooklift truck on public roads, the knowledge and skills gained from this project can enhance your capabilities in innovation and operational efficiency. Empower your business ventures by embracing the art of DIY truck crafting.