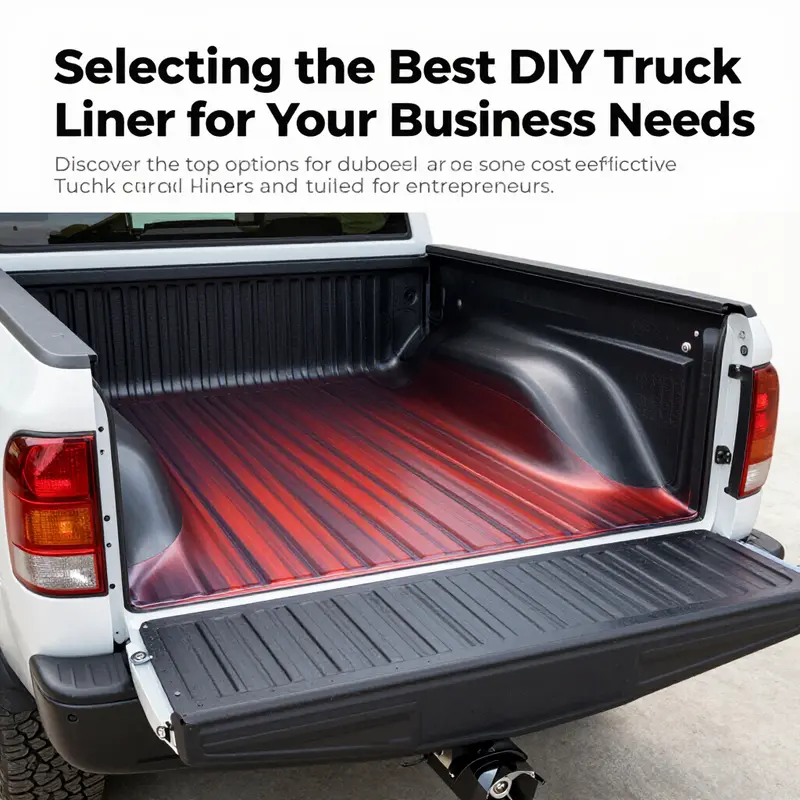
For business owners relying on trucks for deliveries, transporting goods, or as part of their service, protecting the truck bed is crucial. A good truck bed liner not only adds aesthetic value but also provides a barrier against wear, tear, and corrosion. DIY truck bed liners have become popular for their ease of application and cost-effectiveness. This article explores the best options available, starting with an overview of the top three DIY truck bed liners, detailing why Dupli-Color Bed Armor stands out, and making a comparative analysis of Herculiner and Rhino Linings. Each chapter aligns to help you make an informed decision that contributes to your business’s longevity and functionality.
Seamless Armor on a Budget: Navigating the Best DIY Truck Bed Liner Options for 2026
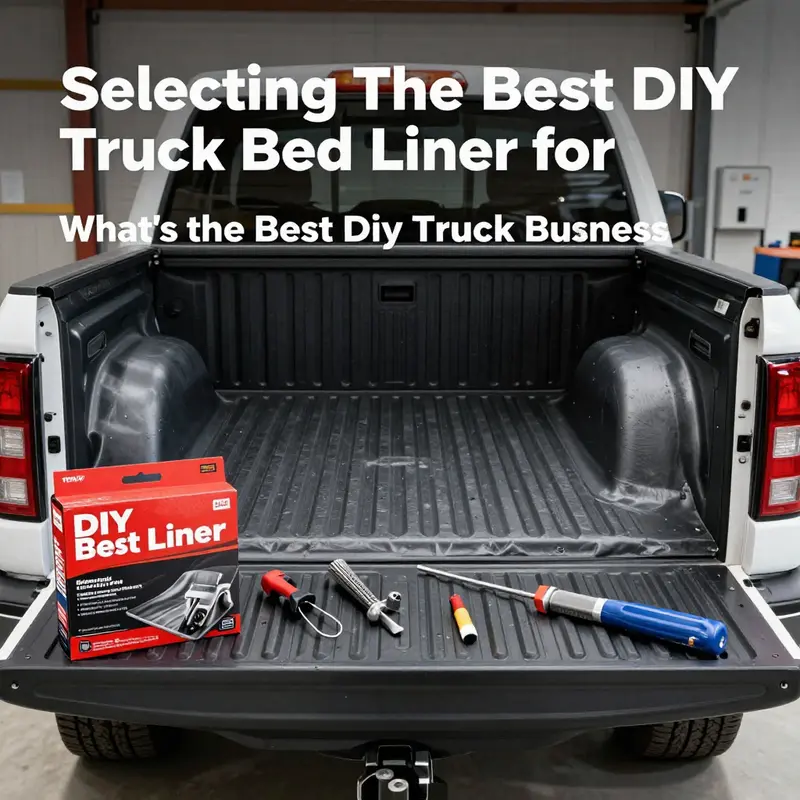
When you pull a loaded bed through mud, grit, and shifting cargo, the bed itself becomes a workhorse that deserves protection as tough as it is practical. The goal of a bed liner is simple in theory: seal and shield the metal, keep moisture out, and resist scratches that invite rust and corrosion. In practice, the best DIY solutions balance durability, seamlessness, and the learning curve you’re willing to endure. The landscape for 2026 is dominated by three broad approaches, each offering a distinct path to a professional-looking result without the cost of a shop spray job. Understanding how these options work—and where they shine or fall short—helps you tailor a solution to your truck’s use, climate, and your own patience for a project that blends surface prep with acrylic or polyurethane chemistry. Among the most talked-about choices, spray-on liquid liners stand out for durability and a near-seamless finish; self-adhesive rubber mats offer instant protection with zero curing time; and powder or paste bed coatings provide a more eco-conscious route that can be applied with modest gear and a steady hand. Across these options, the practical throughline remains the same: a continuous, bonded layer that resists water, abrasion, and UV damage longer than a simple mat or drop-in liner. This is the core promise that converts a rough, exposed bed into a long-term asset, capable of handling tools, lumber, gravel, or clothing racks without leaving scars on the metal beneath. It is also the reason many DIYers gravitate toward a sprayed-on system, especially when the objective is to strike a balance between performative quality and achievable home workmanship. In this chapter, we’ll move through the three primary DIY approaches with the same steady logic you’d apply to any major garage project: assess your needs, prepare thoroughly, apply with care, and commit to a maintenance routine that preserves the finish over years of use. Along the way, you’ll see how one option edges out another depending on what you value most—seamlessness, speed, environmental footprint, or overall longevity. And you’ll get a sense of how to think about cost, not as a sticker price but as a pathway to value, resale potential, and the quiet confidence that comes from protecting a critical part of your vehicle’s lifetime. If you’re curious about how this thinking translates into real-world gear, the right extension into accessories can help you round out the project. For a broader look at compatible installation gear and add-ons, the Accessories page on the DIY site offers a practical companion resource. Accessories page. While no single approach is universally perfect, the spray-on category consistently emerges as the most robust all-around solution for those who want a near-professional result without paying professional install costs. It forms a durable, seamless barrier that adheres directly to metal, creating a single sheet of protection that moves with the bed rather than hiding behind a separate cushioning layer. The underlying physics are straightforward: bond the coating to clean metal, cure it in controlled conditions, and you establish a continuous film that covers every contour and seam. With this in mind, the spray-on family—whether polyurethane or polyurea blends—offers the closest approximation of a sprayed-in liner you’d see at a shop, but with DIY-friendly kits that include primers, base coats, and topcoats. The reason this approach tends to dominate the conversation is not just its ability to resist everyday abrasion; it’s its versatility across temperatures, chemical exposure, and moisture. A properly prepared surface will hold fast through road salt in winter, oils and solvents in a shop area, and the daily wear of tools and cargo. When done right, the finish stays smooth, almost glassy in appearance, with a depth and uniformity that a drop-in mat or peel-and-stick liner rarely achieves. The initial cost may be higher than simpler alternatives, and the process demands good ventilation, protective gear, and patience. Yet many DIY enthusiasts report a finished product that looks and feels like a professional job, with the advantage of full surface adhesion that prevents water from seeping behind the liner and creating hidden rust pockets. The learning curve is real, but it’s a curve you can manage with careful surface prep, measured mixing, and controlled application. The other two routes—the self-adhesive rubber mats and the powder or paste bed coatings—offer compelling trade-offs, and they deserve careful consideration when your budget, timeline, or environmental concerns push you toward a different path. Self-adhesive rubber mats can be installed in a few minutes, with no tools beyond a clean cloth. They shield the bed by providing a non-slip, cushioned surface that keeps cargo from shifting and reduces noise as items slide around. They’re excellent when you value speed and flexibility or when you’re testing out a coating concept and want to avoid committing to a sprayed surface. The compromise, though, is clear: while these mats can be removed and replaced, they do not create a fully sealed barrier. Water and moisture can accumulate at the edges or beneath the mats, and over years of exposure to temperature swings, these edges may lift or crack. The result is less protection against rust and more protection against abrasion and noise. For some users, especially those with light-duty loads and frequent material changes, this approach provides exactly the right balance of convenience and performance. Powder or paste bed coatings offer another route that leans on chemistry rather than spray gear. These coatings often emphasize environmental friendliness, with formulations designed to minimize volatile organic compounds. Application tends to be straightforward: mixed powders or pastes are spread or brushed onto the bed, then allowed to cure or are heated to accelerate solidification. The advantages center on lower VOCs, simpler equipment needs, and good adhesion. The finish, however, may not be as perfectly even as a spray, and you can encounter texture variation, minor runs, or a subtle granularity depending on the product. Coatings of this kind can deliver five-year-plus performance in favorable climates, especially when applied with attention to surface prep. They tend to be forgiving for do-it-yourselfers who want to avoid spray equipment, and they’re appealing to those who prize eco-conscious formulations. Still, the finish can differ from a sprayed-on look, which is a part of the blended image of DIY bed liners that many enthusiasts aim for. Each of these pathways has its champions, and your choice should reflect how you use your truck, where you live, and how much time you’re prepared to invest in a multi-step process. For a bucket-list, high-performance outcome, the spray-on category remains the best overall option. It gives you the continuity of a single, uninterrupted film that travels over corners and contours without gaps. It also has the longest track record in terms of abrasion resistance, UV stability, and chemical resistance. When you compute the cost against the potential savings in resale value and the increased lifespan of the bed, the spray-on route often represents a wise investment, provided you’re ready to commit to the prep and curing steps. If your primary criteria are speed and ease, you’ll likely lean toward the self-adhesive mats, especially for temporary setups or rental vehicles where permanent modification is less desirable. For those who want a mid-range compromise that balances environmental concerns with moderate durability, the powder or paste formulations offer a compelling path that minimizes solvent use while still delivering robust protection. Across these choices, there is also a quiet but important point: the finish you end up with is only as good as your surface preparation. Whether you’re spraying a polyurethane coat or laying down a paste, you must remove oil, grease, wax, old coatings, and any rust down to a clean, bright metal surface. In practice, that means degreasing with a dedicated cleaner, mechanical abrasion to create a tooth for the coating to bite into, and masking any areas you don’t want coated. Temperature and humidity matter as well. A sunny day with steady temperatures makes for the most predictable cure, but if you’re in a climate with wide swings or high humidity, you’ll want to pick a product that tolerates those conditions and plan your work window accordingly. The best DIY transitions from prep to finish are those that feel methodical rather than rushed. Dedicate time to mixing ratios, fan settings on your spray gun, and test panels to dial in your technique before you touch the bed itself. When you’re applying the spray-on kit, a few practical tips can save you a lot of grief: keep a steady hand, maintain a consistent distance, and apply in thin, even coats to avoid runs and sags. If you’re layering coats, allow the recommended flash times between passes and avoid overcoating too soon, which tends to trap solvents and create a tacky surface. For the mat approach, you’ll want a dry, dust-free surface, a clean edge, and careful alignment to minimize trimming afterward. The goal is a snug fit with spillage minimized at the bed walls. For powder or paste coatings, follow the manufacturer’s mixing instructions precisely and time the cure to ambient conditions so you don’t end up with a brittle final layer or undercured spots that peel later. In terms of value, the spray-on option often wins on durability and resale protection. It yields the most uniform appearance and the lowest likelihood of moisture intrusion under the coating. It also tends to provide the closest approximation to a professional spray-in liner, a key factor for owners who plan to keep their vehicle longer and want the bed to look and perform like a factory finish. The other two options are not without merit, especially when constraints are real. If time, budget, or institutional permitting are key constraints, the self-adhesive mats can be a practical first step, with the understanding that you may transition to a sprayed-on liner later if the bed’s duties or climate demand stronger protection. The powder or paste coating offers a middle ground in terms of environmental impact and ease of use, with a finish and durability that will satisfy many DIYers who want a longer-lasting result without the complexity of a spray system. In the end, your decision should align with the way you use your truck and how much you value a seamless, water-tight barrier. If you want a single, practical takeaway: for the majority of DIY enthusiasts who want long-term protection with a professional look, the spray-on liquid liner represents the best overall path. It’s not the cheapest entry, but it offers the least compromise on protection and appearance, provided you’re ready to commit to proper surface preparation and careful application. And if you’re curious about ways to expand your setup and ensure you have the right tools and materials on hand, the Accessories page linked above is a helpful place to start, guiding you toward compatible sprays, primers, and safety gear that can help you execute a successful job. The ecosystem around bed liners—coatings, primers, sprayers, protective gear, and even masking materials—fits together much like the bed’s own layered protection. When you get proficient, you’ll find you can adapt your method to seasonal conditions, cargo types, and even the occasional rework that keeps the finish in top shape. Remember that the best DIY liners aren’t just about initial appearance; they’re about a durable, lasting shield that preserves the bed’s integrity, extends the vehicle’s life, and maintains value. With a steady plan, realistic expectations, and a clear sense of your priorities—speed, cost, environmental considerations, or ultimate durability—you’ll be well positioned to choose the optimal approach for your truck bed. For readers who want to compare the practical experiences of other DIYers, the external resource below offers a concise overview of how these options perform in real-world scenarios and how market offerings have evolved through 2026. This external perspective complements the detailed considerations here and helps you calibrate your expectations against established performance data. External reference: Best DIY Truck Bed Liner Options in 2026. https://www.carinterior.com/diy-truck-bed-liner-options
null
null
Two Paths to a Seamless Bed: Weighing Roll-On Versus DIY-Spray Solutions for Your Truck Bed
A bed liner is not just a coat of protection; it is a durable, work-ready skin that keeps metal from rusting, cushions the impact of heavy loads, and helps a truck look finished while it actually does the dirty work. The best do-it-yourself approach to achieving that seamless, professional-grade finish hinges on choosing between two well-trodden paths: the roll-on polyurethane route, which emphasizes simplicity and ease of use, and the spray-kit route, which aims for maximum durability and a smooth, uniform barrier with enough preparation and technique to rival a shop-applied job. For many DIYers, the decision isn’t binary in spirit; it’s about which path better aligns with their shop space, climate, the size of the truck bed, and how much time they’re willing to invest to protect the bed for years of service. What follows is a grounded, practical look at how these two approaches perform in real-world use, how to approach preparation and application without a professional spray booth, and how to interpret the trade-offs in a way that helps you decide what kind of finish you’ll be living with after you seal the bed of your pickup.
The first path, the roll-on option, is built for accessibility. It typically comes in a single or a few cans, with a textured, rugged finish designed to grip under tools, mats, and muddy boots alike. The appeal lies in its straightforward flow: clean the bed, mask the surrounding areas, stir if needed, pour or pour-and-roll, and apply. The texture you get from a roll-on system is instantly forgiving; it masks minor surface imperfections, helps hide minor scratches from daily use, and can be touched up with relative ease if you later decide to repair a nick or scratch. Coverage is predictable enough for most standard truck beds; the math of coverage per can is a practical guidepost: most roll-on formulas yield roughly 50 to 60 square feet per can, though actual results depend on how thick you lay it and the porosity of the metal surface. In terms of finish, you’ll usually land a satin to textured look that prioritizes grip and protection over showroom polish. The texture is a built-in advantage when you’re stacking gear, hauling tools, or sliding equipment in and out—grip matters to prevent sliding cargo and reduce sliding wear on the liner itself.
From the user-experience side, the roll-on path shines when the goal is to achieve a robust barrier with a minimum of equipment. There is no spraying rig to clean, calibrate, or maintain, and there’s a well-worn, forgiving rhythm to the process: prep, prime, lay down a base coat, add a topcoat, cure, and assess. The typical cure window is governed by ambient temperature and humidity; once the surface is tack-free, you can add the next coat within a day in many climates. Because it does not rely on a compressed-air spray system, roll-on kits are popular among weekend warriors and DIY newcomers who want reliable protection without the fuss of spray equipment or the hazards that come with spray coatings in an enclosed space.
Yet no path is without caveats. Roll-on finishes can show seams if the bed has complex contours or sharp radii that trap air or blend too slowly between passes. The texture, while beneficial for grip, can sometimes trap dirt and dust, which may complicate cleaning. And while modern formulations are incredibly durable, they can be more vulnerable to solvent exposure in certain deep cleaning scenarios or to impact chipping along the edges where the coating might be thinner. In practice, the roll-on approach is an excellent choice when you value quick turnarounds, simpler setup, and a durable, dirt-hugging surface for regular yard work, camping trips, or a daily driver that sees mud and rough use.
The second path embraces the dream of a near-professional finish achieved with dedicated DIY spray options. Spraying is all about achieving a seamless, continuous barrier that hugs every contour and corner. The do-it-yourself spray kits available in the market aim to give you a result that looks and acts like a professional spray-in liner, but minus the expense and scheduling friction of an in-shop installation. These DIY spray systems can involve either polyurethanes, polyureas, or a hybrid of both, and they’re designed to cure with excellent abrasion resistance and flexibility across a wide range of temperatures. The key advantage here is uniform coverage and exceptional adhesion to metal, creating a barrier that feels almost monolithic—the kind of finish that looks as though it was sprayed by a shop, not brushed on in a home garage.
From a practical standpoint, the spray-kit path requires more upfront planning and a dedicated, well-ventilated work space. You’ll typically be working with a two-part coating or a kit that requires precise mixing, a spray gun or HVLP setup, and careful control of nozzle size, spray pattern, and distance. The result, when executed well, is a remarkably uniform film with fewer texture-induced blind spots and a more watertight seal. For drivers who anticipate extreme duty—heavy loads, lots of chemical exposure, or long-term exposure to intense UV light in sun-drenched climates—the spray path offers a durability profile that can rival professional applications, provided the surface is prepared impeccably and the curing conditions are met with discipline. The downside is that the spray approach demands more careful ventilation, higher attention to safety, and a workspace that can accommodate an extended cure time. It also tends to require more time and a steadier hand to achieve seamless edges at the bed walls, corners, and transitions to the tailgate—areas where spray technique can make or break the final appearance.
Either path hinges on surface preparation, which is where a lot of the real work happens. A clean, rust-free, dry substrate is the bedrock of a lasting liner. The metal surface must be free of oil, grease, and old coatings; any of these contaminants can compromise adhesion and create weak points that will rub through under load. The recommended prep steps are simple in concept but exacting in practice: remove rust with mechanical or chemical methods, degrease with a suitable solvent, and roughen the surface slightly to give the coating something to grab onto. Some DIY enthusiasts with spray kits also use a light acid wash or iron-remover to neutralize any residual contaminants, followed by a thorough rinse and a complete dry. When the bed is dry, a light sanding can help the coating bite into the metal with greater security. Masking off adjoining panels ensures you don’t end up with a glossy, slippery finish on the truck’s painted surfaces or on nearby hardware. The depth of preparation, more than any single step, determines whether you’ll end up with a finish that looks uniform, cures evenly, and stands up to daily use.
Once you commit to a path, you’ll find the decision is less about which is objectively better and more about which aligns with your work style and environment. If you have a small shop, limited ventilation, and a desire for a straightforward process you can complete over a weekend, the roll-on route remains unmatched for ease and reliability. If, however, you crave a more uniform, tougher, and less textured finish that can resist more aggressive abrasion and chemical exposure—and you’re willing to invest in the equipment and a controlled curing space—the spray-kit approach can deliver the professional-grade feel that many DIY enthusiasts associate with a shop spray.
An important practical angle is how these choices translate into real-world use. In everyday scenarios, a textured roll-on liner minimizes slippage and takes abuse from tools and ladders with admirable resilience. You’ll notice that the surface clings to boots, tires, and toolboxes with a practical grip that reduces shifting cargo, which translates into less rattling and a calmer bed when you’re driving on rough terrain. The texture also has a forgiving factor: it shows small chips and scratches but tends to hide them in the same way a well-worn workhorse hides its scars. Maintenance is straightforward for roll-on finishes; the coating can be spot-repaired with a small amount of the same material if a nick appears, and the bed remains usable while the repair cures. On the other hand, the spray-kit approach, when done well, yields a smooth, dense film with less surface topography to trap debris. This can make cleaning easier and improve resistance to certain contaminants that cling to textured surfaces. It can also improve water resistance and provide an impression of greater uniformity across the bed’s planes, which some owners equate with a more “finished” appearance.
A nuanced factor in this comparison is the long-term durability under varied conditions. Roll-on coatings, in rugged service, tend to perform exceptionally well against abrasion and impact fatigue when applied thickly and cured at appropriate temperatures. They are flexible enough to handle impact without cracking, and many formulations resist UV degradation to a meaningful degree, keeping color and integrity intact for years with basic care. The spray-kit coatings typically deliver stronger abrasion resistance and longer life in extreme climates where temperature swings are severe and frequent. They tend to sustain their barrier properties over time, maintaining adhesion even when the bed experiences repeated heat cycling and exposure to chemicals like oils, fuels, and solvents. However, the success of the spray approach is highly contingent on meticulous prep, correct mixing ratios, proper ventilation during application, and a patient curing schedule. If any of these elements are rushed or neglected, the final finish can display pinholes, thin spots, or edge lifting that undermines the otherwise impressive durability.
Cost is another practical lens through which to view the choice. Roll-on systems generally offer a lower upfront price and a faster turnaround, especially for smaller beds where a single can or two suffice for two coats. The total investment includes the cost of brushes or rollers, solvents for cleanup, and an extra day of curing time. The spray-kit option often carries a higher initial price because you’re purchasing multiple components: the coating itself, the catalyst or hardener, a spray gun or turbine setup, and often a protective respirator and ventilation plan for safe application. If you compare the long-term value, both paths can be economical relative to professional spray services, which are priced to reflect the equipment, expertise, and shop time involved. The key is to estimate your bed’s area, consider the thicker coats you might desire for a long service life, and then weigh the upfront costs against the time you’ll save or the durability you expect.
For anyone standing at this crossroads, the decision is not about rejecting one method in favor of the other; it’s about choosing the path that fits your workspace, climate, time, and how you plan to use the truck. If you want a straightforward, forgiving finish that can be applied in a single space of the garage with modest equipment and limited ventilation, the roll-on option is extremely compelling. If your goal is a finish that you feel has been built to withstand heavy-duty activity, chemical exposure, and extreme temperatures, and you’re prepared to invest in a proper setup and a more deliberate application process, the spray-kit path offers the best chance of achieving a seamless, highly durable barrier that looks like it came from a shop—despite being done at home.
Throughout this journey, remember that preparation and technique are the true force multipliers. A bed that has been thoroughly cleaned, rust-free, and etched for the coating will deliver dramatically better adhesion, fewer issues with pinholes or spots, and a finish that remains robust under use. The right tools also matter—the quality of your rollers, the spray gun, the nozzle size, and the cleanliness of your work environment all influence the final look and performance. The end result will depend as much on how you manage the process as on the coating you choose. If you find yourself leaning toward the roll-on path for its practical ease, plan for a little extra time to ensure even coverage in corners and along the bed walls. If you’re leaning toward the spray path for its potential durability, invest in a calm, well-ventilated space, take your time with masking and edge work, and respect the cure schedule after you finish. Either approach can yield a bed that carries a professional feel, protects the metal from scratches, dents, and corrosion, and ends up with a finish that looks clean, behaves predictably, and performs well under the heavy demands of daily use.
If you’re exploring these options on your own, you’ll want practical pointers that keep you moving in the right direction and help you avoid common pitfalls. A simple, repeatable rhythm—prep, base layer, top layer, cure, and inspect—works across both routes. Always test a small piece of metal first if you’re unsure about a particular formulation or mixing ratio. In a humid environment, keep temperatures steady, and avoid applying coatings in direct sunlight if possible. Maintain a clean workspace and protect your airways and eyes when you’re mixing or spraying. And when you’re ready to move from the planning phase to the practical phase of your project, remember that your toolbox matters almost as much as the coating itself. A clean applicator, good masking tape, a few quality brushes or spray tips, and a comfortable, stable stance can make the difference between a finish that looks rushed and a finish that looks deliberate and resilient.
For readers who want to extend the conversation into broader project planning or tool recommendations, the Accessories page on the site offers a curated starting point for the gear that often accompanies bed liner projects. This resource can help you assemble the essential items you’ll need to approach either path with confidence and a clear plan. Accessories
External resource: To deepen understanding of bed liner chemistry and installation considerations beyond product-specific advice, see https://en.wikipedia.org/wiki/Truckbedliner
Final thoughts
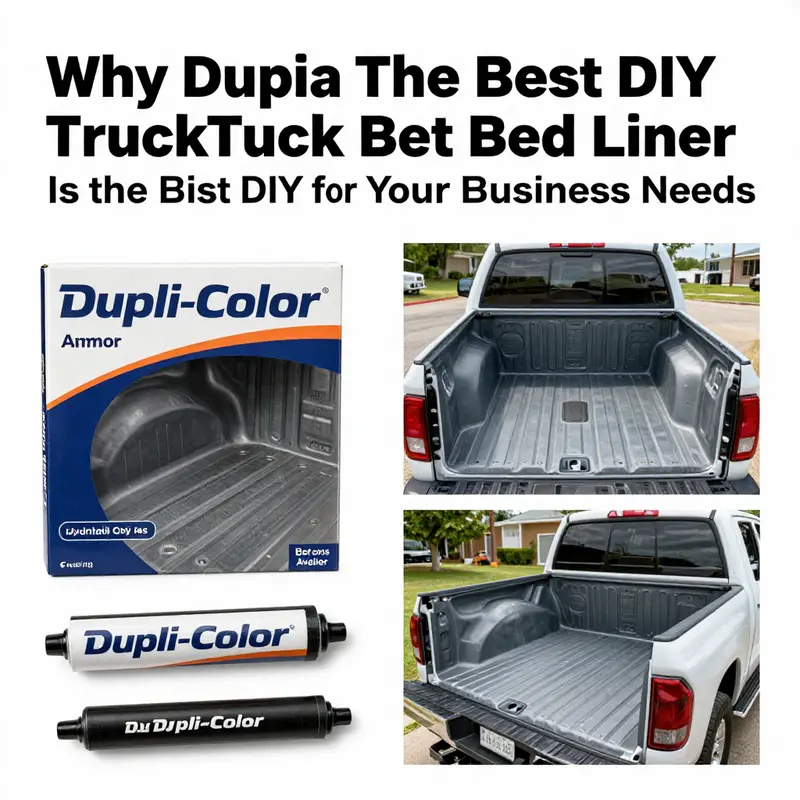
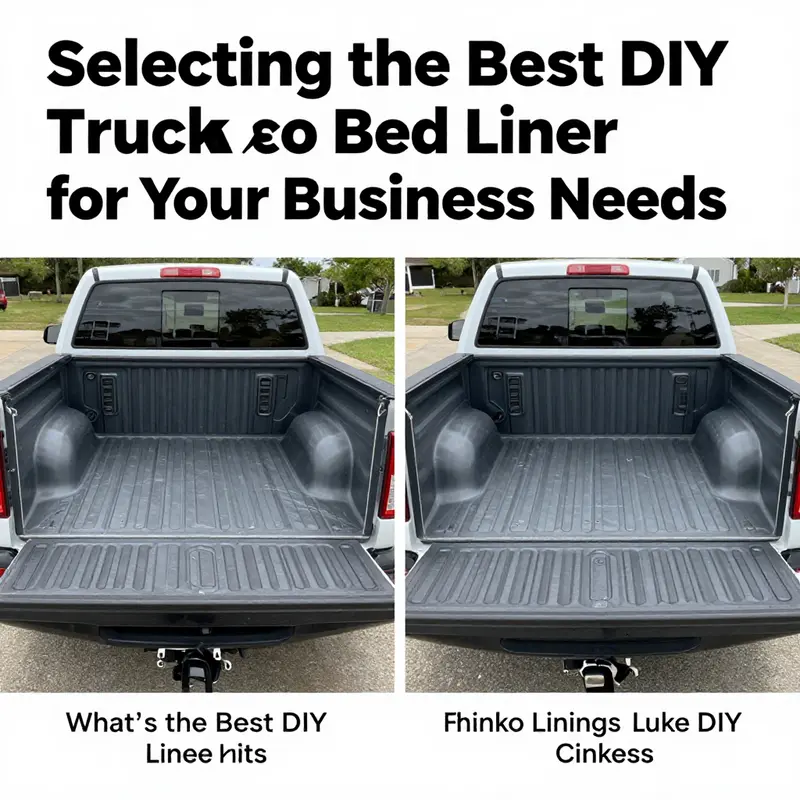
Choosing the right DIY truck bed liner can significantly impact the upkeep, appearance, and longevity of your truck, ultimately reflecting on your business’s efficiency and professionalism. Among the various options, the Dupli-Color Bed Armor shines for its blend of quality, durability, and ease of application. Herculiner and Rhino Linings also present strong capabilities, particularly for specific preferences around application techniques and finish styles. By evaluating these options carefully, you can select a truck bed liner that not only protects your investment but also enhances your operational efficiency.